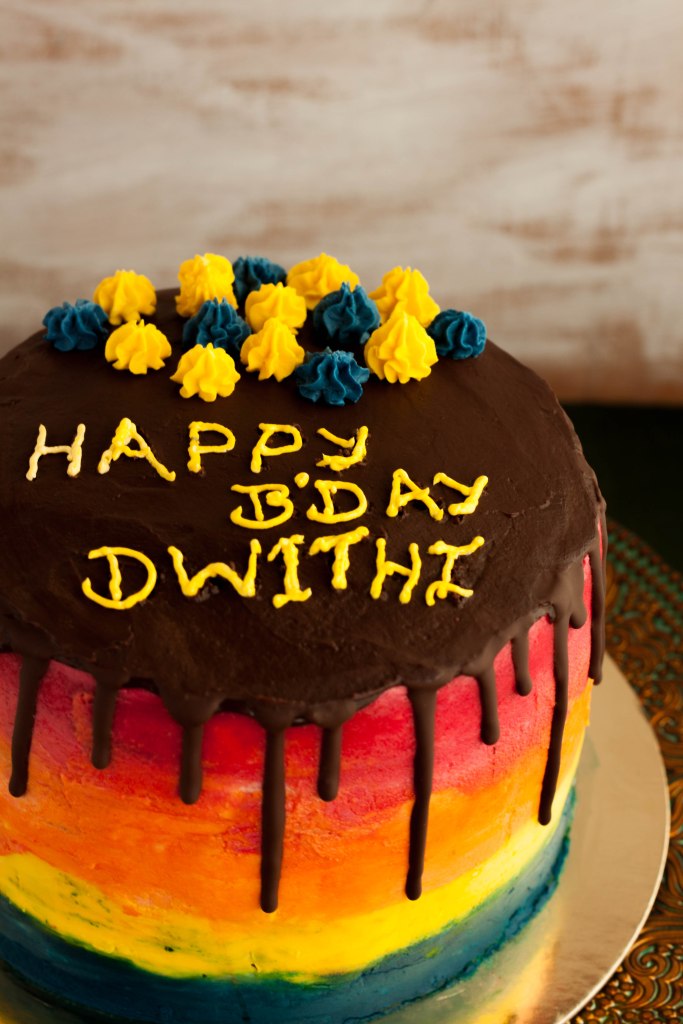
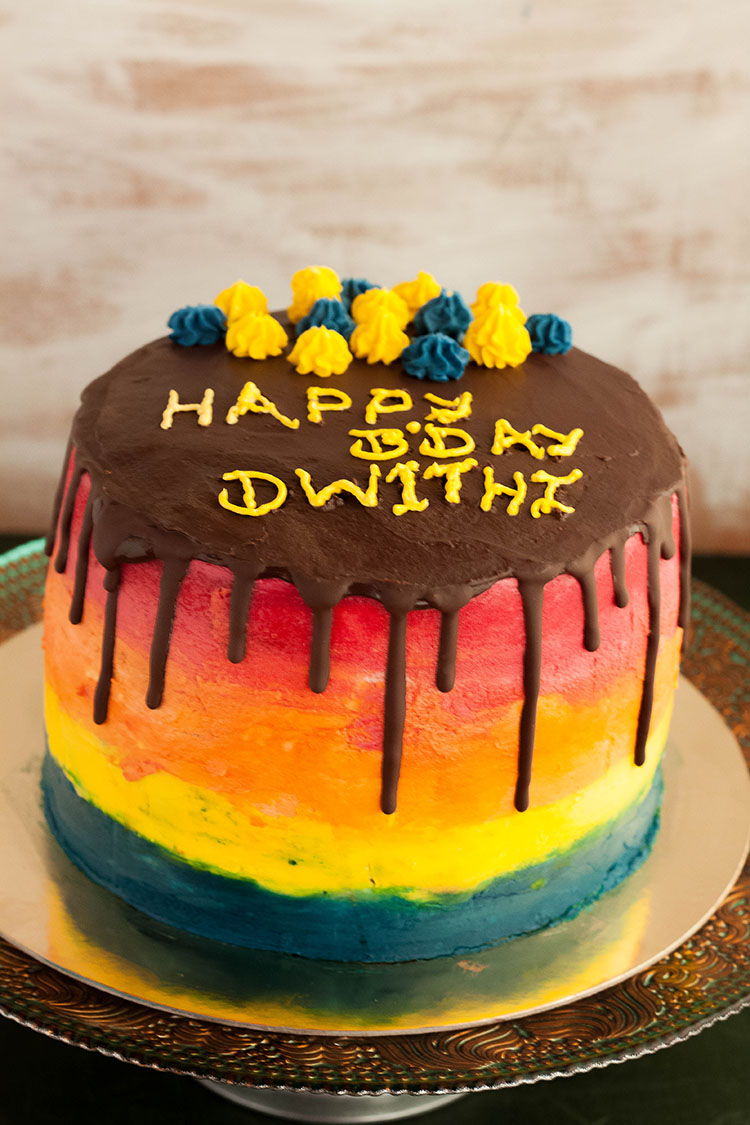
Rainbow Cake – for a sweet birthday girl

img_9562

This is a long overdue post . A little bit of flashback before that. I had left my job due to personal reasons and was wondering how to utilise the spare time. And to almost all friends whom I  pestered with my ranting on what to do now, the answer was – ” Why don’t you start baking as a start up business? ”  I love to bake, but as a start up –  I’m apprehensive. And seeing the beautiful cakes flooding the net, I am even more petrified. But at some point you have to start … So slowly I am learning the technicalities of cake decorating, one step at a time…

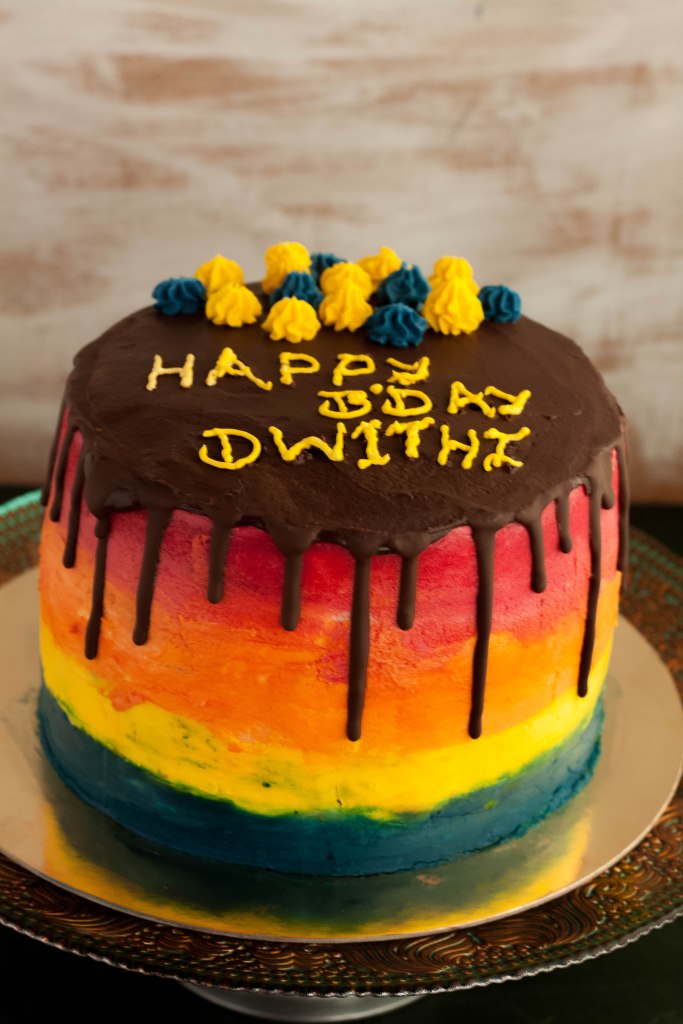
The first “official order ” for cake was for our friend’s little daughter’s birthday.  And I decided to try the Rainbow Cake , which kid doesn’t like a rainbow 🙂 . Later I got worried as one cake won’t be enough for all the friends at the party and so made a Red Velvet Cake too. A selfish motive too – I  wanted people to try out my cakes and get honest feedbacks.

The birthday girl was quite thrilled to see the colourful cakes . My little happy client gave me a thank you note for bringing her the cake. How sweet … !! And as for the verdict from my friends,( or future would be clients 😀 ),  it was a thumbs up 🙂
 

layers4

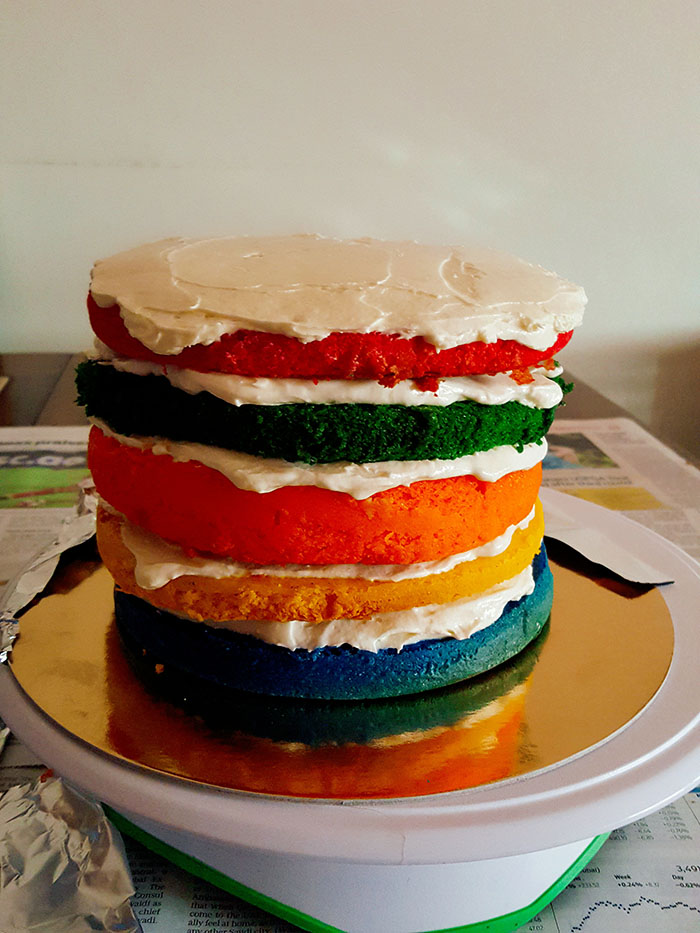
Let’s move on to the recipe.  This is the same recipe for the 1-2-3-4 cake I had blogged earlier. The batter was divided into 6 parts, added different colours to each layer , poured into individual pans and baked . I could bake 2 pans at the same time , but still baking all the layers will take time. Better bake the cakes a day in advance and then do the frosting the next day .

And here’s wishing all my readers a very vibrant and joyful New Year. May all your dreams come true…
img_9567

RAINBOW CAKE

INGREDIENTS

FOR THE CAKE

  • Butter – 1 cup
  • Powdered Sugar – 2 cups
  • Flour – 3 cups
  • Egg – 4
  • Salt – ¼ tsp
  • Baking powder – 3tsp
  • Milk – 1 cup
  • Vanilla essence – 1 tsp

FOR SUGAR SYRUP

  • 1/4 cup sugar
  • 1 cup water

FOR FROSTING

  • Whipping cream – 2 cups
  • Mascarpone cream – 250gm
  • Icing sugar – 3tbsp

METHOD

TO PREPARE THE CAKE PAN

Butter a cake pan and sprinkle about 1 tbsp of flour.  Gently toss the pan so that all sides are coated with flour.

TO MAKE THE CAKE

  1. Separate the egg yolks and whites.
  2. In  a deep bottomed bowl, beat the egg whites till they whip up. It will look like whipped cream. Keep it aside.
  3. In another deep bottomed bowl, beat butter using egg beater for 2 minutes.
  4. Add powdered sugar to the butter and beat well till it looks creamy.
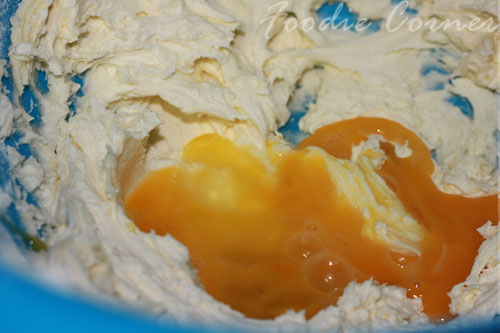
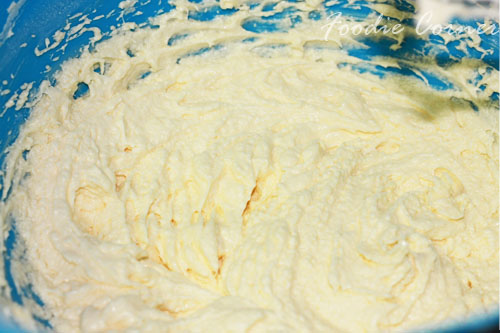
  5. Add the egg yolks one by one and beat well for around 10 minutes
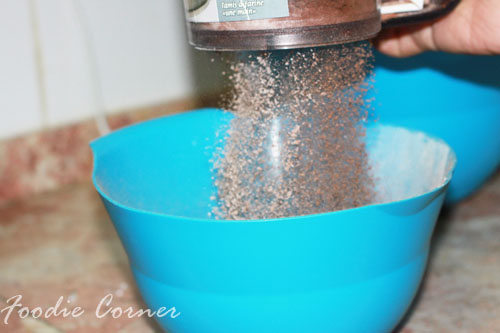
  6. In another bowl, sieve flour and baking powder.
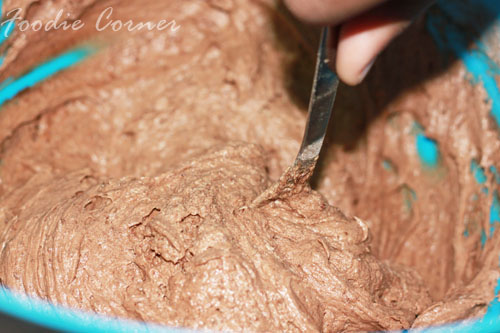
  7. Mix one third of the flour mixture to the egg yolk mixture slowly using a wooden spoon.  Add one third cup of milk  and mix again. Repeat adding flour and milk alternately 2 more times.
  8. Add the vanilla essence .
  9. Add the egg white to the batter . Using a spoon slowly mix in the egg whites using the cut and fold method.
  10. Pour the batter into the pan . The batter should fill only till 2/3 rd of the pan or you can use 2 pans. Bake at 180 degree for around 30 minutes . You can test if the cake is done, by inserting a tooth pick . If the tooth pick comes out clean ( without any crumbs on it) , then the cake can be taken out of the oven .
  11. Let the cake cool to room temperature before applying icing

TO MAKE THE SYRUP:

Stir the sugar, water and essence in a small saucepan and bring to boil. Simmer till the sugar has dissolved, and cool completely.

TO ASSEMBLE :

  1.  When the cake is cooled, use a long serrated knife and cut off the top to make it straight. Slice the cake into 2 halves (if you have used a single cake pan).
  2. Pour the sugar syrup on both halves to make it soft.
  3.  On top of the first half spread the whipping cream or any filling. Place the second half , soaked side down, on top of the first.
  4. Coat the top and sides of the cake with cream to give a thin uniform coating.
  5. Keep in fridge till the icing sets. better to keep for atleast 3 to 4 hours.
fb


Perfect Party Cake

IMG_8118-4

After a one year hiatus, I am back into the blogging world.. My world has changed a lot in the  past one year… A new job  ,a handful of very special friends , the many beautiful moments  filled with fun and laughter I spent with them .. and the good byes to a few of them , which is always  the hardest part in a friendship. Though life separates us from our dear ones through distance, they will always hold a special place in our hearts which cannot be erased by  space or time..

IMG_8211-2

And last year I met a few of my dear friends after a gap of many years.. It was like we had met just the other day. Nothing seemed to change, the fun , the warmth, the special bonding..I have often noticed that food plays an important role during get togethers .. like how my best friend cooked biriyani especially for me  when I went to visit him.. or how my friend had particularly asked me to bake a vanilla cake for her when she would visit me for the first time after 15 yrs.. Food and friendship.. it sure does go hand in hand 🙂

On another note, the stats show that my blog has crossed  200,000 hits.. and this blog post is kind of celebration post too.. and a dedication post.. dedicated to all those wonderful friends, who stood by me during the low phases.. who pushed me to continue blogging when I had totally lost interest in it,  who had more faith in me than I had in myself.. whose motivating words kept me going.. Thank you guys, for being there for me..

IMG_8289-3

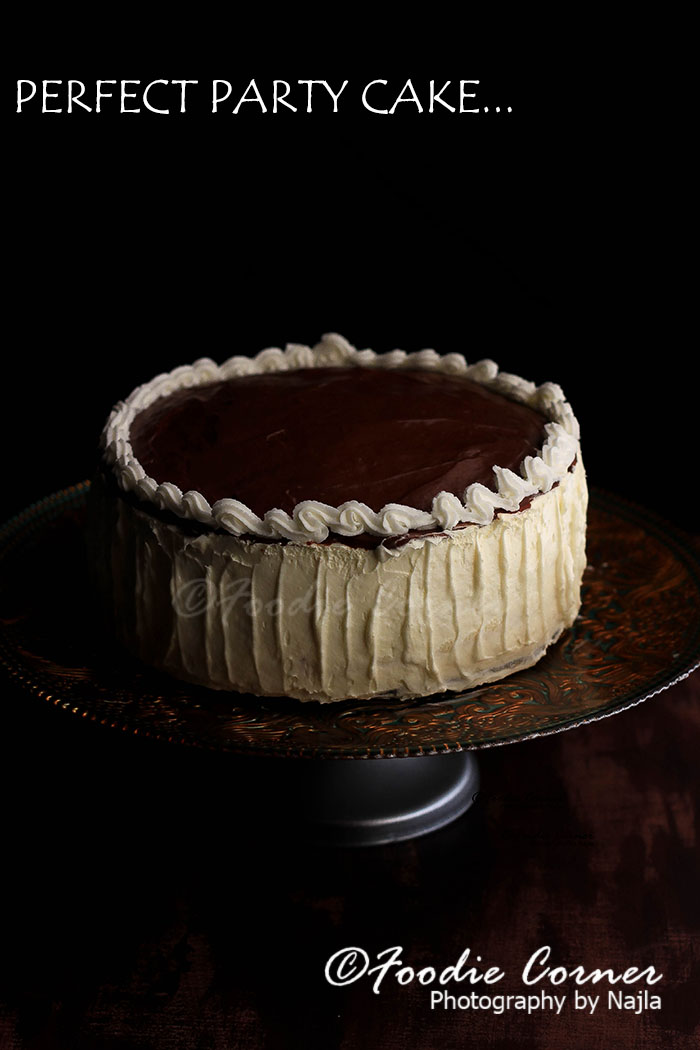
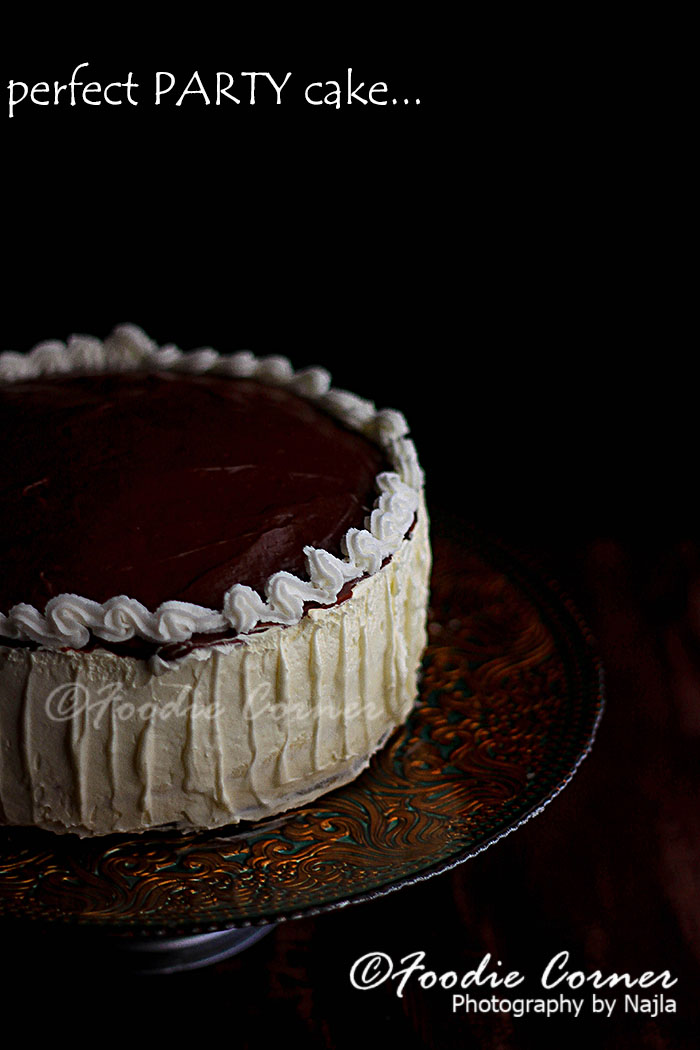
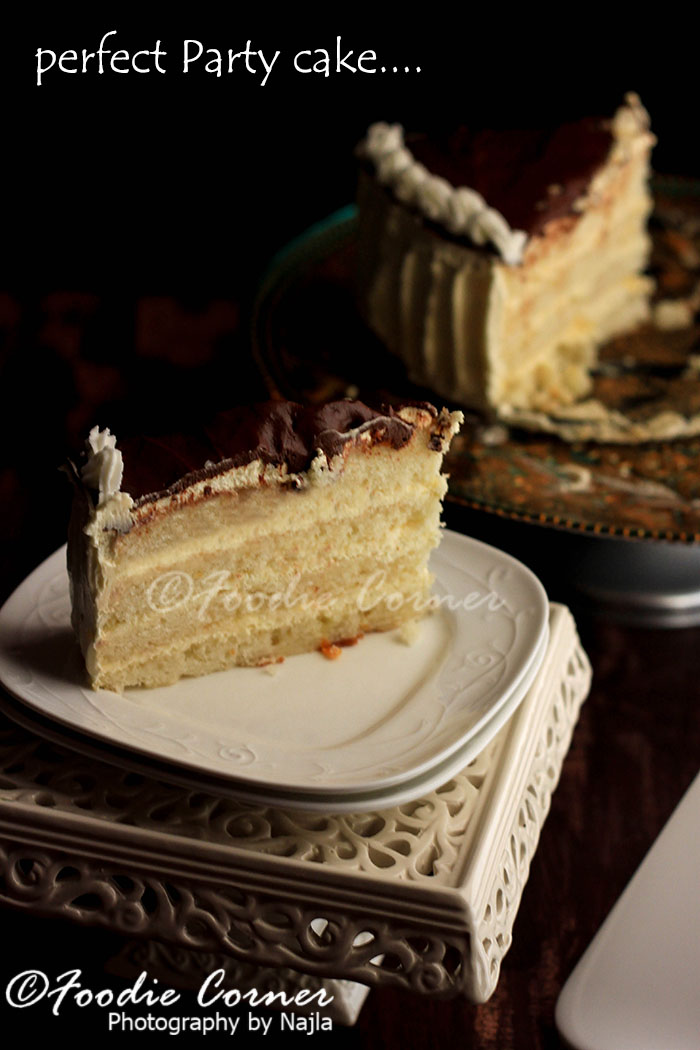
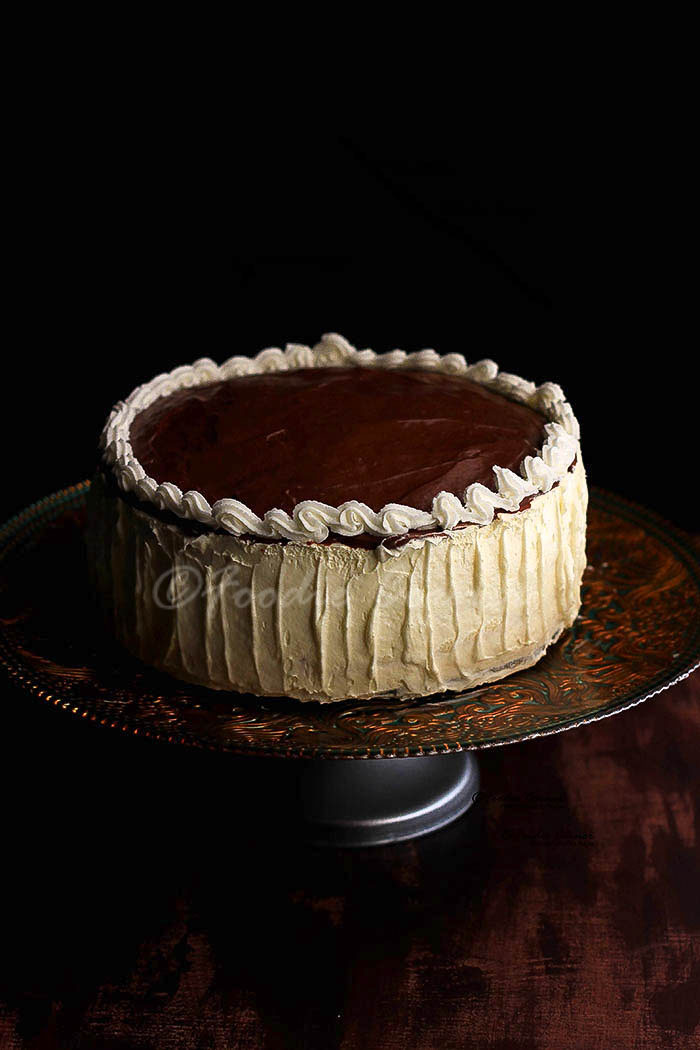
This was the vanilla cake I had made as per my friend’s request. This is a bit sturdy cake , with a slight lemon flavour.  To make it a bit more moist I added used sugar syrup . The recipe is pretty simple, not with many complicated steps. After the cake cooled down, I sliced it into layers and sandwiched with whipped cream, topped it with ganache. I must say this cake is quite a party pleaser. So go ahead and try it out..

PERFECT PARTY CAKE

INGREDIENTS

FOR THE CAKE

(Recipe source- Baking from my home to yours)

  • All purpose flour – 2 cups
  • Cornflour – 4 tbsp
  • Baking powder – 1 tbsp
  • Salt – 1/2 tsp
  • Whole milk or buttermilk – 1 1/4 cup
  • Egg whites – 4 large
  • Sugar – 1 1/2 cups
  • Grated lemon zest – 2 tsp
  • Unsalted butter – 1 stick (113gms)

FOR THE SUGAR SYRUP

  • Sugar – 1 cup
  • Water – 1/4 cup

FOR THE WHIPPING CREAM 

  • Dreamwhip – 2 sachet
  • Cold Milk – 1 cup
  • Vanilla Essence – 1tsp

FOR THE GANACHE

  • Semisweet or bittersweet chocolate, cut into small pieces – 8 ounces (227 grams)
  • Heavy whipping cream – 3/4 cup (180 ml)
  • Unsalted butter – 1 tablespoon (14 gram)

METHOD

FOR THE CAKE

  1. Sift together the flour, cornflour, baking powder and salt.
  2. Whisk together the milk and egg whites in a medium bowl
  3. In another bowl, put the sugar and lemon zest in a bowl and rub them together with fingers until the sugar is moist and fragrant.
  4. Add the butter to the sugar and beat with egg beater ,till the butter and sugar are very light
  5. Add one third of the flour mixture, beating at medium speed
  6. Beat in half of the milk egg mixture .
  7. Repeat adding the flour and milk alternately till all the flour and milk is incorporated well.
  8. Pour the batter into the pan . The batter should fill only till 2/3 rd of the pan . Bake at 180 degree for around 30 to 35  minutes .
  9. To test whether the cake is done, insert a tooth pick. If the tooth pick comes out clean ( without any crumbs on it) , then the cake can be taken out of the oven .
  10. Let the cake cool to room temperature .

TO MAKE THE SUGAR SYRUP

Stir the sugar, water and essence in a small saucepan and bring to boil. Simmer till the sugar has dissolved, and cool completely.

TO MAKE THE WHIPPING CREAM

Mix the contents in 2 small sachets of Dreamwhip with 1 cup cold mix and a teaspoon of vanilla essence. Beat on high speed for 5-7 minutes till you get light fluffy peaks. This will give about 4 cups whipped cream.

TO MAKE THE GANACHE 

  1. Place the chopped chocolate in a medium sized stainless steel, or heatproof bowl. Set aside
  2.  Heat the cream and butter in a medium sized saucepan over medium heat. Bring just to a boil.
  3. Immediately pour the boiling cream over the chocolate and allow to stand for 5 minutes. Stir until smooth.
  4. When Ganache has completely cooled, beat until soft and fluffy. Then spread the frosting on top of the cake.

HOW TO ASSEMBLE

  1. When the cake is cooled, use a long serrated knife and cut off the top to make it straight. Slice the cake horizontally into 2  or  3 equal parts..
  2. Pour one-third of the sugar syrup on the first cake layer .
  3.  Spread the whipping cream over the first layer.
  4. Take the second cake slice on top of the first layer . Pour one third of the sugar syrup and spread the whipped cream.
  5. Repeat the process with the third layer.
  6. Cover the whole cake with whipping cream.
  7. Pour the ganache over the top of the cake and spread it . Spread the ganache to the sides of the cake .

Foodgawker-5 blog

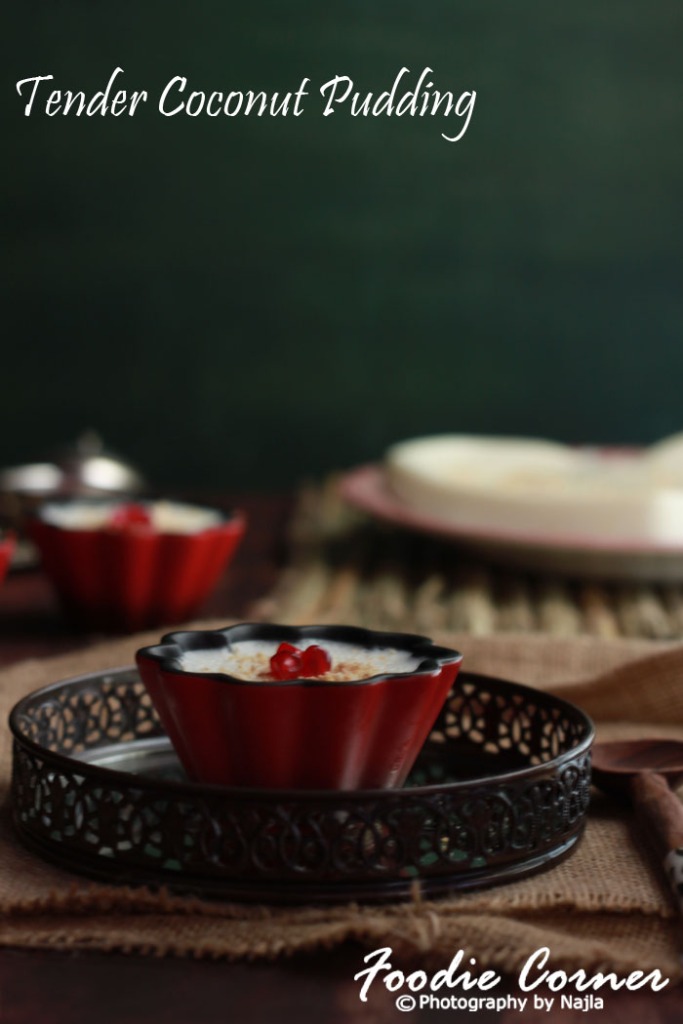
Tender Coconut Pudding – Guest Post for Yummy Food – Joy From Fasting To Feasting – VIII

IMG_4369 copy

Ramadan Kareem !! It is with much joy that Muslims around the world welcome this auspicious month of physical and spiritual cleansing. It is the holy month in which Muslims all over the world, observe fasting from dawn to dusk., and engage in more prayers. May Allah accept all our prayers and good deeds this Ramadan.

Today’s post is a guest post for Lubna’s eventJoy From Fasting To Feasting – VIII  . I am happy to be a part of Lubna’s event of Joy from Fasting to Feasting this year too. Lubna has been hosting this event for the previous 7 years. Thanks Lubna for inviting me to be  a part of the event.

Do check out the post on Lubna’s blog .


VEGETABLE CUTLET

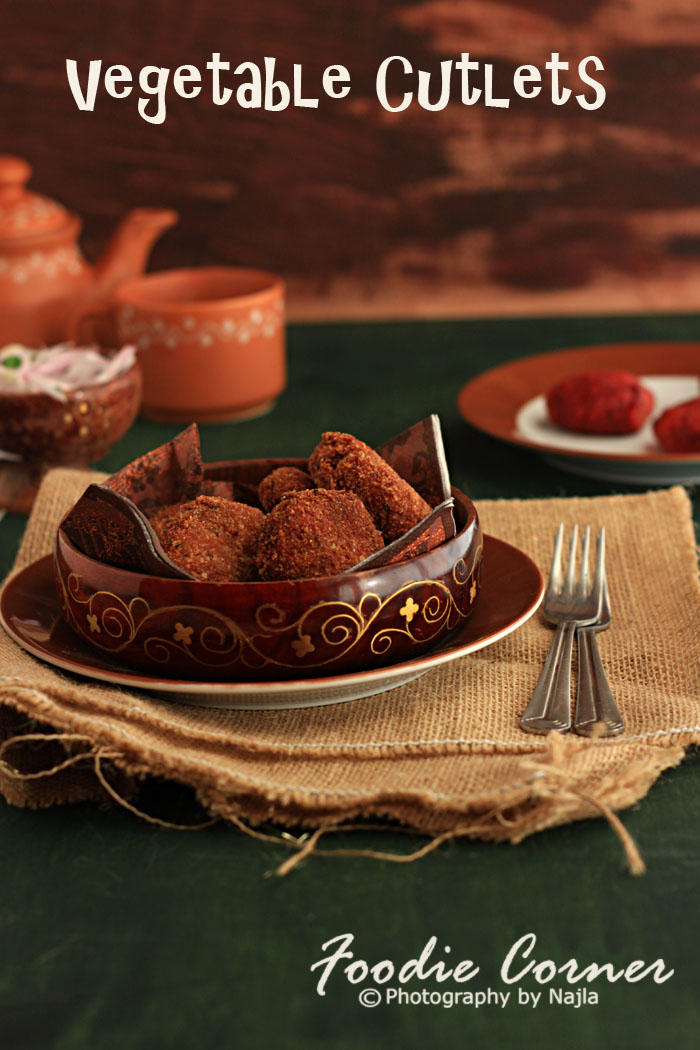
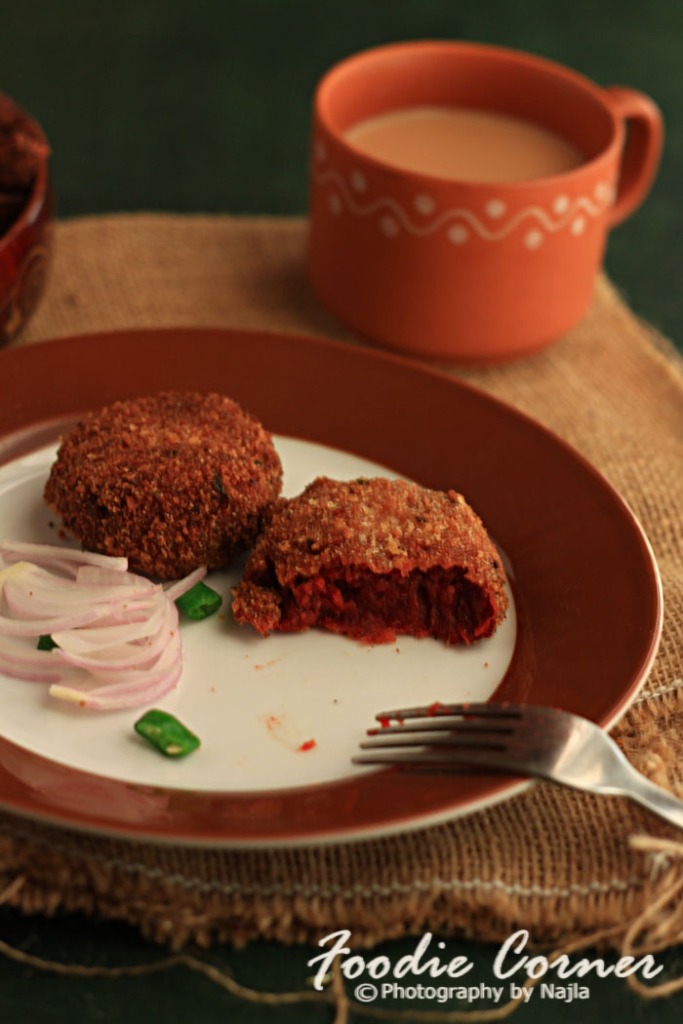
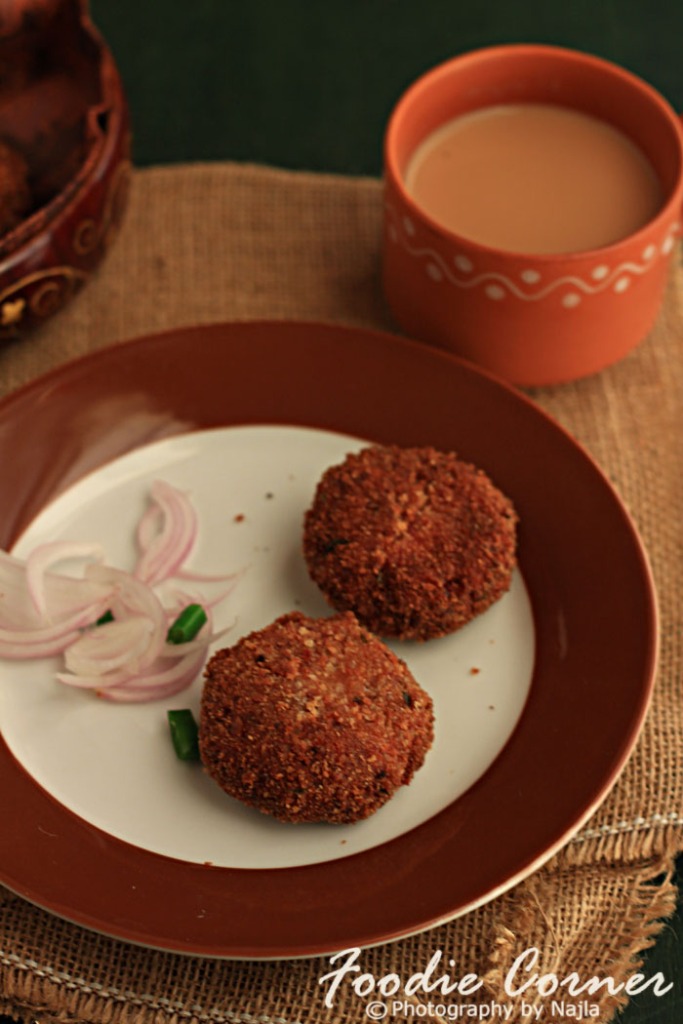
Vegetable Cutlets It’s very difficult to make my kids eat the veggies..  Is it because I never tried to forcibly feed them ? That thought is something which worries me these days.. And now I am on a look out for recipes where I can hide the veggies and feed the kids One way to hide the veggies is in the form of cutlets.  I made the veg cutlets with beetroot, carrot and potatoes.  Kids love to have chicken cutlets.. but vegetable cutlets.. hmm I was not so sure.. Vegetable Cutlets But to my surprise and relief, these veg cutlets  became a favourite with them … Mission accomplished, as both mom and kids are happy !!! 🙂 These cutlets are a good tea time snack. You can prepare the cutlets in bulk and freeze them . Defrost and fry them as required. Vegetable Cutlets4

VEGETABLE CUTLETS

INGREDIENTS

  • Onion – 2
  • Ginger – 1/4 ” piece
  • Garlic – 3 cloves
  • Beetroot – 1 big
  • Carrots – 2
  • Potatoes – 2
  • Chilly powder – 1/4 tsp
  • Turmeric powder – 1/4 tsp
  • Garam Masala – 1/2 tsp
  • Egg whites – 2
  • Breadcrumbs – for coating
  • Oil – for frying

METHOD

  1. Chop onion, ginger and garlic
  2. Chop the beetroot and carrots .  ( Chopped vegetables will be about 3 1/2 cups)
  3. Boil the potatoes and mash them well.
  4. Heat oil in a pan. Add chopped onions and saute till it turns light brown
  5. Add the chopped ginger and garlic and saute for 3 minutes.
  6. Add the chilly ,turmeric and garam masala and saute .
  7. Mix in  the chopped vegetables and saute till the vegetables are cooked. Turn off the flame.
  8. Add the mashed potatoes and mix well using your hands. (The mixture should hold shape when rolled into balls).
  9. Take small portions of the mixture and roll into lime sized ball .Flatten it between the palms to give it shape .
  10. Beat egg whites with a fork. Dip each cutlet in egg white and roll in breadcrumbs, making sure that all sides are nicely coated.
  11. Heat oil in pan and fry the cutlets in medium flame  till they are golden brown (You can deep fry or shallow fry the cutlets) .

Vegetable Cutlets6

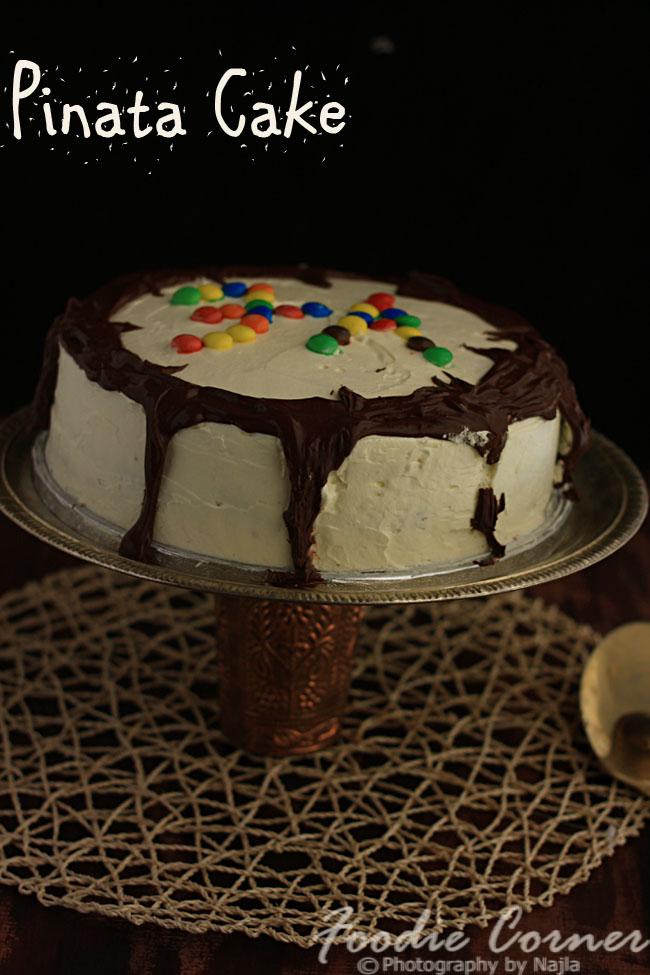
PINATA CAKE

Pinata Cake

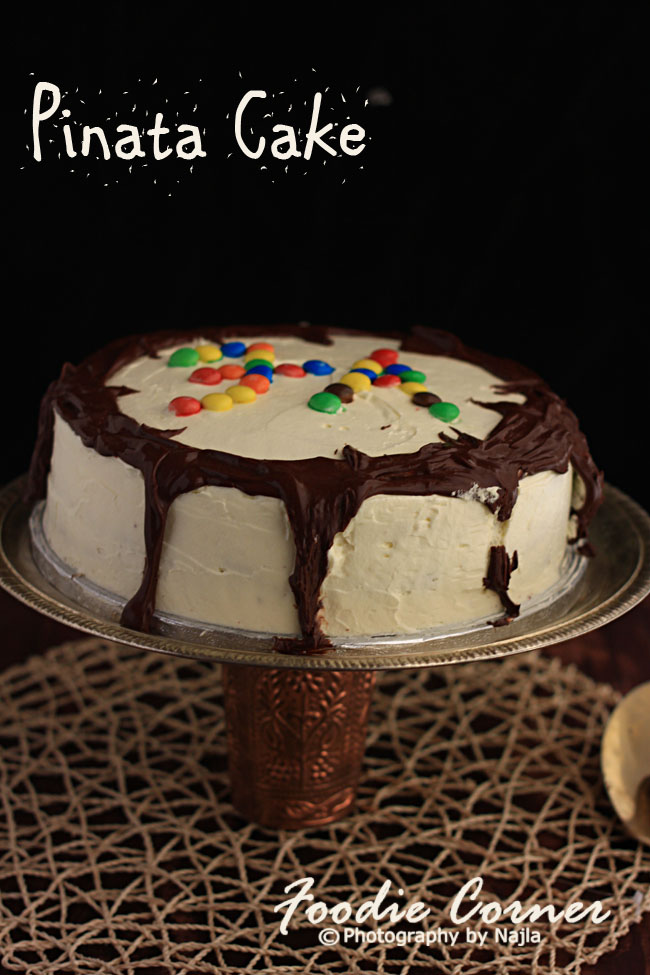
As kids’ bdays neared in November  , I asked them what cake would they want me to bake this time…and both of them had the same reply.. They need a cake with lots of M n M s .. like the Kit Kat cake I had baked last year for their birthdays .

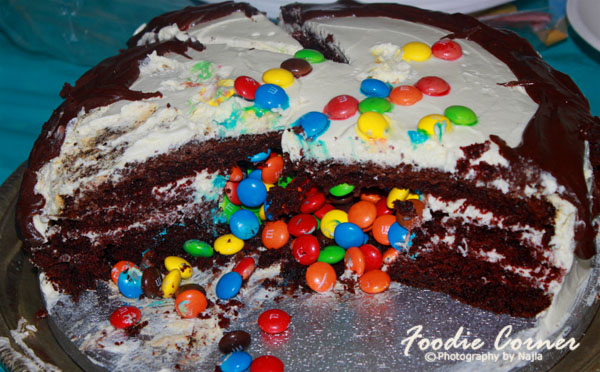
That’s when I remembered about the Pinata Cake picture Azna had sent me a a few months back. Hiding M n Ms inside a cake – the boys were surely going to love it !!! 🙂 The  Ultra Moist Chocolate Cake I had posted  before would be the cake in which the M n Ms would hide.

Now a days my  kids want to handle all the cake mixing part.  So I handed the measured ingredients to the birthday boy and he did all the mixing and stirring. But after baking the cake, when the icing part came, I didn’t allow the kids to enter the kitchen ..  couldn’t spoil the surprise element 🙂

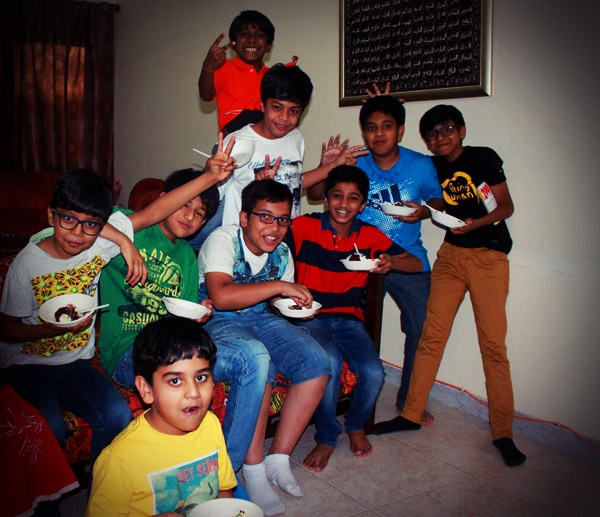
I was eager to see  the surprise  on the boys ‘ faces  when the Mn M s fell out, but they were more busy .. Were the birthday boys and friends surprised when the cake was cut ? Well, not exactly.. the friends were more busy smearing the cream over the birthday boys  🙂 But on the plus side, the boys did enjoy the cake.. Yummy and awesome was the verdict from them !!! 🙂

Pinata Cake kids1

Pinata Cake

Here’s the method to hide the M n Ms inside the cake… 

Pinata Cake

Divide the cake into 3 equal parts. Keep one layer aside

Pinata Cake

Make a hole in the middle of the first layer using any cookie cutter .  Pour sugar syrup over the layer . Spread whipped cream over the layer.

Now make a hole over the second layer.  Place the second layer over the first layer. Pour sugar syrup over this and spread whipped cream.

Pinata Cake

Place the M nMs into the hole made by the 2 layers. Now place the layer that was kept aside over the 2 layers.  This 3rd layer will hide the M n Ms .

Pinata Cake 1510

PINATA CAKE

INGREDIENTS

FOR THE CAKE

  • Powdered sugar – 2 cups
  • All-purpose flour – 1 3/4 cups
  • Cocoa powder – 3/4 cup
  • Baking powder – 1 1/2 teaspoon
  •  Baking soda – 1 1/2 teaspoons
  • Salt – 1 teaspoon
  •  Eggs – 2
  • Milk – 1 cup
  • Vegetable oil – 1/2 cup
  • Vanilla extract – 2 teaspoons
  • Boiling water – 1 cup
  • Whipping cream , for frosting

FOR THE SUGAR SYRUP

  • Sugar – 1/4 cup
  • Water – 1 cup

FOR THE WHIPPING CREAM 

  • Dreamwhip – 3 sachet
  • Cold Milk – 1 1/2 cup
  • Vanilla Essence – 1tsp

METHOD

TO MAKE THE CAKE:

  1. Preheat oven to 180 degrees C.
  2. In a large bowl, stir together the sugar, flour, cocoa, baking powder, baking soda and salt.
  3.  Add the eggs, milk, oil and vanilla, mix for 2 minutes on medium speed of mixer. Stir in the boiling water last.
  4. Batter will be thin. Pour evenly into the prepared pan.
  5. Bake 30 to 35 minutes in the preheated oven, until the cake tests done with a toothpick.
  6. Cool in the pans for 10 minutes, then remove to a wire rack to cool completely.

TO MAKE THE SUGAR SYRUP:

Stir the sugar, water and essence in a small saucepan and bring to boil. Simmer till the sugar has dissolved, and cool completely.

TO MAKE THE WHIPPING CREAM:

Mix the contents in 3 small sachets of Dreamwhip with 1  1/2 cup cold mix and a teaspoon of vanilla essence. Beat on high speed for 5-7 minutes till you get light fluffy peaks. This will give about 5 cups whipped cream.

TO ASSEMBLE

  1. Divide the cake into 3 equal horizontal layers. Keep one layer aside
  2. Make a hole in the middle of the first layer using any cookie cutter .  Pour sugar syrup over the layer . Spread whipped cream over the layer.
  3. Now make a hole over the second layer.  Place the second layer over the first layer. Pour sugar syrup over this and spread whipped cream.
  4. Place the M nMs into the hole made by the 2 layers. Now place the layer that was kept aside over the 2 layers.  This 3rd layer will hide the M n Ms .
  5. Apply a thin layer of frosting over the cake (crumb coat) . Refrigerate for 1-2 hours
  6. Apply a thicker coating of the frosting to get a final smooth finish.

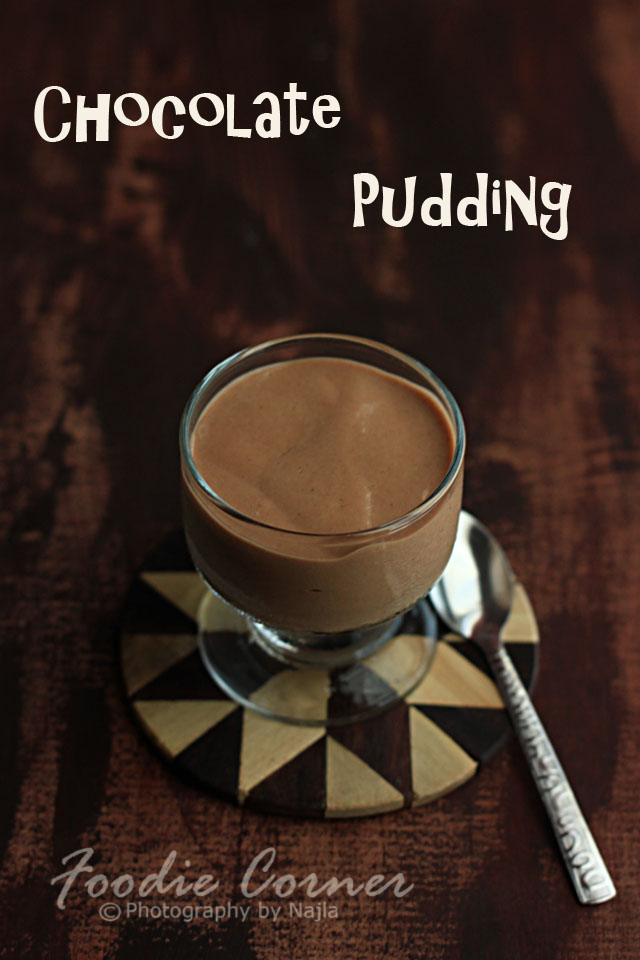
Chocolate Pudding

Chocolate Pudding

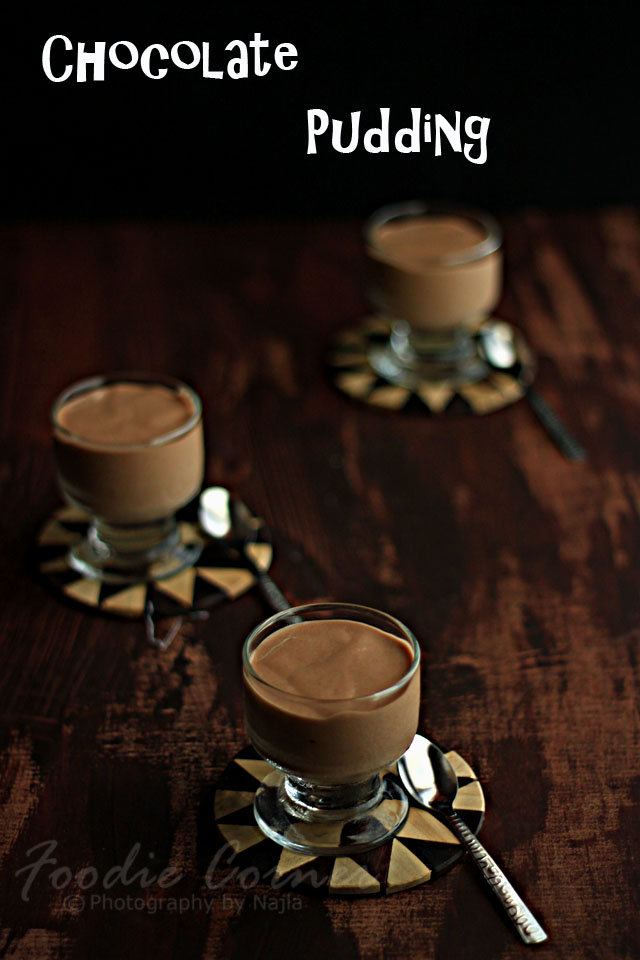
This was one pudding that I used to make frequently years back . Later as I got more interested in layered ( or complicated, as my friends would say 🙂 ) , this pudding recipe remained forgotten among the recipe books.  After a long time , made this pudding again last month, when elder son’s friends had come over .  Kids loved it and the pudding disappeared real fast.

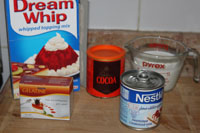
This is a fairly easy pudding with few ingredients  – milk, cocoa powder, condensed milk, whipping cream and gelatine. The step by step procedure is given below.

chocolate pudding ingredients

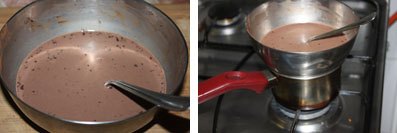
Add 4 tbsp cocoa powder to 1 cup of warm milk in a bowl . Stir well. Double boil this cocoa mixture ( To double boil – Heat a pan filled with water and place the bowl over the pan without touching the water ). Stir till the mixture gets thicker.

chocolote pudding cocoa powder

Remove the bowl when the mixture is thickened. Add 1 cup milk and 1 tin condensed milk.

condensed milk

Soak 2 1/2 tbsp gelatin in 1/2 cup water for 10 minutes. Double boil the gelatin mixture.

gelatine double boil

Add gelatin to the cocoa mixture. Fold in the whipped cream .  Keep the pudding in the freezer for 3/4 hr and then keep in the fridge for 3-4 hrs.

Chocolate Pudding 3

CHOCOLATE PUDDING

  • Servings: 12
  • Difficulty: Easy
  • Print

INGREDIENTS

  • Milk – 2 cups
  • Cocoa powder – 4 tbsp
  • Condensed milk –  1 tin
  • Water – 1/2 cup
  • Gelatin – 2  1/2 tbsp
  • Whipped cream – 1  1/2 cup

METHOD

  1. Add 4 tbsp cocoa powder to 1 cup of warm milk in a bowl . Stir well. Double boil this cocoa mixture ( To double boil – Heat a pan filled with water and place the bowl over the pan without touching the water ). Stir till the mixture gets thicker.
  2. Remove the bowl when the mixture is thickened. Add 1 cup milk and 1 tin condensed milk.
  3. Soak 2 1/2 tbsp gelatin in 1/2 cup water for 10 minutes. Double boil the gelatin mixture.
  4. Add gelatin to the cocoa mixture and beat well.
  5. Fold in the whipped cream .  Refrigerate the pudding for 4-5 hrs.

Adukkupathiri – Traditional Malabar dish with layered rice flour batter and eggs

IMG_6760

Ramadan Kareem to all  !!!   May Allah accept our prayers and good deeds in this blessed month of Ramadan .

I was pretty excited when Lubna of Yummy Food ,  asked me to do a guest post for her Joy from Fasting to Feasting event.  Lubna has been hosting this event for the previous 6 years. This year Lubna has invited  Muslim Food Bloggers round the globe to share their favourite or traditional Ramadan Recipes  . Thank you Lubna, for giving me the opportunity to be a part of this event …

IMG_6941

I have been following Lubna’s beautiful blog for quite some time. Especially her  tutorial section on food photography … The photography series on her blog has helped me a lot to improve my photography skills.

IMG_6948

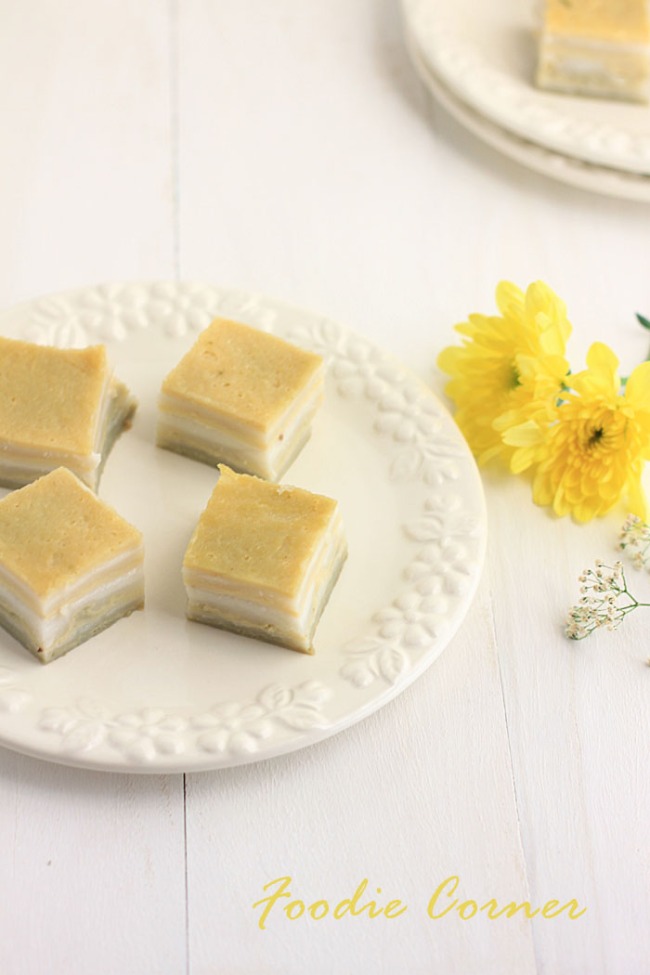
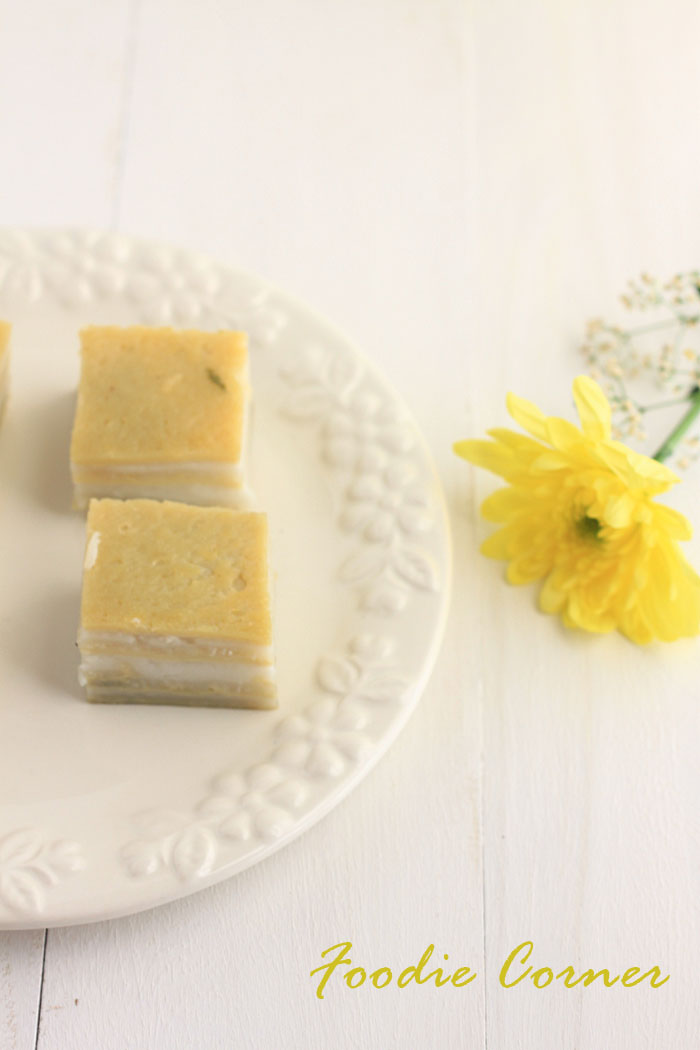
Coming back to the dish.. Adukkupathiri is a traditional Malabar dish . In Malayalam, adukku means layers and pathiri means pancake made of rice flour. It is a sweet dish made by steaming alternate layers of rice flour batter and eggs.

To get the recipe do hop on to Lubna’s blog event Joy from Fasting to Feasting

IMG_6805


WATERMELON LEMONADE

IMG_7055 (2) (1024x683)
 Kids so loved the place that they said they wanted to visit the beach again, and it would be more fun to bring along an inflatable boat too. And so, we went to the same spot again after a couple of days, with the inflatable boat .
IMG_7089 (2) (1024x683)
All the assembling part was done by the boys, while I donned the cap of the photographer (not because I am not good in fixing things 😉 ) After a few minutes , the boat was ready..
IMG_6997 (2) (1024x760)
Now, the rowing part.. It was not as easy as it seemed to handle the oars… Though kids struggled initially and the boat was just moving in circles,  they soon got a hang of it and managed to row pretty well.  And while the kids were happily rowing in the water , after getting a few snaps ,  I sought refuge from the hot sun by staying in our car … 🙂
IMG_6984 (2) (1024x683)
IMG_7047 (2) (1024x683)
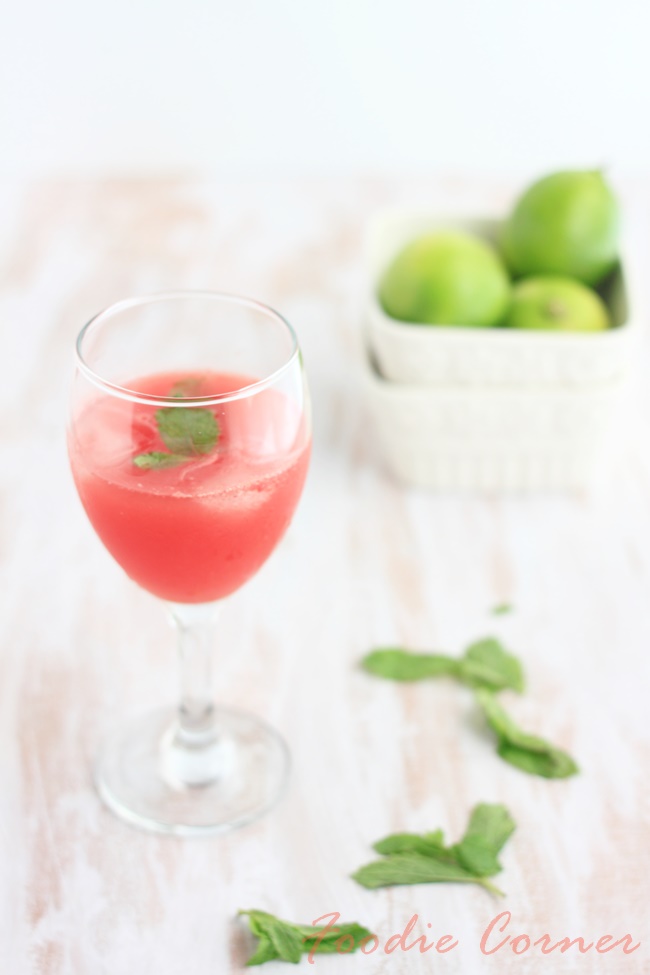
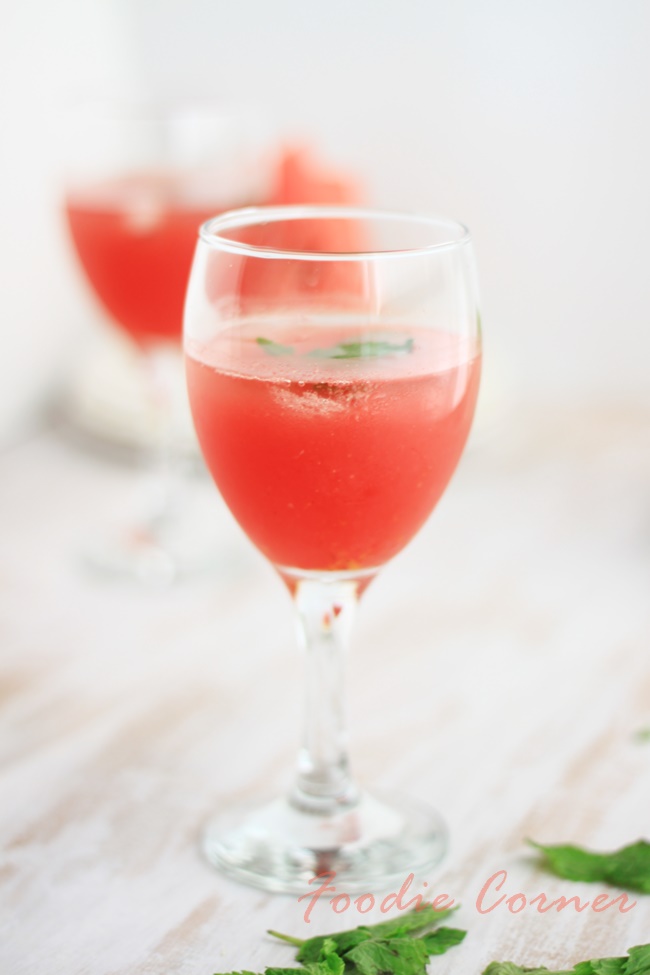
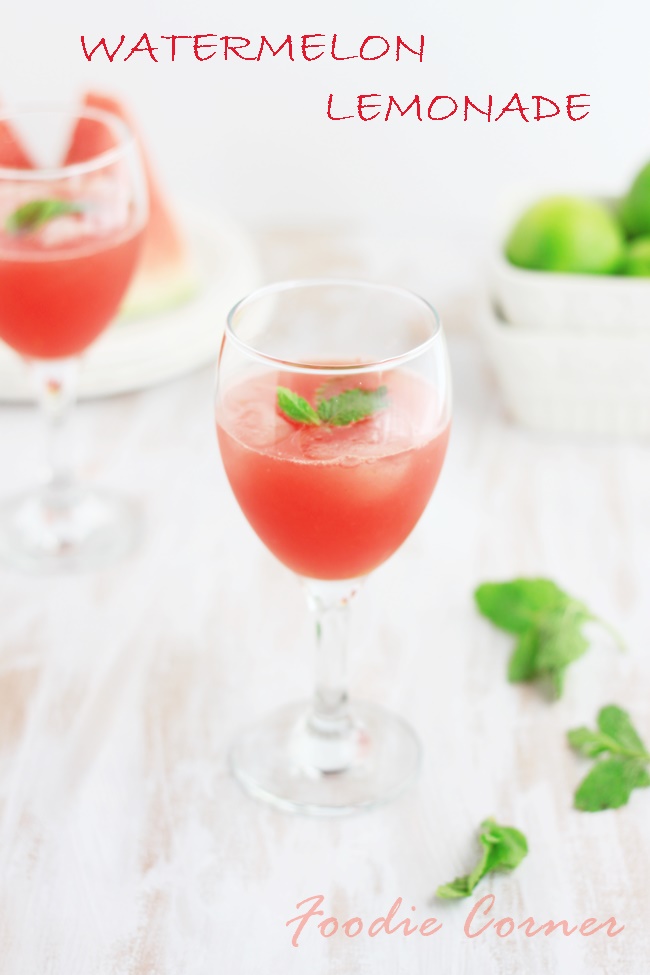
My cousin recently asked me why have I not posted any recipe for smoothies or  in my blog.. So here comes my first  post , Watermelon lemonade.. Perfect to beat off the summer heat. Watermelon along with being rich in water content , also provides a high amount of vitamins, minerals and antioxidants for a low amount of calories.  Pair it with the the citrus flavor of lemon and orange rinds, and a few mint sprigs you get a refreshing summer drink.
IMG_7623
IMG_7704
I got the recipe from here

RECIPE

INGREDIENTS

  •  Sugar – 1/4 cup
  •  Water – 1/2 cup
  •  Grated Orange rind  – 1 tsp 
  •  Watermelon cubes – 3 cups (Gives 1 1/2 cup watermelon juice)
  •   Lemon juice – 1/4 cup
  •  Mint leaves

METHOD

  1. In a small saucepan, bring sugar, water, and orange zest to a boil over high.

  2. Reduce to a simmer and cook until sugar dissolves, 3 minutes. Let syrup cool in a bowl.

  3. In a blender, puree watermelon cubes until smooth. Strain through a fine-mesh sieve, pressing on solids, into a pitcher (you should have about 1 1/2 cup juice).

  4. Stir in syrup and  lime juice.

  5. Pour into glasses, serve with ice cubes and mint leaves.
IMG_7681
IMG_7589

Barbeque Chicken Pizza

IMG_4810

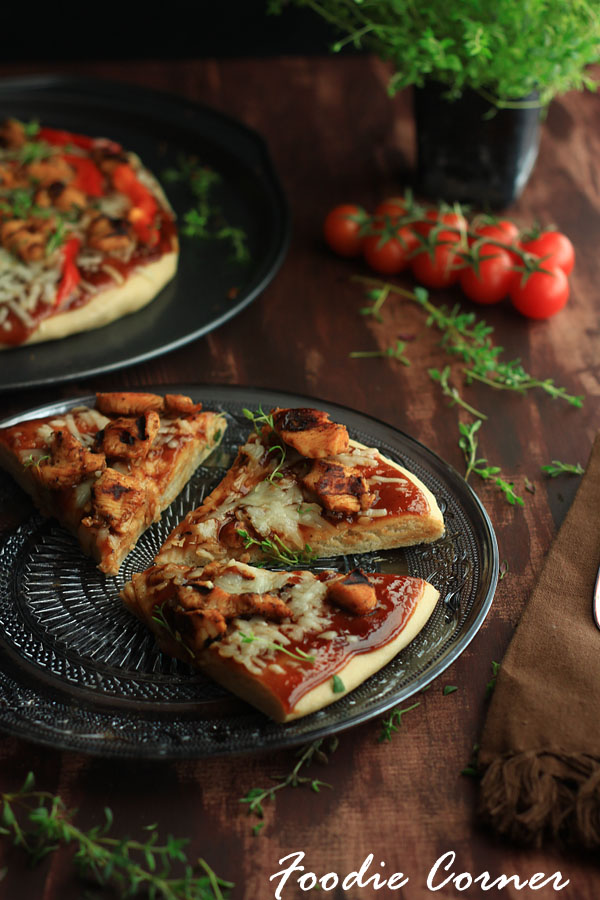
Pizza baked at home is a favourite with kids.. But once in a while we do have pizza from pizza outlets . And recently the elder kid has taken a fancy for BBQ flavoured pizza.. So this time I decided to go for that flavour while baking pizza at home.

IMG_4824

The Pizza base is made using all purpose and whole wheat flour. No kids did not notice any difference in the base as compared to that made of all purpose flour only. So  yes, this healthier version  is going to be my recipe for pizza base henceforth.

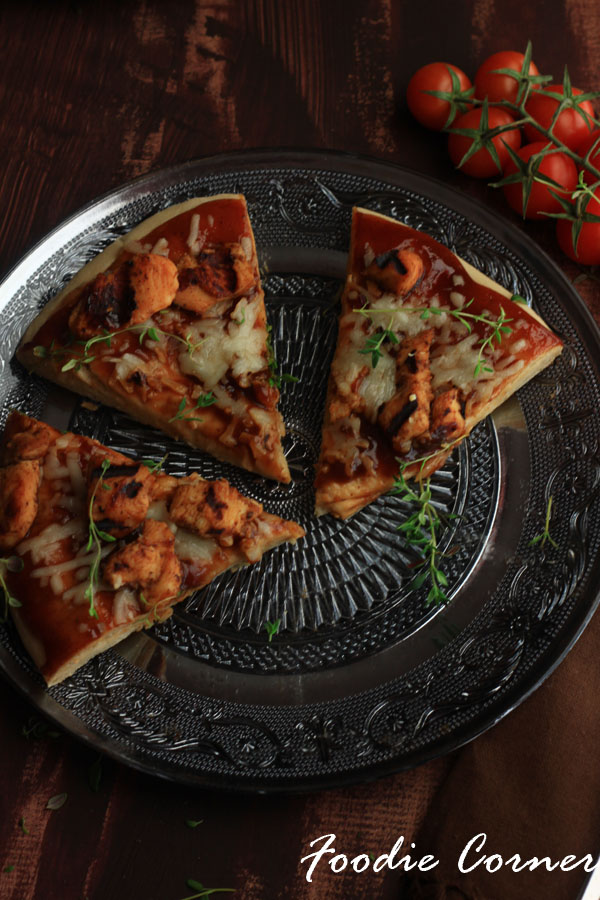
The barbeque chicken topping preparation is really easy. Marinate the chicken pieces in bbq sauce, salt n pepper for half an hour and grill them . Then top the pizza base with some more bbq sauce, chicken pieces, some onion or capsicum as you prefer.

IMG_4859

Barbeque Chicken Pizza

  • Servings: 2 Medium size pizza
  • Difficulty: Medium
  • Print

FOR THE PIZZA DOUGH

Recipe  from here 

INGREDIENTS

  • Instant  Yeast – 1 1/4 teaspoon
  • Honey (Or Sugar) – 1/2 teaspoon
  • Warm Water – 1 cup
  • Olive Oil – 1 teaspoon
  • All Purpose Flour – 1-1/2 cups
  • Whole Wheat Flour – 1 cup
  • Salt – 3/4 teaspoon

 METHOD

  1. Mix the honey, warm water and stir to dissolve.
  2. Sprinkle the yeast over top and let it bloom for 5 minutes or so.
  3. Add in the olive oil and turn your mixer on low.
  4. In a bowl, mix the flours and salt. Add the yeast and mix well.
  5. Add the olive oil and knead well to get a soft dough.
  6. Toss the dough in a well oiled bowl coating it and the sides of the bowl. Cover with a clean towel and place the bowl in a warm, dry place to rise for 1 hour.

FOR THE  BBQ CHICKEN TOPPING

Recipe adapted from here

INGREDIENTS

  •  Olive oil – 1 tsp
  • Barbecue sauce – 1/3 cup plus 2 tablespoons
  • Boneless chicken breast , cut into small pieces– 500gm
  • Grated Mozzarella cheese  – 1 cup
  • Red Capsicum , thinly sliced – 1
  • Freshly ground pepper – 1 1/2 tbsp
  • Salt

METHOD

  1. Mix  2 tablespoons barbecue sauce ,  1 teaspoon olive oil,  salt and pepper in a small bowl.
  2. Marinate  the chicken with the barbecue sauce mixture for 30 minutes.
  3. Grill the chicken pieces.

TO BAKE THE PIZZA

  1. Roll out the dough . Cover it with a wet towel and let it rise for 30 minutes. (The towel should not touch the dough)
  2. Transfer the dough to a baking tray.
  3. Now  spread  with the remaining 1/3 cup barbecue sauce, leaving a 3/4-inch border.
  4. Top with the chicken, mozzarella and red capsicum.
  5. Bake in a preheated oven at 180 degree Celsius for 18 to 20 minutes until the cheese melts and the crust is golden

IMG_4785

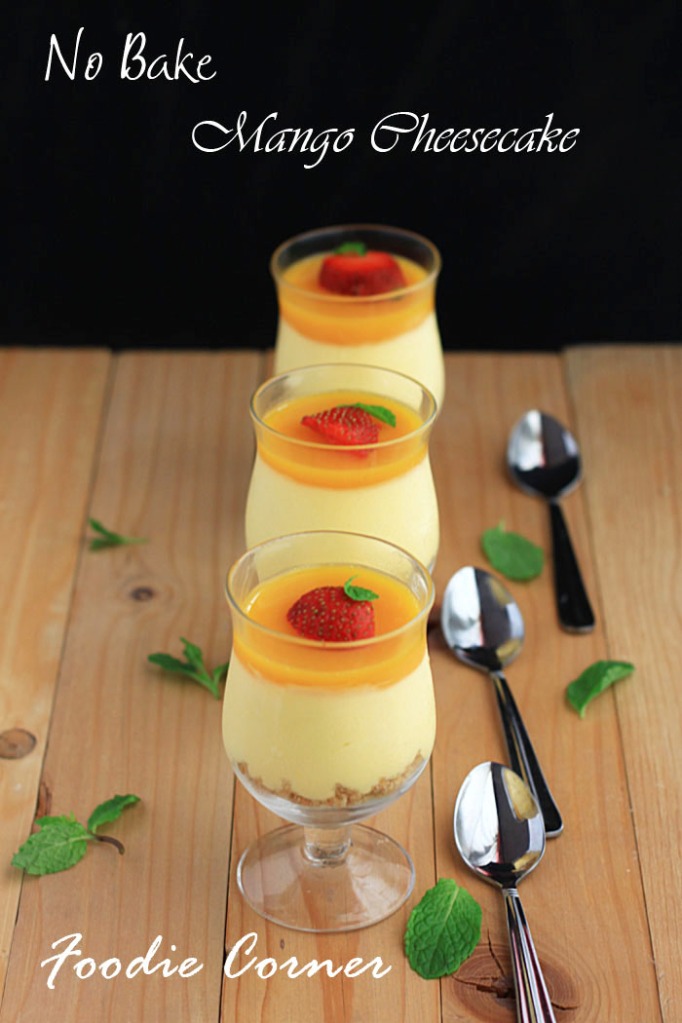
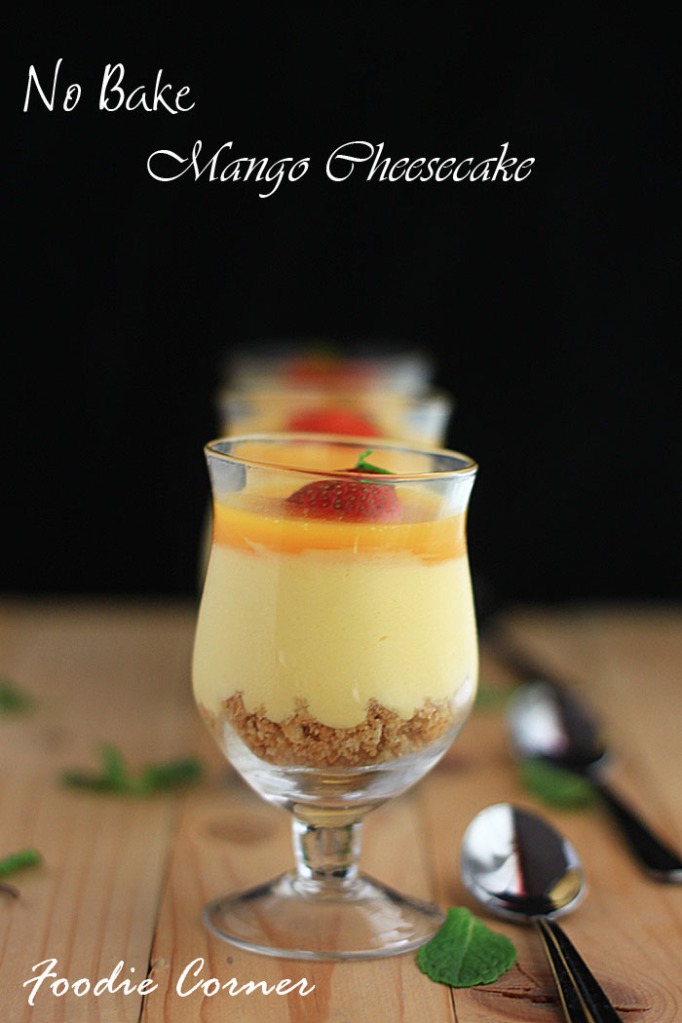
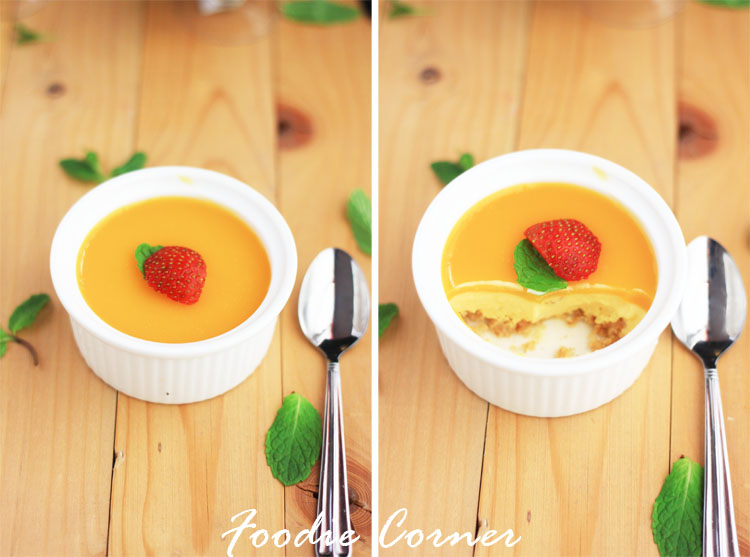
Eggless No Bake Mango Cheesecake

No Bake Mango Cheesecake 1

Back to blogging after a long break… Hubby’s parents and sister n family were with us for 2 months vacation. Was really engrossed with the cooking, outings , shoppings 😉 Kids were all excited to have cousins over ..

collge

One day my father in law showed me an article that came in the newspaper . The author was mentioning how hectic it was with her family visiting them for vacation and how she will miss them when they go back , but at the same time she was longing to get back to her usual routine and writing . My father in law was pulling my leg asking if that was how I too feel , the only difference would be that I am not into writing 😉 I replied laughing , I will get back to my blog later.. 🙂  But now house does feel a little empty without them here…

collge2

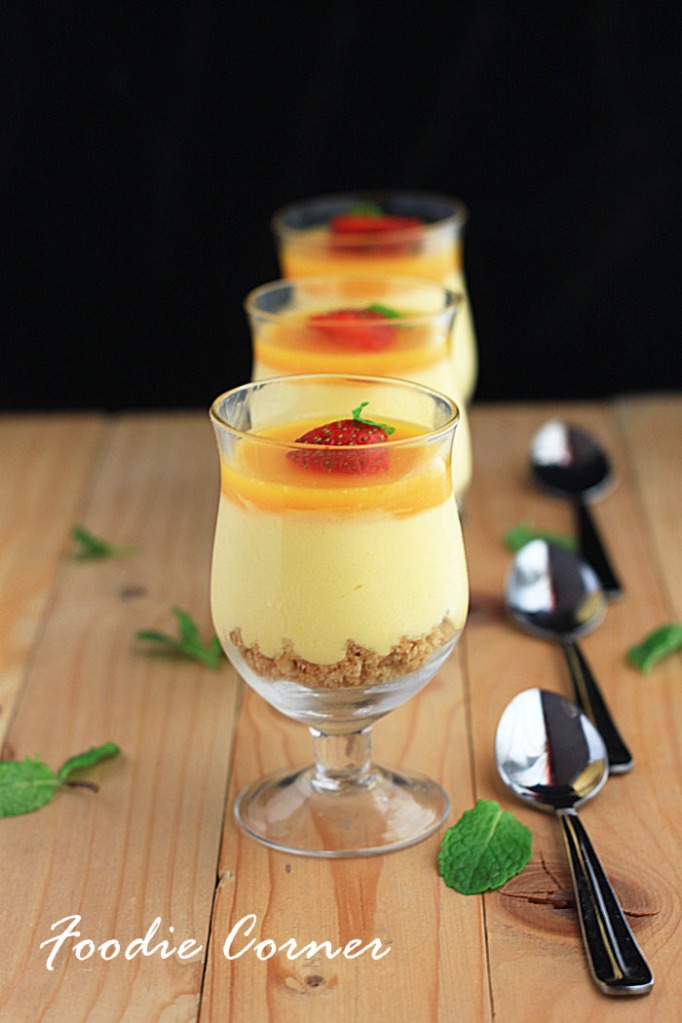
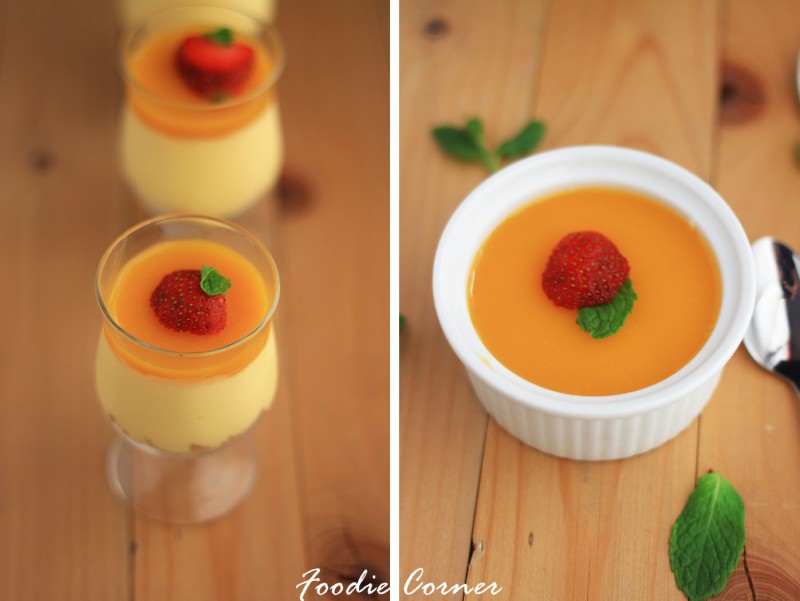
After the No Bake Dates Cheesecake here is yet another no bake cheesecake for you. Since it is mango season what better option other than mangoes?  And this recipe is for all my friends who have been asking for easy , not complicated recipes.. 🙂  This recipe takes only about 15 minutes to prepare.. (apart from the freezing time) And you have a rich delicious cheesecake that will make others go for a second serving .. . I had made this no bake mango cheesecake when in laws were here.. And it was well appreciated. Preparing the cheesecake in individual glasses is a great idea as they give a visual appeal too.. or you could use a loose bottomed spring form pan.

No Bake Mango Cheesecake IMG_5456

I found this recipe from the beautiful blog Maria’s Menu. I have been following her blog for a long time now, even before my blogging days. Do try out this recipe. ..

No Bake Mango Cheesecake mix

EGGLESS NO BAKE MANGO CHEESECAKE

EGGLESS NO BAKE MANGO CHEESECAKE

  • Servings: 12
  • Difficulty: Easy
  • Print

INGREDIENTS

FOR THE BISCUIT LAYER

  • Digestive biscuits – 250 gms, finely crumbled
  • Unsalted Butter – 100 gms, melted

FOR THE CHEESECAKE LAYER

  • Philadelphia full fat cream cheese – 340 gms/ 12 oz (or any other cream cheese available)
  • Whipping cream – 250 ml (1 cup approx)
  • Mango pulp – 1½ cup
  • Mango – 1-2, cut into small bite size pieces (optional)
  • Gelatin – 1 tbsp/10 gms
  • Hot water – ½ cup
  • Icing sugar – 2-3 tbsp
  • Sugar – ⅓ cup

FOR THE GLAZE TOPPING

  • Mango pulp – 1 cup
  • Gelatin – 1 tbsp/10 gms
  • Hot water – ½ cup

METHOD

FOR THE BISCUIT LAYER

  1. Combine the finely crumbled biscuits and melted butter. Press this mixture to a loose bottom tin or the dish you are using. Refrigerate it while you make the rest of the cheesecake.

FOR THE CHEESECAKE LAYER

  1. Dissolve gelatin in hot water.
  2. Whip the whipping cream with 2-3 tbsp icing sugar, till soft-medium peaks form.
  3. Combine the cream cheese and sugar, till it becomes smooth.
  4. Combine the mango puree and warm gelatin mixture. Add this to the cream cheese mixture. Mix well.
  5. Add the whipping cream to this in two batches and combine well.
  6. Add the mango pieces (if using) and mix well.
  7. Pour this mixture over the biscuit base and return it to the fridge.
  8. Make sure that this layer is refrigerated for a minimum of 2 hours, before adding the glaze topping

FOR THE GLAZE TOPPING

  1. Dissolve the gelatin in hot water. When it is warm, add it to mango puree and mix well.
  2. Pour this over the cream layer, once it is set. Refrigerate for another 2 hours or till you serve. Garnish with strawberry/ mint leaves.
  3. Keep at room temp 10 mins before serving, so that the biscuit layer softens a bit.


No Bake Mango Cheesecake IMG_5492

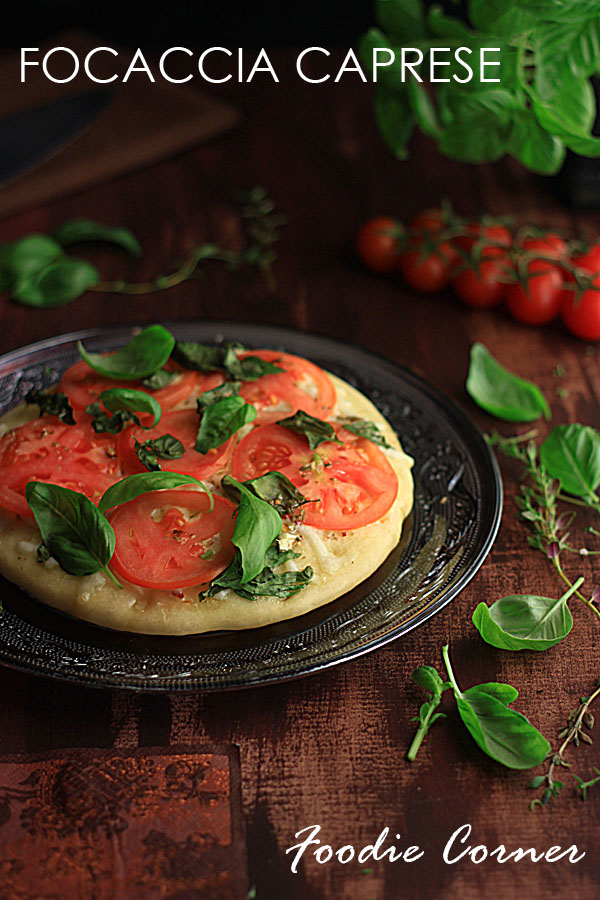
Focaccia Caprese

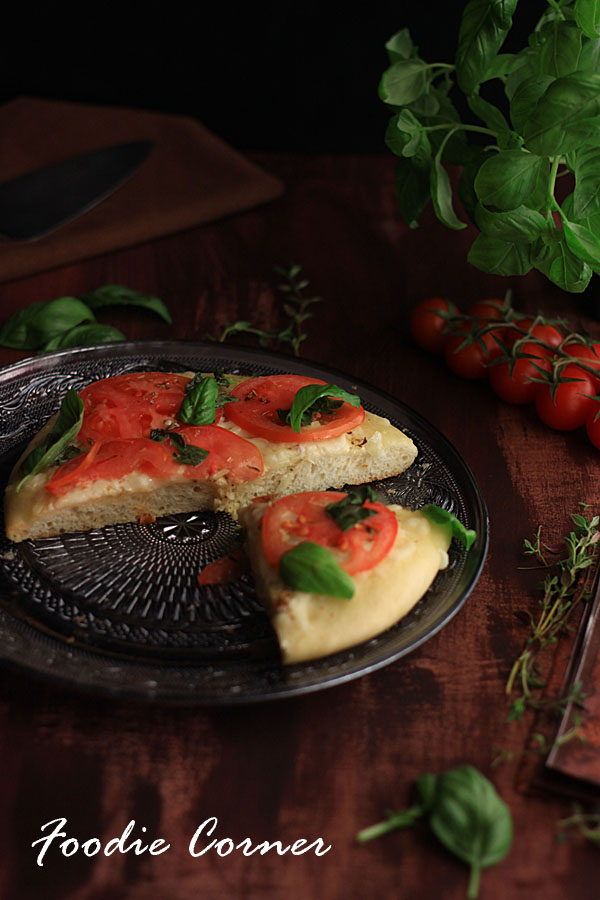
Focaccia Caprese1

We knead to bake ‘  – a bread baking group started by Aparna has entered it’s second year. Though I couldnt do all the 12 breads last year, it was a great learning experience for me. Thanks Aparna for starting this wonderful group . Last month we could bake the bread of our choice. I chose Focaccia Caprese which was one of the breads I had missed earlier .

 Focaccia is a type of flatbread from Italy, thought to have originated in ancient Greece but now associated with the north eastern part of Italy. Today however, it is a flatbread that is found all over Italy and baked in a variety of ways.  The Focaccia is usually served either as a light snack, can be made into sandwiches or be served with a soup or salad to make a meal.

IMG_4880

A lot of people feel that the Focaccia is not much different from the Pizza and even go as far thinking it is a kind of square shaped Pizza! However, the Focaccia is different from the Pizza in more than just shape. Traditionally, Focaccia has the topping ingredients kneaded into the dough while Pizza has it on top of the dough. Traditionally, an Italian Pizza crust is on the thinner side, rarely more than 1/2″ thick whereas a Focaccia is at least about 3/4″ thick. Focaccia therefore, tends to be “spongier” and softer whereas a Pizza is crisper.

IMG_4883 copy

A lot of oil into the Focaccia dough after which it is shaped and then more oil is brushed/ drizzled on whereas in a Pizza, oil is not kneaded into the dough and only used on top. Also, Focaccia maybe served warm or cold (at room temperature) but a Pizza is always served hot and never cold. In the old days, Focaccia rarely had any toppings except oil and herbs (and garlic as well) for flavour though this has changed.

IMG_4920

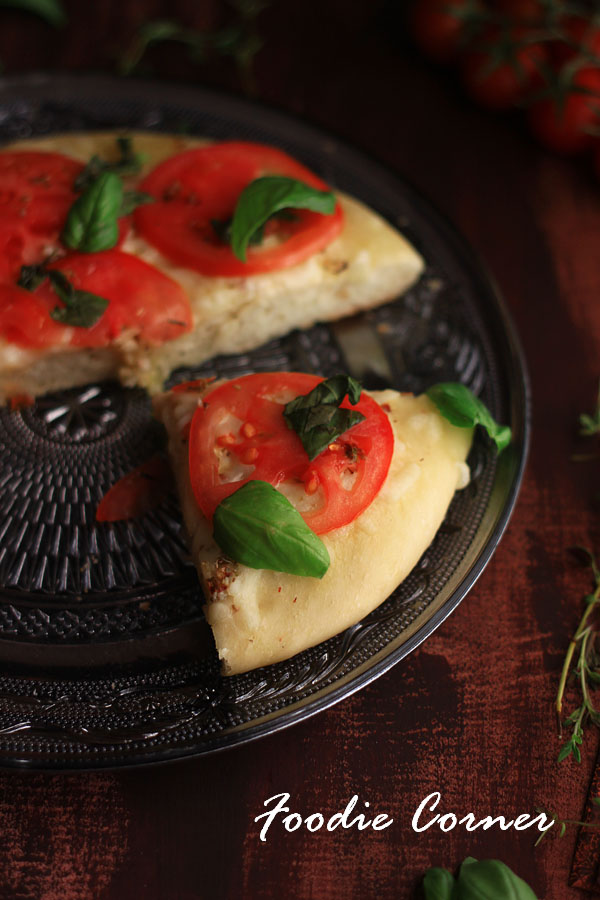
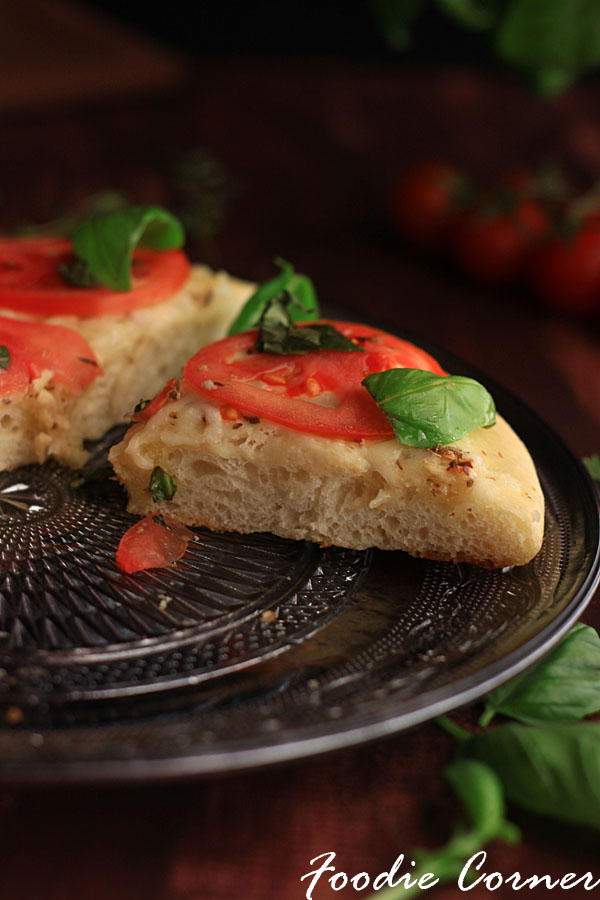
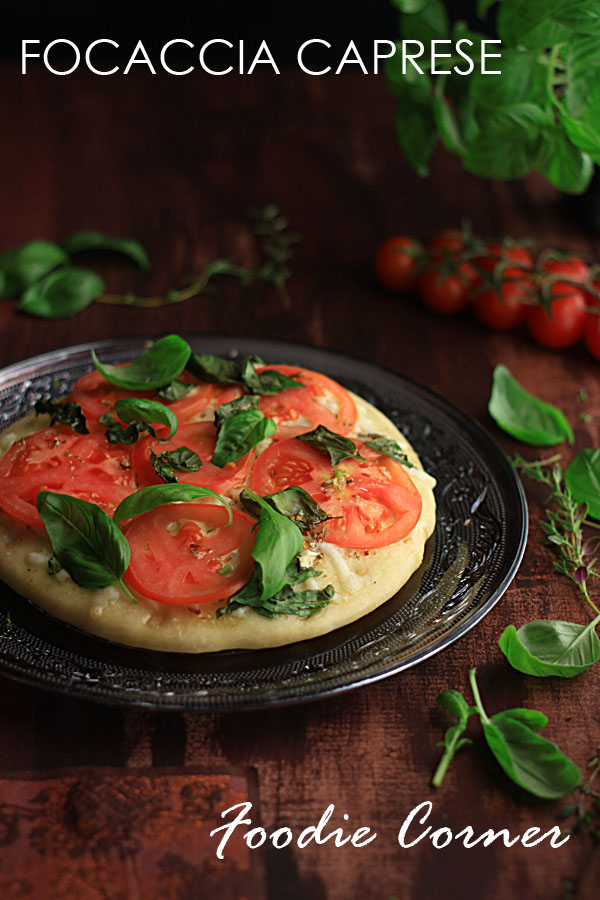
Focaccia Caprese is nothing but a basic Focaccia dough topped Caprese style. “Caprese” refers to something that comes from or is in the style of Capri, an island off the Italian coast near Naples. The topping of the Focaccia Caprese is sliced tomatoes, mozzarella and basil, in addition to the usual olive oil and herbs that are typically used in this flatbread. Though it is fresh mozzarella that is the best in this Focaccia, if one cannot find it  you can also use any other “melty” cheese if you have no choice.

IMG_4955

I had tried a few recipes on Focaccia before, but this one had the softest texture. The herbed oil topping imparts a distinct flavour to the bread.  And I loved the mild spiciness from the red chilly flakes.

Here is the step by step pictures. You can find the full recipe at the end of the post.

FOR THE HERBED OIL :      Put all the ingredients in a bowl and whisk them together. Keep aside till required.
step2

FOR THE DOUGH :

For the dough mix all the ingredients to make a soft dough and place in a well oiled bowl turning the dough around so it is coated. Cover and let it rise till almost double in volume. This should take about an hour.

step1

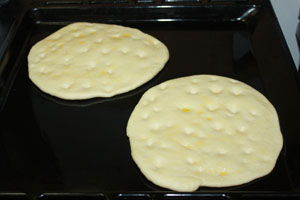
Then divide the dough into 4 equal portions. Roll each portion out evenly into approximately 5” by 7”. Transfer the dough to the baking tins. Let it rise for 20 minutes. Lightly oil your finger tips and press into the dough creating evenly spaced “dimples” in it. Generously brush the surface with oil.

step4

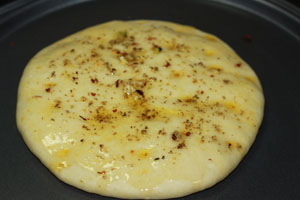
Bake at 210C (410F) for about 18 to 20 minutes till it is almost done and is beginning to turn golden brown. Take the Focaccia out. Lightly drizzle some of the Herbed Oil over the Focaccia/ and then evenly arrange some slices of mozzarella over the bread, leaving very little space between them. Drizzle some more Herbed Oil over the topping and return the bread to the oven. Bake the Focaccia for 5 to 8 minutes or until the cheese has just melted.

step3

IMG_4867

FOCACCIA CAPRESE

FOCACCIA CAPRESE

  • Servings: 6
  • Difficulty: Medium
  • Print

INGREDIENTS

For the Dough:

  •  Instant yeast -2 tsp
  •  Sugar – 1 1/2 tbsp
  • Bread flour OR all purpose flour -3 1/2 cups
  •  Salt – 1 tsp
  •  Oil (preferably olive oil) – 1/4 cup
  •  Warm water – 1 to 1 1/2 cups
  • A little more olive oil for brushing dough

For the Topping:

  • Large tomatoes, sliced thin – 4-5
  •  Mozzarella cheese , grated (or any other melty cheese ) – 1 cup
  •  Fresh basil leaves, cut into thin strips – 1/2 cup

For the Herbed Oil:

  •  Olive oil – 1/4 cup
  •  Dried oregano – 1 tsp
  • Dried basil – 1 tsp
  •  Red chilli flakes – 1/4 to 1/2 tsp ( I used 1/4 tsp)
  •  Garlic paste – 1/2 tsp
  • Salt to taste
  • Fresh basil leaves for garnishing


METHOD 

FOR THE HERBED OIL :      Put all the ingredients in a bowl and whisk them together. Keep aside till required.

FOR THE DOUGH :

The dough can be mixed and kneaded by hand or machine. Put the yeast, sugar flour, salt and oil in the bowl of the processor and pulse a couple of times to mix well. Then add 1 cup of warm water (and as much more as you need) and knead until you have a soft elastic dough that is just short of sticky.

Remove the dough from the processor bowl, shape into a round and place in a well oiled bowl turning the dough around so it is coated. Cover and let it rise till almost double in volume. This should take about an hour.
You can make this as 2 medium sized Focaccia or 4 smaller ones like I did. For making 4 Focaccia, then divide the dough into 4 equal portions. Roll each portion out (or press out) evenly into approximately 5” by 7”. It alright if it’s an odd shape because Focaccia is really a “rustic” bread.
Transfer the dough to the baking tins. The dough will shrink a little. Use your fingers and push it out a bit making sure it’s evenly thick throughout. Let it rise for 20 minutes. Lightly oil your finger tips and press into the dough creating evenly spaced “dimples” in it. Generously brush the surface with oil.

Bake at 210C (410F) for about 18 to 20 minutes till it is almost done and is beginning to turn golden brown. Take the Focaccia out and turn up the heat of your oven to 230C (450F).

Lightly drizzle some of the Herbed Oil over the Focaccia and then evenly arrange some slices of mozzarella over the bread, leaving very little space between them. Arrange the tomato slices over this and a little sprinkle the chopped basil over this. The topping should cover most of the surface of the bread.

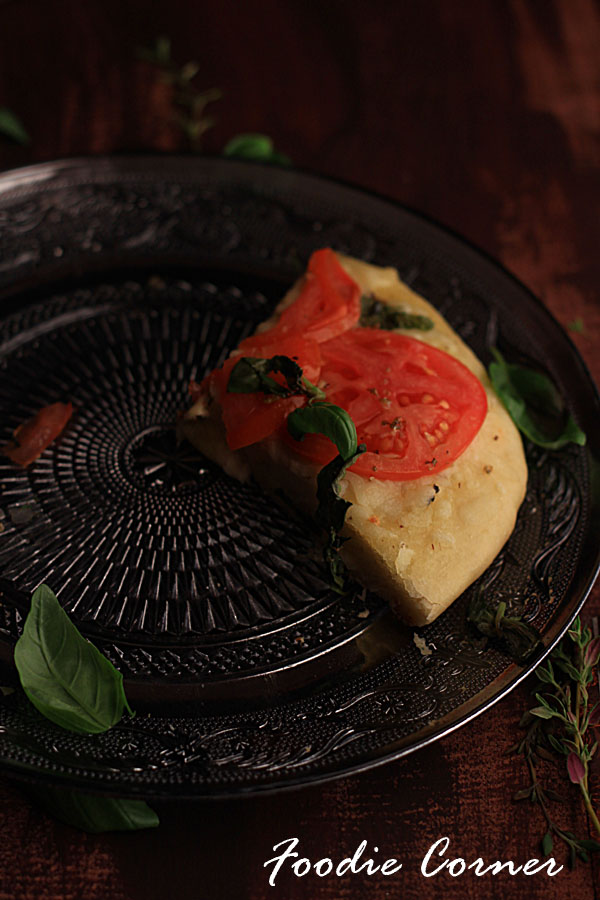
Drizzle some more Herbed Oil over the topping and return the bread to the oven. Bake the Focaccia for 5 to 8 minutes or until the cheese has just melted. Remove from the oven and garnish with fresh basil leaves.

Cut the Focaccia into slices and serve while it is still hot. This recipe should serve 4 if served alone or 6 if served with a side.

IMG_4969

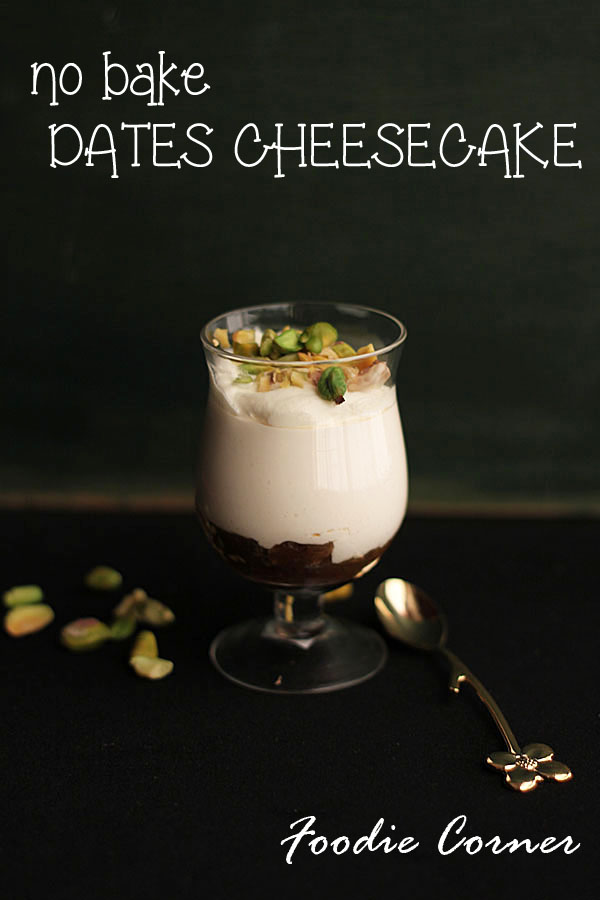
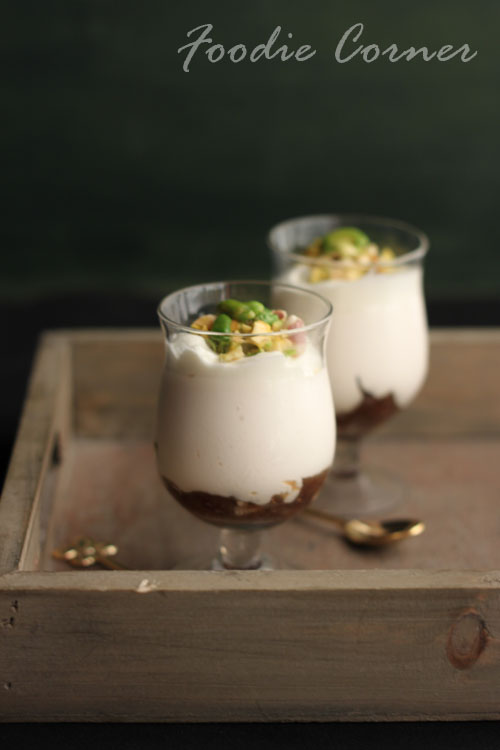
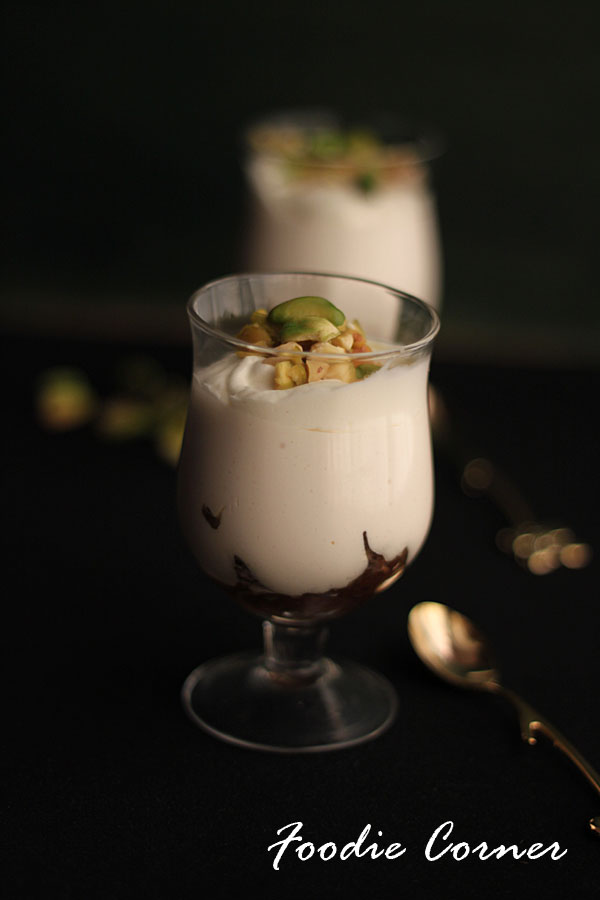
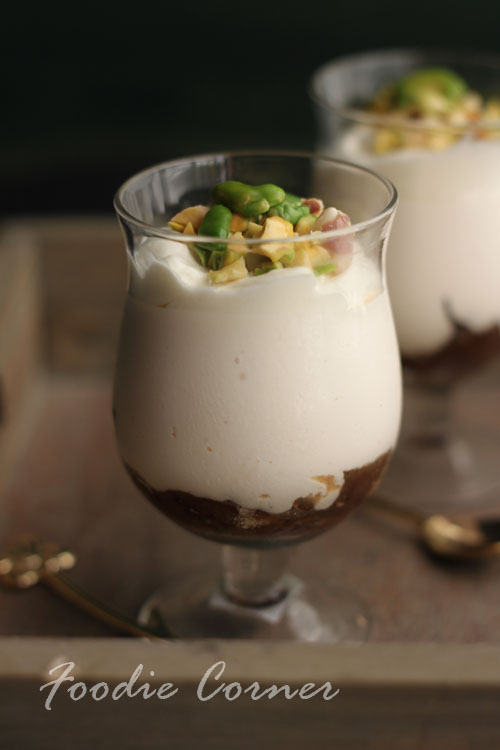
No Bake Dates Cheesecake – for 3 years of blogging and 100,000 hits

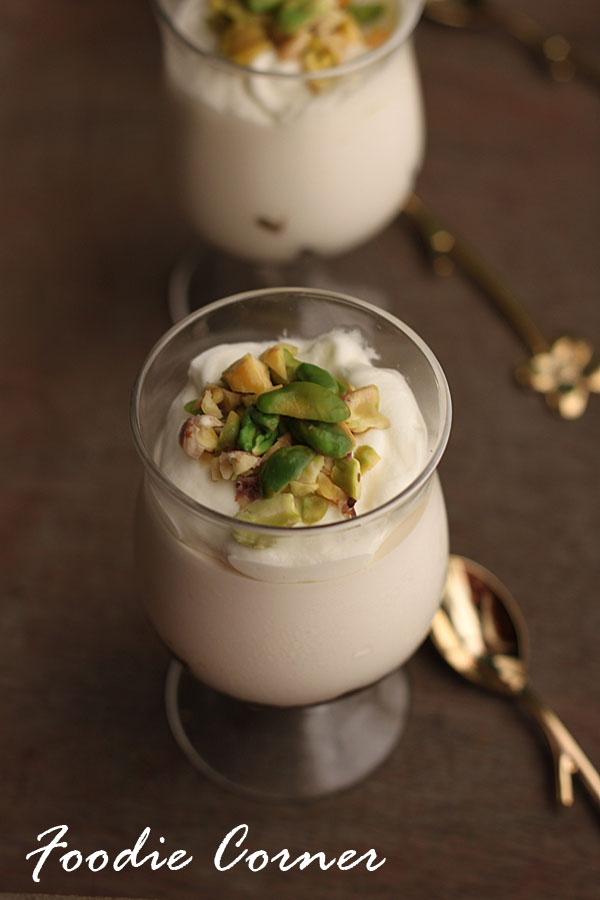
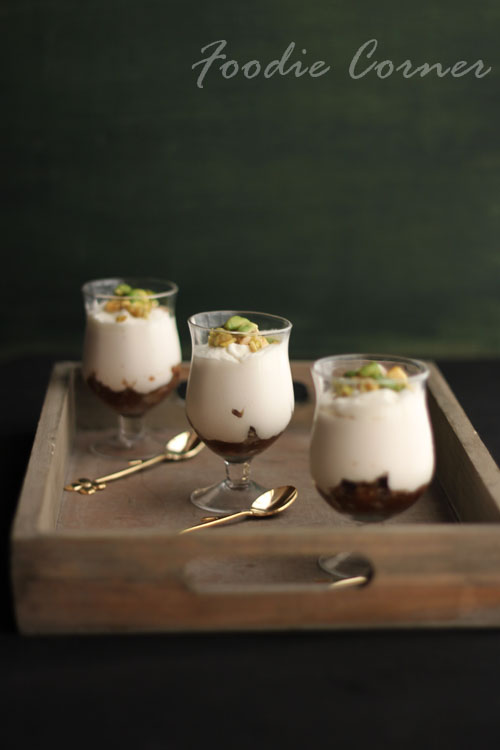
Dates Cheesecake

3 years of blogging !!!  I had started this blog  on a whim . A gentle prodding from a couple of friends and relatives .. and I entered into the world of blogging.. It definitely helped me learn new things – be it decorating cakes, baking breads or food photography.  And it has helped me connect with people who share a passion for food .

IMG_7726

There were times when I was not happy with my photography and kept away from posting because of the poor quality of the snaps.  Submitting photos to the food sites, foodgawker and tastespotting , and the photos getting rejected many a time. During those times, my friends and family would keep pushing me. Thanks to all you wonderful people who kept inspiring and encouraging me

IMG_7866_blog

We’ve got one more reason to celebrate – the blog has crossed 1 lakh hits  !! Definintely something sweet , for this double celebration !!   I got this recipe from hubby’s aunt  (Elemma) who is a superb cook. I have been making this dates cheesecake for the last 10 years and it has never failed to get the wow feedback .And it is a fairly easy recipe too .
IMG_7727

It is better to prepare this  about a day in advance so that the flavour of dates is well absorbed by the cheesecake layer . Here is the step by step procedure. You can find the full recipe at the end of the post.

IMG_7766

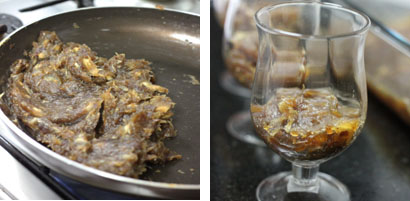
Heat a pan. Add 2 tbsp of butter . When it melts add 6 tbsp of sugar. Let the sugar caramalise on medium flame. step1

Add the chopped dates to the caramalised sugar . Stir and mix in the dates. Add abt 1/4 cup of water and continue to mix till the water evaporates and you get a soft paste of dates. Spoon the dates paste to the pudding dish or individual glasses

step2

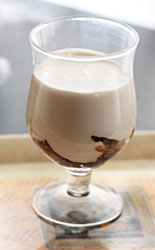
To make the cheesecake layer – Mix 200ml fresh cream and 2 tins of Nestle cream and 2 tbsp sugar .Soak 1 tbsp of gelatin in 5 tbsp of cold water for about 10 minutes. Double boil the gelatin till it is completely dissolved. Add the gelatin to the cream mixture. Add 1 tsp vanilla essence.

step3

Pour the cream over the dates layer and refrigerate it for 3-4 hours.step4

Beat 1 sachet of dreamwhip powder with 1/2 cup of milk and few drops of vanilla essence using an egg beater for 5-8 minutes. Pour the whipping cream over the cheesecake layer.

IMG_7740

NO BAKE DATES CHEESECAKE

Recipe Source – Elemma

NO BAKE DATES CHEESECAKE

  • Servings: 12
  • Difficulty: Easy
  • Print

INGREDIENTS

FOR THE DATES LAYER

  • Dates, deseeded and chopped – 400 gm
  • Butter – 2tbsp
  • Sugar – 6 tbsp
  • Water – 1/4 cup

FOR THE CHEESECAKE  LAYER

  • Fresh cream – 200 ml
  • Nestle cream – 2 tins
  • Gelatin – 1 tbsp
  • Sugar – 2 tbsp
  • Vanilla essence – 1 tsp

FOR THE WHIPPED CREAM LAYER

  • Dreamwhip  – 1 sachet
  • Milk – 1/2 cup
  • Vanilla essence – 1 tsp

METHOD

FOR THE DATES LAYER

  1. Heat a pan. Add 2 tbsp of butter .
  2. When it melts add 6 tbsp of sugar. Let the sugar caramalise on medium flame.
  3. Add the chopped dates to the caramalised sugar . Stir and mix in the dates.
  4.  Add about 1/4 cup of water and continue to mix till the water evaporates and you get a soft paste of dates.
  5. Spoon the dates paste to the pudding dish or individual glasses

FOR THE CHEESECAKE LAYER

  1. Mix 200ml fresh cream and 2 tins of Nestle cream and 2 tbsp sugar .
  2. Soak 1 tbsp of gelatin in 5 tbsp of cold water for about 10 minutes.
  3. Double boil the gelatin till it is completely dissolved.
  4. Add the gelatin to the cream mixture. Add 1 tsp vanilla essence.
  5. Pour the cream over the dates layer and refrigerate it for 3-4 hours.

FOR THE WHIPPED CREAM LAYER

  1. Beat 1 sachet of dreamwhip powder with 1/2 cup of milk and few drops of vanilla essence using an egg beater for 5-8 minutes.
  2. Pour the whipping cream over the cheesecake layer and refrigerate for 2 hours

Note:  The cheesecake tastes best the next day, as it gives enough time for the dates flavour to be well absorbed by the cheesecake layer.

IMG_7817

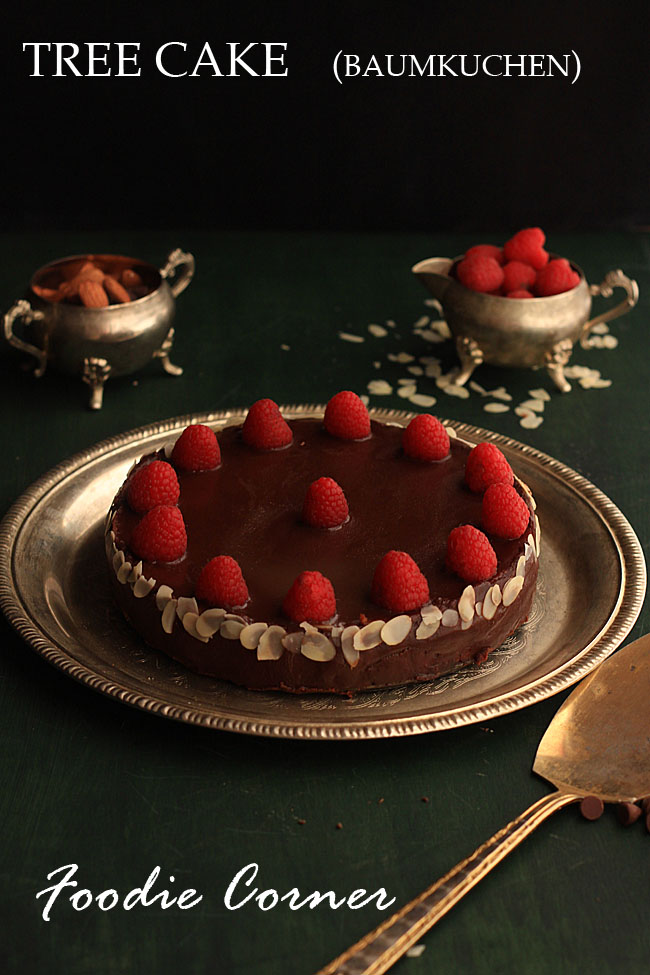
TREE CAKE (LAYERED CAKE OR BAUMKUCHEN)

Tree cake header

          It was our wedding anniversary 2 weeks back . For birthdays and anniversaries , baking cake has become kind of ritual at home.. This time I was searching for a special cake for the special day.. I  bookmarked a few and then thought to check this month’s Daring Bakers challenge  . This time the challenge was layered cake . Seeing all those layers I was all excited..so this was going to be the anniversary special cake … !!!

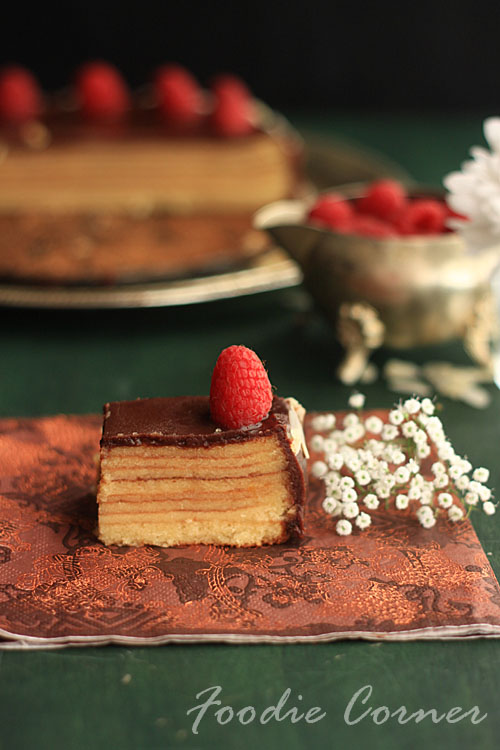
Tree cake slice2

Baumkuchen (Tree cake)  is a kind of layered cake. It is a traditional dessert in many countries throughout Europe and is also a popular snack and dessert in Japan. The characteristic rings that appear when sliced resemble tree rings, and give the cake its German name, Baumkuchen, which literally translates to “tree cake” – Source Wikipedia

Tree cake collageI had seen pictures of the layered cake on the net before and had always thought that all those layers were made by baking a cake and slicing the cake into thin layers. 🙂  As I am not much expert in slicing cakes evenly , I never tried to make them. Only after seeing the Daring Bakers challenge, did I realise that the layers are done while baking itself. Easier than slicing evenly was my first thought.
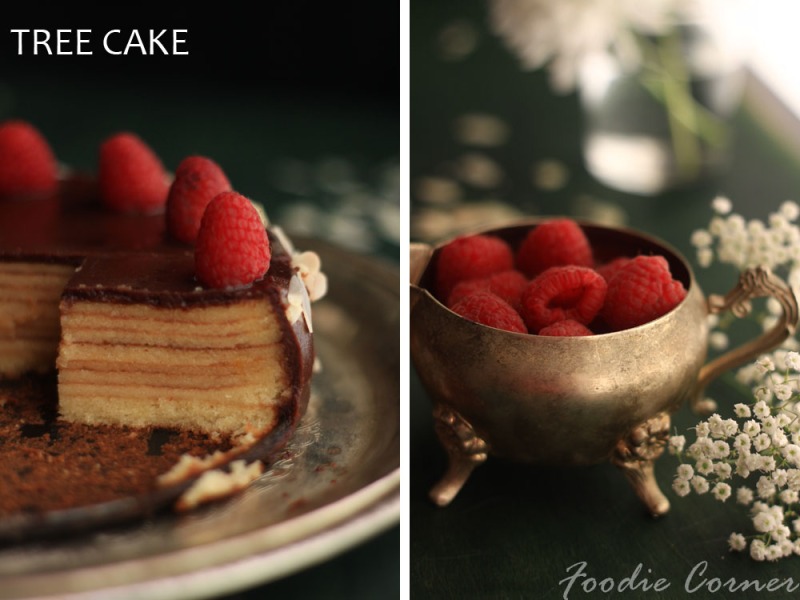
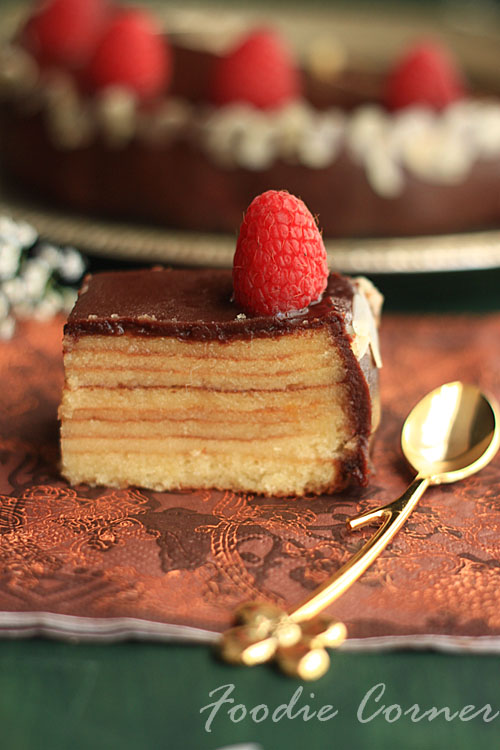
Tree cake collage2

 But after searching the net about the tree cake, I realised there was a glitch.. each layer should be baked and browned by 4 – 6 min. Some sources suggested using the broiler option in the oven, or using the upper gas flame if using cooking range oven . I initially tried to bake the first layer at 230 C in the cooking range oven . But after 4 minutes, the cake wasn’t showing any sign of browning. I kind of panicked a bit  , what if the layers are not going to come well defined.. .. I switched off the lower gas flame and turned on  the upper gas flame in the oven . after few minutes the batter started to get a light brown colour.  Relief !!! I kept the same setting for the rest of the cake , each layer took about 5 minutes to get browned.

Tree cake final

After every 3 layers spread an even layer of apricot jam. This will make the cake more soft and moist. The whole baking takes about 2 hrs and you need to be constantly checking the cake, to see that the layers are not over browned. For the final layers, the baking time will become lesser. The last 2 layers took only 3 min in my case. The process is not complicated, but you need to know your oven well !!!

Tree cake slice

The January 2014 Daring Bakers’ challenge was hosted by Francijn of “Koken in de Brouwerij”. She challenged us all to bake layered cakes in the tradition of Baumkuchen (tree cake) and Schichttorte (layered cake).

TREE CAKE

  • Servings: 10
  • Difficulty: medium
  • Print

TREE CAKE (Baumkuchen)

INGREDIENTS

For the Cake Batter

  • Large eggs (room temperature) – 6
  • Salt – a pinch
  • Granulated sugar – 1/2 cup plus 2 tablespoons (120 gm)
  • Marzipan – 2/3 cup (150 gm)
  • Softened Unsalted Butter –  200 gm
  • Confectioner’s (Icing) sugar -3/4 cup (100 gm)
  • 2 teaspoons (10 ml) (1 package) (8 grams) vanilla sugar
  • All-purpose (plain) flour (sifted) – 2/3 cup (100 gm)
  • Apricot jam

For the Glaze ( I got the recipe from here )

  • Butter – 6 tbsp
  • Light corn syrup – 2 tbsp
  • Semisweet chocolate , chopped – 6oz

METHOD

  1. Preheat your oven to hot 450°F/230°C/gas mark 8 or turn on the upper gas flame in the oven.
  2. Grease your cake tin .
  3. Divide the eggs. Beat the egg whites with the salt until nearly stiff, add the sugar and beat until really stiff.
  4. Crumble finely the marzipan. Beat it with the softened butter, confectioner’s (icing) sugar until soft and creamy.
  5. Add the egg yolks one by one and beat well between each addition.
  6. Add the stiff egg whites and flour and gently fold it into the batter. Trying not to lose too much air.
  7. Smear 1 cup of the batter on the bottom of the pan, keep the sides of the pan clean, and bake for (about) 4 minutes in the oven, until it is cooked and brown.
  8. Take the pan out of the oven, smear the next portion of batter carefully over the first, and bake for another 4 minutes or until cooked and brown.
  9. After every 3 layers, spread an even layer of apricot jam.
  10. Repeat until all batter is used. (If you need to flatten a bubble insert a tooth pick or similar to deflate the bubble.)
  11. Let the cake cool down for a few minutes, take it out of the pan and let the cake cool completely on a wired rack.
  12. Heat the jam a little, pass it through a sieve. Cover the cake with the jam and let it cool.
  13. To make the glaze  heat  a small sauce pan on medium-low heat. Melt butter in pan then add chocolate and corn syrup. Stir continuously to keep from burning. Mix well
  14.  Pour chocolate glaze over cake and spread evenly with a spatula. Glaze will set as it cools.

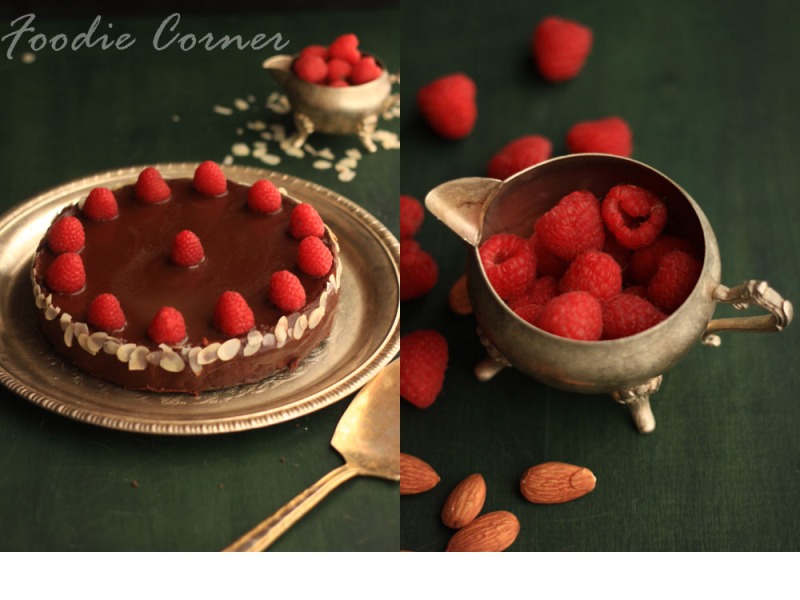
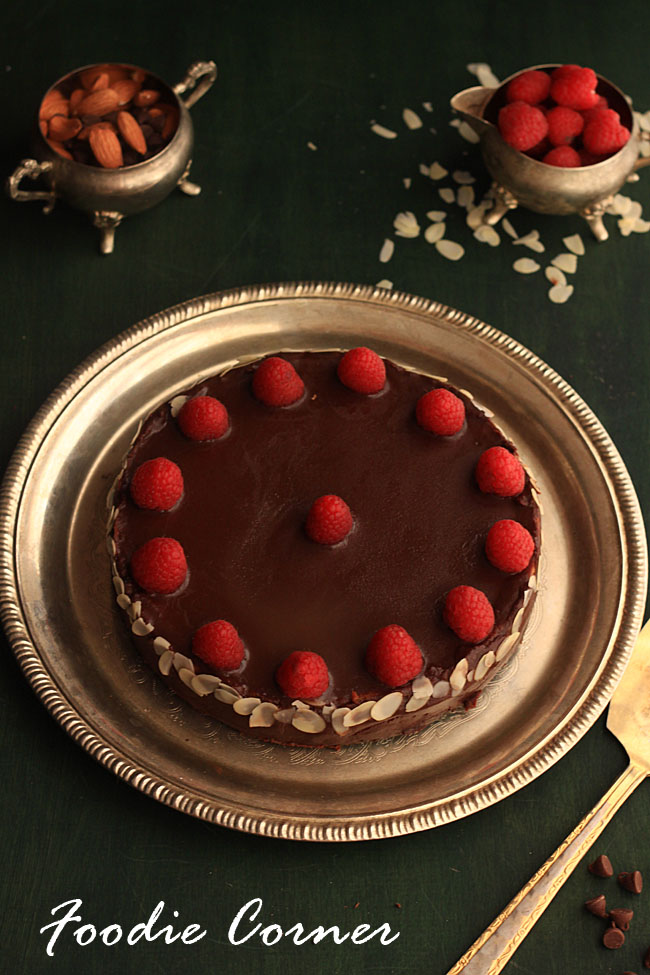
Tree cake raspberry

Tree cake fb

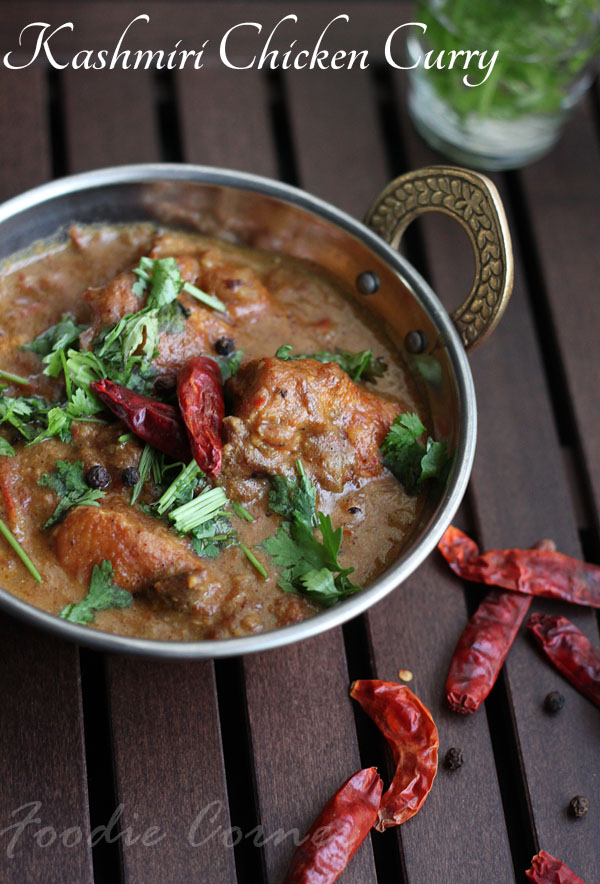
Kashmiri Chicken Curry

kshmiri chicken curry_IMG_1290 copy

  First blog post of the year and it begins with a happy note..  My friend Jihan who had been trying to bake the perfect cake for sometime , finally found success on the New Year’s eve .. and  she has dedicated her success to me..  But the thing that makes me really happy is to see the hardwork and persisitence she has put in which finally paid off..  and I feel really proud that I could be a source of inspiration for her venture into the world of baking !!!  Here is the snap of the cake she made …

jihn

The temperature has been dipping down lately. Really enjoying the cold weather and the occasional rains . Last weekend we had an impromptu beach visit  . Kids had real fun, collecting shells and building their little dams ..

kids

I haven’t posted much chicken recipes in the blog the reason being hubby n kids were not too fond of  chicken gravy dishes.  But of late, the elder kid’s taste has been changing and now he shows interest in chicken curries. This was one chicken curry I tried out recently and  well appreciated by the kid.  I found this recipe on this beautiful blog – Swapna’s Cuisine

I am sure you too will love this spicy chicken curry .. Do try it out…

kashmiri chicken curry_IMG_1223

KASHMIRI CHICKEN CURRY

  • Servings: 6
  • Difficulty: medium
  • Print

KASHMIRI CHICKEN CURRY

RECIPE SOURCE – SWAPNA’S CUISINE

INGREDIENTS

  • Chicken cut into pieces – 1kg
  •  Kashimiri chillies/ Piriyan mulaku -15
  •  Mustard seeds – 1 ½ tsp
  • Cumin seeds  (Jeerakom )– 1tsp
  • Black pepper powder – ¾ tsp
  • Cinnamon sticks ( Karuva patta )– 1”x6 pieces
  • Cloves ( Grambu) – 5
  • Ginger – 1” piece, grind to a paste
  • Garlic – 35 small cloves, grind to a paste
  • Onion – 2 medium, sliced
  • Cashew nuts – 20 (soak in warm water for 10 mints and grind to a smooth paste)
  • Tomato – 3 medium, chopped
  • Raisins– 1 tbsp (grind to a smooth paste with little water)
  • Turmeric powder – ¾ tsp
  • Oil –as needed
  • Salt to taste

 METHOD

  1. Grind masalas 2 to 7 to a fine paste and keep aside.
  2. Clean chicken pieces and marinate with salt and turmeric powder for one hour. After 1 hour fry the chicken pieces in hot oil till light brown and remove.
  3. Add sliced onion to the same oil and fry till brown. Add ginger and garlic paste and sauté till raw smell goes, then add cashew nut paste and mix well.
  4. Add ground masalas of ingredients 2 to 7 and sauté well until the raw smell goes
  5. Add fried chicken pieces, tomatoes, ground raisins, salt and enough water and cook on medium heat until chicken is cooked and oil separates.
  6. Serve hot with chapathi or rice.


kashmiri chicken curry_IMG_1269

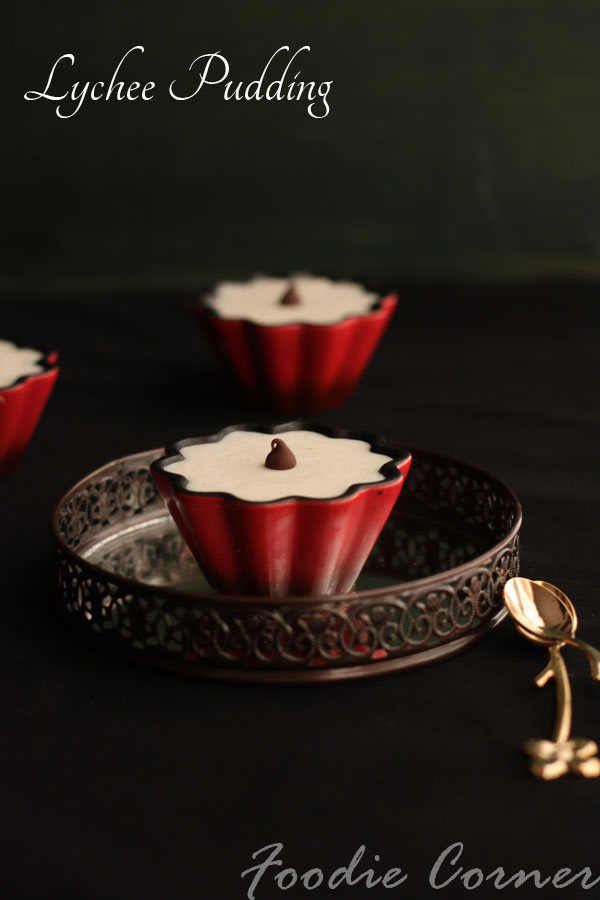
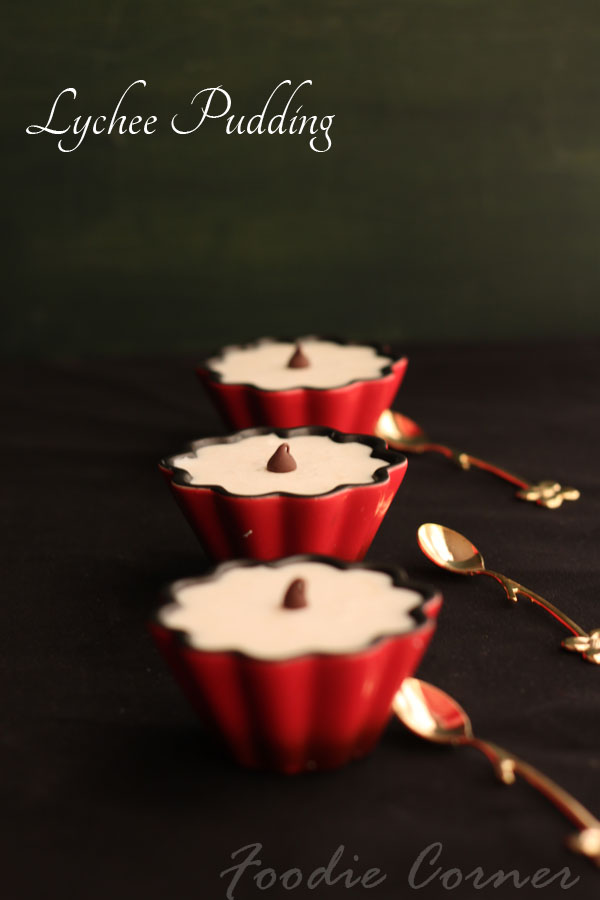
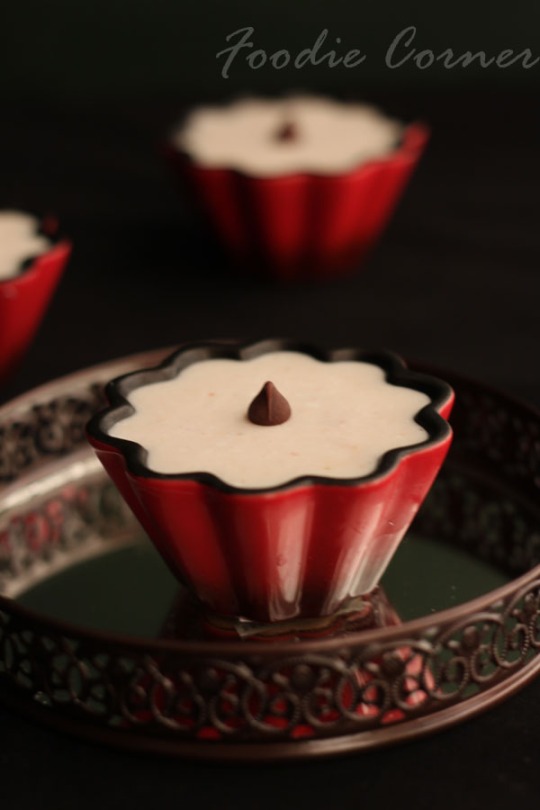
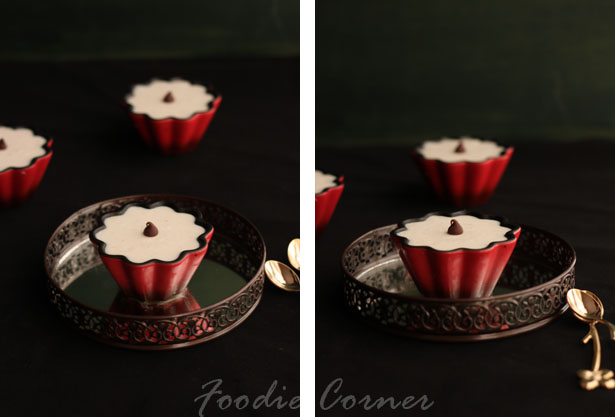
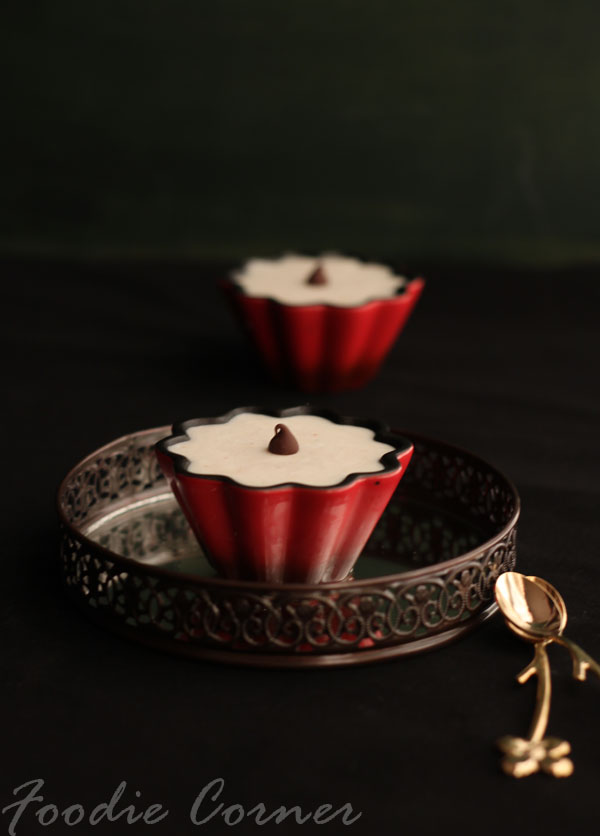
Easy Lychee Pudding


lychee pudding_IMG_1075

I love puddings.. oh.. did I mention that earlier?? 🙂  And  I am always on the look out for new pudding recipes..   I mostly focus on layered puddings..  Layers always bring out a wow factor.. Maybe that’s the reason why most of the pudding recipes in my blog are layered puddings like the Nutella Custard Pudding or the Dulce de leche pudding..

lychee_pudding_IMG_1121

Few weeks back my niece asked me for few pudding recipes  for her school project . But there was a clause.. they couldn’t use the stove or oven  in the classroom – which meant , pudding recipe without cooking or baking..  and the pudding should be whipped up  by  20 min maximum . That was something I never thought of, whip up really easy puddings.. So thought, why not post some really easy puddings on the blog too??

lychee pudding_IMG_1102

lychee pudding collge1

I got this recipe from my friend Zareena. She had made this custard apple pudding for us when we met last time.. I wanted to try the same pudding , but replaced custars apples with  lychees( de-stoning the custard apple seemed a tedious job for me 🙂 ) You can use fresh lychees or the canned ones. I have used the canned ones in this recipe .

lychee_pudding_IMG_1078

LYCHEE PUDDING

Recipe Source – Zareena Siraj

INGREDIENTS

  • Milkmaid – ½ tin
  • Milk – 400 ml
  • Lychee – 1 can
  • Fresh cream – 200 ml
  • Gelatin – 5 tsp

METHOD

  1. Drain the lychees from the can. This  will be about 1 1/2 cups of lychees.
  2. Crush the lychees in the mixer.
  3. Beat the milkmaid, milk and fresh cream using egg beater. Mix in the lychees.
  4. Soak the gelatine in 5tbsp water.  Leave it for 5 min for the gelatine to bloom.  Add 5 tbsp warm water and stir with a fork till the gelatine completely dissolves
  5. Add the gelatine to the milk mixture
  6. Pour in a bowl or individual cups and refrigerate for 4- 5 hrs.  Serve cold.

lychee_pudding_IMG_1120


Kerala Fish Molee – Fish cooked in coconut milk


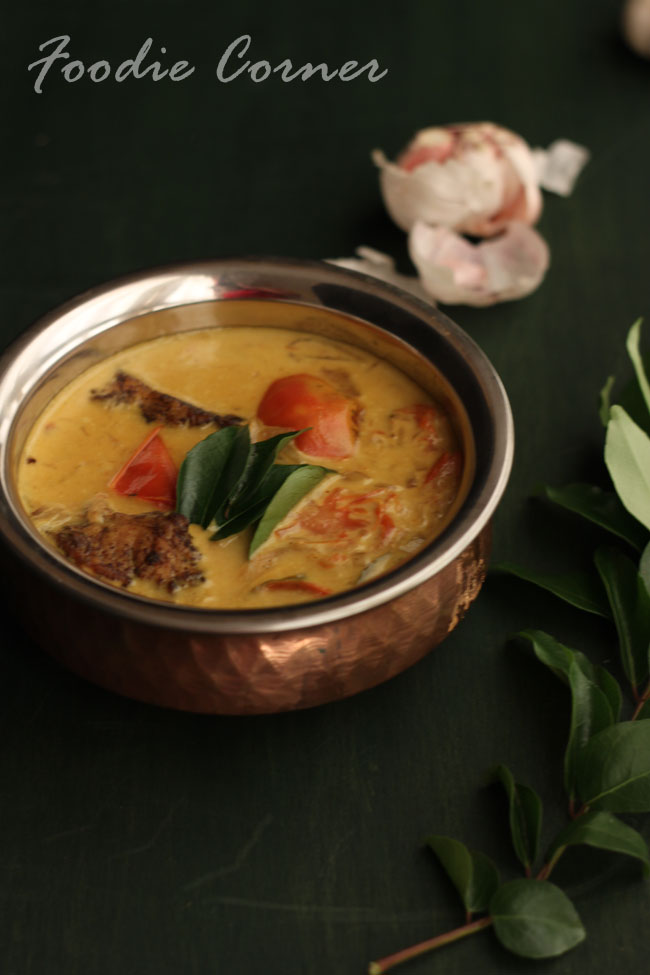
fish moilee1

Posting 2 recipes in a week … that’s happening after a really long time .. Even though the new year resolution was to blog more often, and the year almost coming to an end, could not post as often as I wished… The main reason – I was not happy with the snaps I take . After the cooking and the photoshoot , later when I go through the shots again I feel like uhhh.. not good enough for posting !! Still , hoping to fulfill my new year resolution, if not this year, atleast by the next year !!

fish moilee collge2

Fish_moilee_IMG_0557

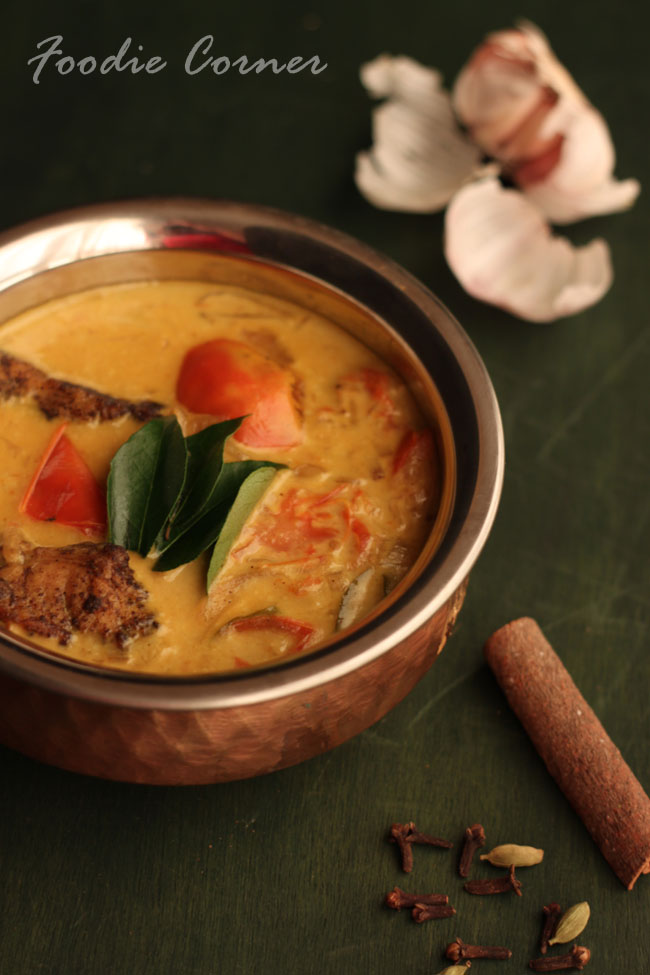
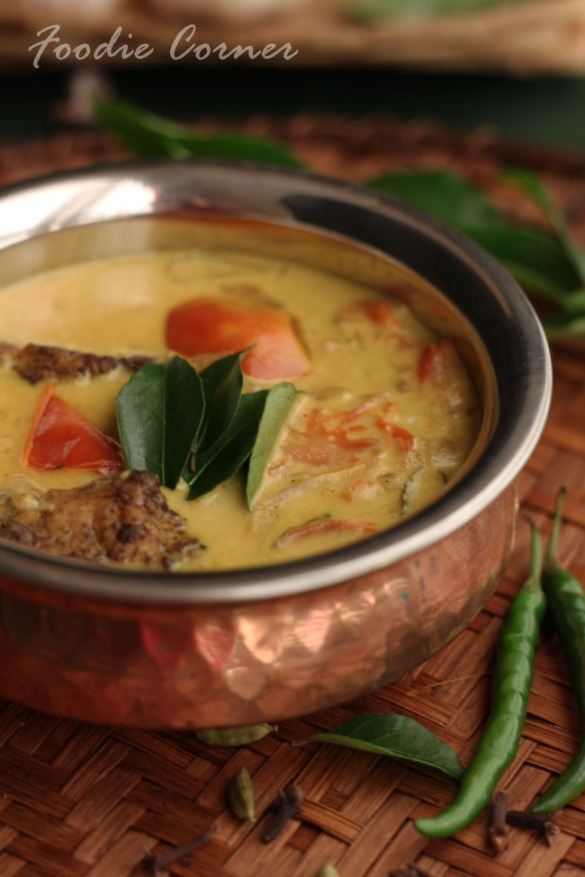
Often , friends ask me to post simple easy recipes . Keeping that in mind, here is a very easy yet delicious preparation of fish. Fish molee is a typical Syrian Chrisitan dish . Shallow fried fish pieces are cooked in coconut milk based gravy. The curry is not too spicy. More than the chillies, it is the pepper powder that gives that the dish a distinct flavor. The curry goes well with bread or Kerala palappams.

fish moilee collge 1 sm1

fish moilee collge3

Another dish almost similar to Fish Molee is the Fish Mappas .  For the Fish Mappas, coriander and chilly powders are also included , which gives the curry a spicier flavour. Will post Fish Mappas  recipe some other time..

IMG_0667

RECIPE FOR FISH MOLEE

INGREDIENTS
For Marination

  • Pepper powder – 1 1/2 teaspoon
  • Turmeric powder – ½ teaspoon
  • Lemon juice or Vinegar – ½ teaspoon
  • Salt

For the gravy

  • Kingfish  or any other big fish  – ½ kg
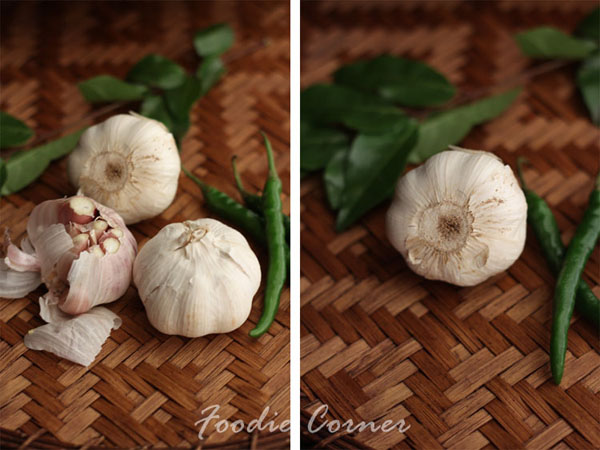
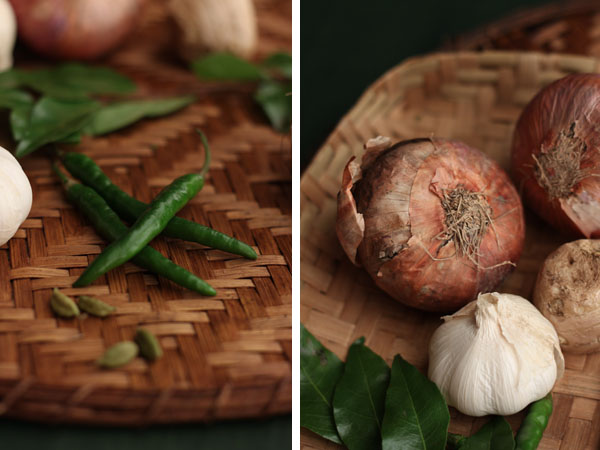
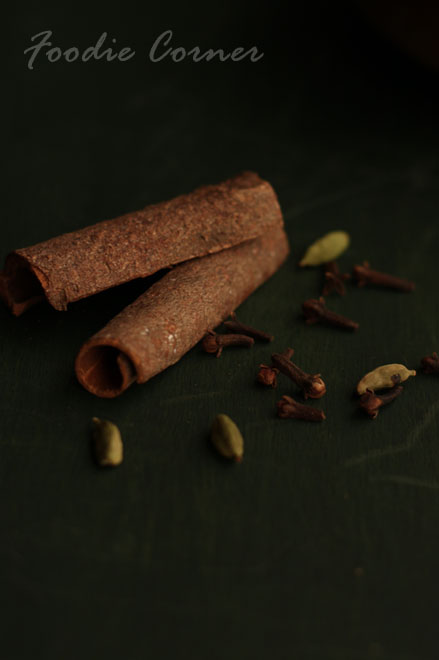
  • Cardamom  – 4
  • Cloves – 4
  • Cinnamon – 1 medium stick
  • Onions , sliced as rings  – 3 medium
  • Ginger  Garlic Paste – 1 tablespoon
  • Green chilli – 3
  • Tomatoes , cut into circles – 2
  • Thin Coconut milk – 1 1/2 cups ( 1 cup is 240 ml)
  • Thick Coconut milk –  1/2 cup
  • Turmeric powder – ½ tsp
  • Pepper powder  – 1 tsp
  • Salt
  • Curry leaves

METHOD

  1. Marinate the fish pieces with pepper powder, turmeric powder, salt & lemon juice for an hour. Shallow fry the marinated fish for  3-4 minutes.
  2. Heat oil in a pan. Splutter cardamom,cinnamon & cloves.
  3. Add the onions and green chillies and sauté well till the onions become translucent.
  4. Add the ginger garlic paste and sauté for 3-4 minutes.
  5. Add the turmeric powder and pepper powder and sauté for a minute
  6. Add the thin coconut milk  and enough salt . When it starts boiling add the shallow fried fish pieces.
  7. Spread  the tomatoes  and the curry leaves on the top of the fish pieces.
  8. Cook on a closed lid on mediuim flame till the fish is cooked well.
  9. Add the thick coconut milk , heat for a minute and turn off the fire.

Fish moilee_IMG_0607

Kitkat Cake Using Basic Sponge Cake

KITKAT CAKE WITH CHOCOLATE SPONGE CAKE

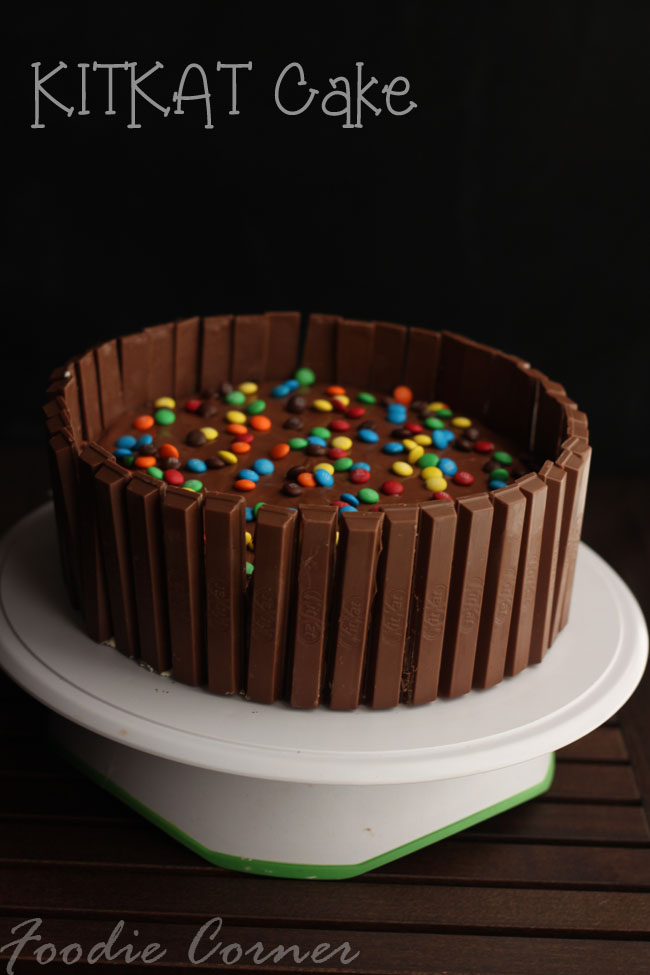
 I often get requests for a basic cake recipe, the beginner kind.  And I suggest the easy ones in the blog –  the 1-2-3-4 cake and the Ultramoist Chocolate Cake  . Few days back it was kids’ birthdays and I thought why not make a very simple cake so that even newbies in baking can do it easily..  (I often get remarks that cakes in my blog are bit complicated for beginners… )

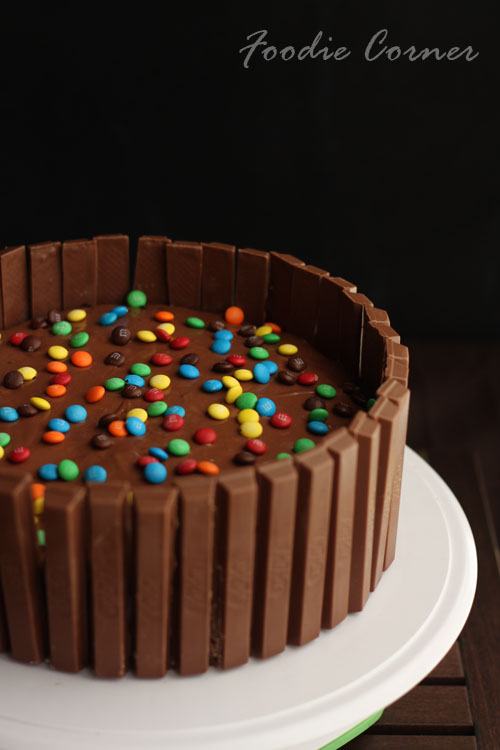
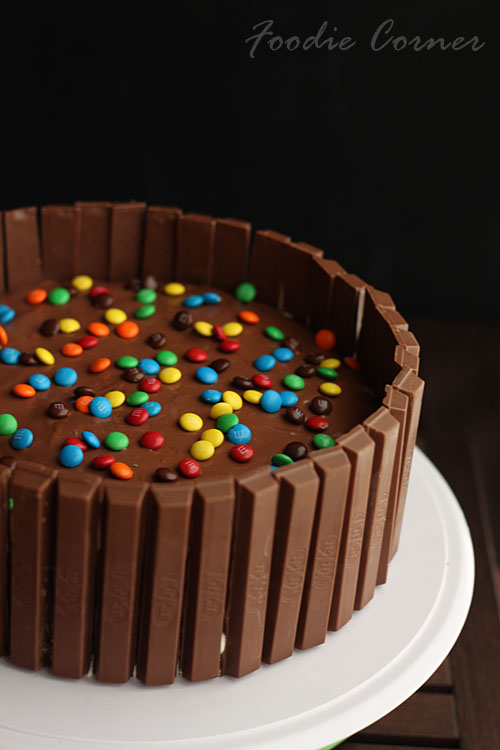
I feel happy when people make an attempt to bake a cake for their loved ones, inspired by this blog.. More than the perfection of the cake, it’s the thought that matters..  This Kitkat cake doesn’t require much icing skills and it definitely will make the kids happy 🙂

IMG_0960

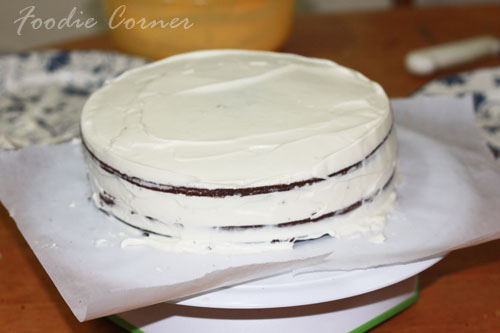
The cake is a very basic sponge cake recipe.. It calls for equal weight of butter, sugar and flour. The cake has a very light airy feel. To make the layered cake, I divided the cake into 3 layers.. You can make it into 2 also. Pour some sugar syrup to moisten up the cake. Cover the layers with whipped cream , top it with ganache and stick the kitkat bars around..  My kids join me in baking cakes now, they love to whip up the ingredients and decorate the cake. 🙂

So, without further ado, here are the step by step pics of making the cake. You can find the full recipe with ingredients and method at the end of the blog post.

TO MAKE THE CAKE :

Beat the butter using the handmixer for about 1 minute till it is soft

butter

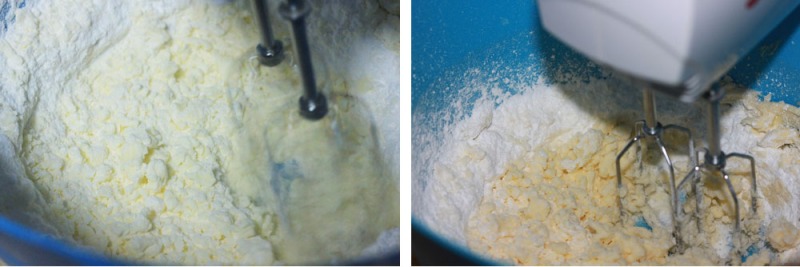
Add powdered sugar to butter and beat on high speed till it becomes creamy.

Beat butter and sugar

butter and sugar paste

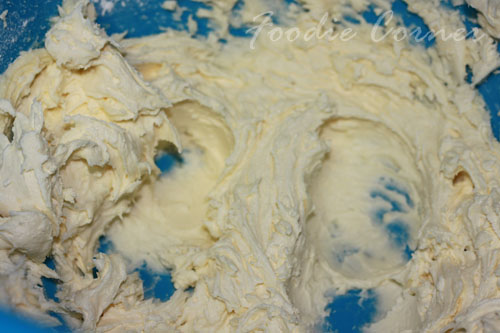
  Add the eggs one by one and beat well  on high  speed for around 10 minutes .

egg to the butter mixture

egg butter paste

In another bowl, sieve the flour,  baking powder and cocoa powder.

sift flour

Add one third of the flour, cocoa mixture with the egg mixture . Stir with a spoon till it is well blended.  Repeat this 2 more times till the all of the flour mixture is incorporated into the egg mixture.

mix flour with egg batter

You should have a smooth thick batter. If your batter is thick , add about 2 tbsp of milk and stir.

Now transfer the batter to the pan.  The batter should fill only till 2/3 rd of the pan. Bake at 180 degree for around 25  minutes . To test whether the cake is done, insert a tooth pick. If the tooth pick comes out clean ( without any crumbs on it) , then the cake can be taken out of the oven .

Let the cake cool to room temperature before applying icing.

TO MAKE THE SUGAR SYRUP:

Stir the sugar, water and essence in a small saucepan and bring to boil. Simmer till the sugar has dissolved, and cool completely.

TO MAKE THE WHIPPING CREAM:

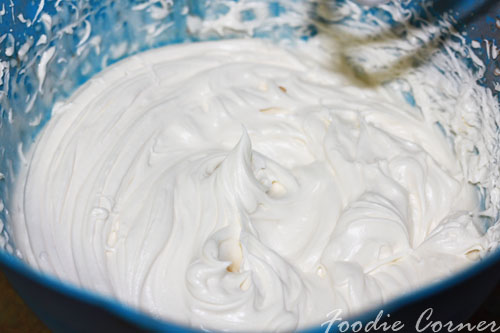
I used  Dreamwhip powder. Mix the contents in 2 small sachets of dreamwhip with 1 cup cold mix and a teaspoon of vanilla essence. Beat on high speed for 5-7 minutes till you get light fluffy peaks. This will give about 4 cups whipped cream.

whipped cream

TO MAKE THE GANACHE :

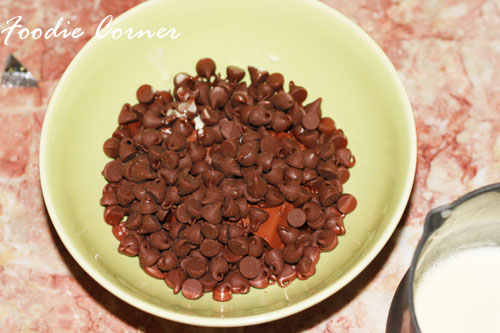
Place the chopped chocolate in a medium sized stainless steel, or heatproof bowl. Set aside

chocolate chips

 Heat the cream and butter in a medium sized saucepan over medium heat. Bring just to a boil.

melt butter and cream for ganache

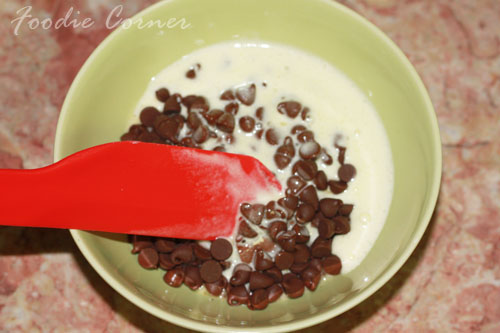
Immediately pour the boiling cream over the chocolate and allow to stand for 5 minutes. Stir until smooth.

pour melted cream over chocolate

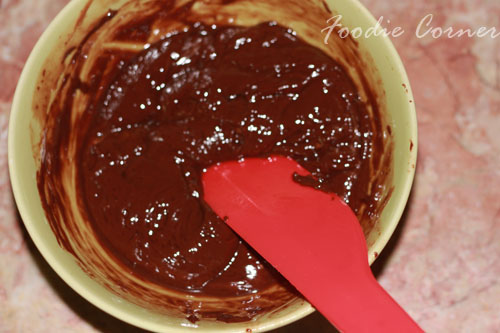
When Ganache has completely cooled, beat until soft and fluffy. Then spread the frosting on top of the cake.

chocolate ganache 

HOW TO ASSEMBLE :

When the cake is cooled, use a long serrated knife and cut off the top to make it straight. Slice the cake horizontally into 2  or  3 equal parts..
Slice cake hoizontally

Pour one-third of the sugar syrup on the first cake layer .

Sugar Syrup

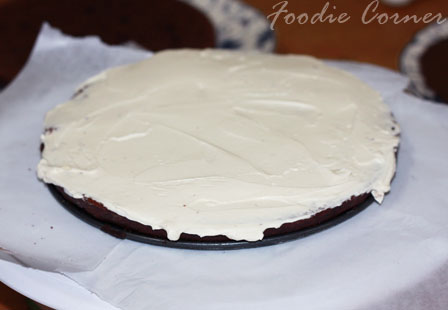
 Spread the whipping cream over the first layer.

Spread whipped cream over cake

cake layer with whipped cream

Take the second cake slice on top of the first layer . Pour one third of the sugar syrup and spread the whipped cream.

Repeat the process with the third layer.

Cover the whole cake with whipping cream.

Cake covered with whipped cream

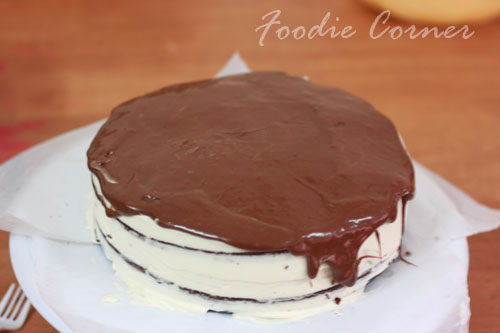
Pour the ganache over the top of the cake and spread it . Spread the ganache to the sides of the cake .

Spread ganache

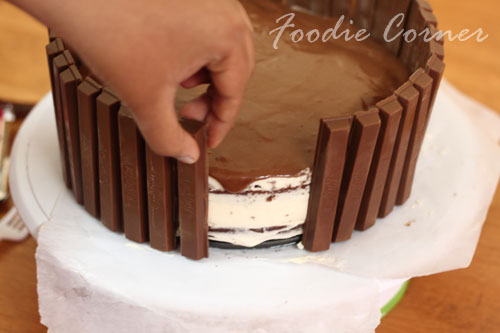
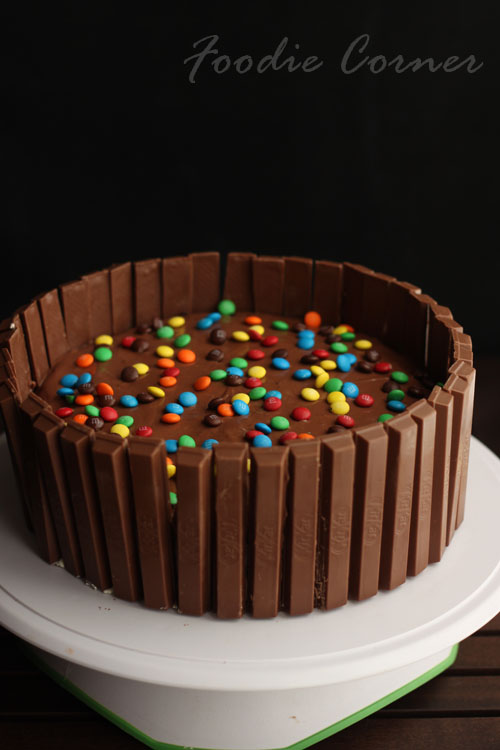
Stick Kit Kat’s all the way around the cake – they will just stick to the frosting. Pour M&M’s on the top to give the finishing touch.

Spread ganache over cake

Kitkat cake_ IMG_0907

I got the recipe for the basic sponge cake from here 

KIT KAT CAKE USING BASIC CHOCOLATE SPONGE CAKE

INGREDIENTS

FOR THE CAKE :

  • Unsalted butter, softed, not melted – 170g
  • Sugar – 170g
  • All purpose flour – 115g
  • Cocoa powder – 55g
  • Baking powder – 1tsp
  • Large Eggs – 3
  • Milk –  2 tbsp (optional)
  • pinch of salt

FOR THE SUGAR SYRUP :

  • Sugar – 1/4 cup
  • Water – 1 cup

FOR THE WHIPPING CREAM :

  • Dreamwhip – 2 sachet
  • Cold Milk – 1 cup
  • Vanilla Essence – 1tsp

FOR THE GANACHE :

  • Semisweet or bittersweet chocolate, cut into small pieces – 8 ounces (227 grams)
  • Heavy whipping cream – 3/4 cup (180 ml)
  • Unsalted butter – 1 tablespoon (14 gram)

METHOD

TO PREPARE THE CAKE PAN :

Butter a cake pan and sprinkle about 1 tbsp of flour.  Gently toss the pan so that all sides are coated with flour.

TO MAKE THE CAKE :

  1. Powder the sugar finely.
  2. Beat the butter using the handmixer for about 1 minute till it is soft.
  3. Add powdered sugar to butter and beat on high speed till it becomes creamy.
  4. Add the eggs one by one and beat well  on high  speed for around 10 minutes .
  5. In another bowl, sieve the flour,  baking powder and cocoa powder.
  6. Add one third of the flour, cocoa mixture with the egg mixture . Stir with a spoon till it is well blended.  Repeat this 2 more times till the all of the flour mixture is incorporated into the egg mixture.
  7. You should have a smooth thick batter. If your batter is thick , add about 2 tbsp of milk and stir.
  8. Pour the batter into the pan . The batter should fill only till 2/3 rd of the pan . Bake at 180 degree for around 25  minutes .
  9. To test whether the cake is done, insert a tooth pick. If the tooth pick comes out clean ( without any crumbs on it) , then the cake can be taken out of the oven .
  10. Let the cake cool to room temperature before applying icing.

TO MAKE THE SUGAR SYRUP:

Stir the sugar, water and essence in a small saucepan and bring to boil. Simmer till the sugar has dissolved, and cool completely.

TO MAKE THE WHIPPING CREAM:

Mix the contents in 2 small sachets of Dreamwhip with 1 cup cold mix and a teaspoon of vanilla essence. Beat on high speed for 5-7 minutes till you get light fluffy peaks. This will give about 4 cups whipped cream.

TO MAKE THE GANACHE :

  1. Place the chopped chocolate in a medium sized stainless steel, or heatproof bowl. Set aside
  2.  Heat the cream and butter in a medium sized saucepan over medium heat. Bring just to a boil.
  3. Immediately pour the boiling cream over the chocolate and allow to stand for 5 minutes. Stir until smooth.
  4. When Ganache has completely cooled, beat until soft and fluffy. Then spread the frosting on top of the cake.

HOW TO ASSEMBLE :

  1. When the cake is cooled, use a long serrated knife and cut off the top to make it straight. Slice the cake horizontally into 2  or  3 equal parts..
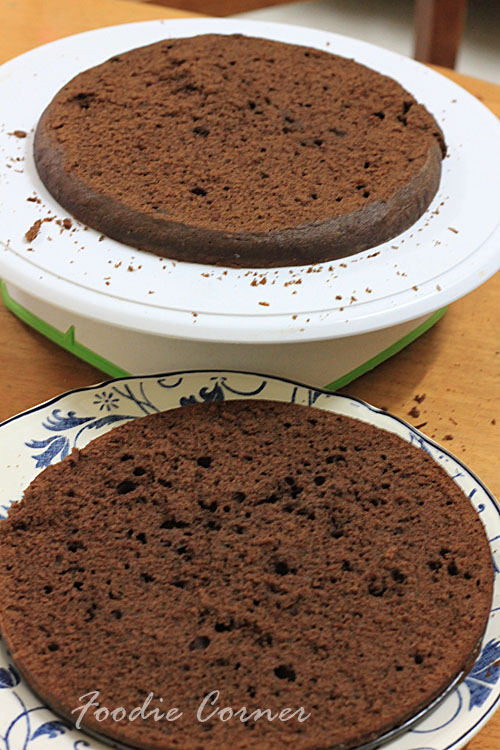
  2. Pour one-third of the sugar syrup on the first cake layer .
  3.  Spread the whipping cream over the first layer.
  4. Take the second cake slice on top of the first layer . Pour one third of the sugar syrup and spread the whipped cream.
  5. Repeat the process with the third layer.
  6. Cover the whole cake with whipping cream.
  7. Pour the ganache over the top of the cake and spread it . Spread the ganache to the sides of the cake .
  8. Stick Kit Kat’s all the way around the cake – they will just stick to the frosting. Pour M&M’s on the top to give the finishing touch.
  9. Refrigerate for 2 hours so that the kitkat gets glued to the cake.

Note :

  •  Eggs, butter and milk should be at room temperature
  •  Mix in flour and milk to the batter using a wooden spoon, do not use beater.

kitkat cake - IMG_0930

Khaliat Nahal (Honeycomb Buns or Bee’s Hive Buns)

 IMG_7632

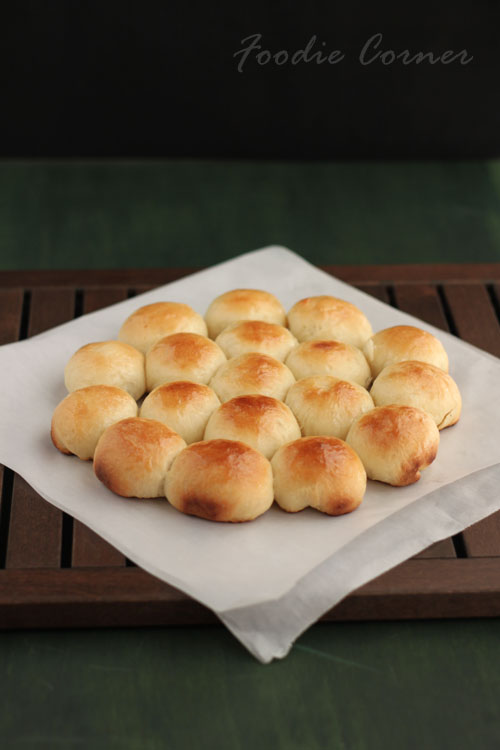
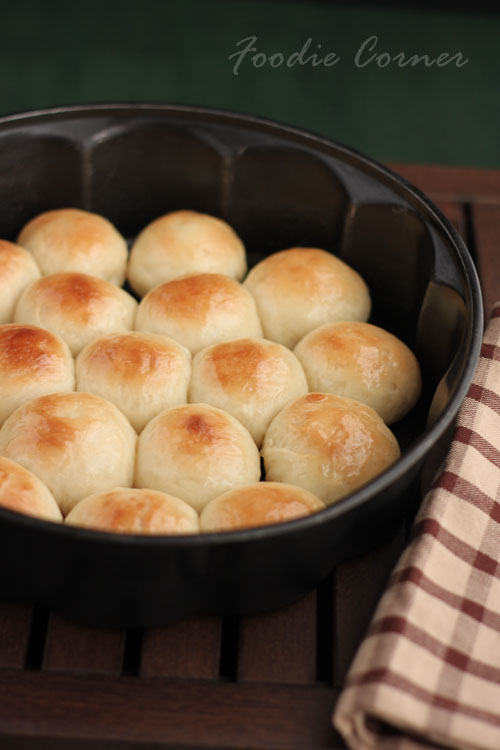
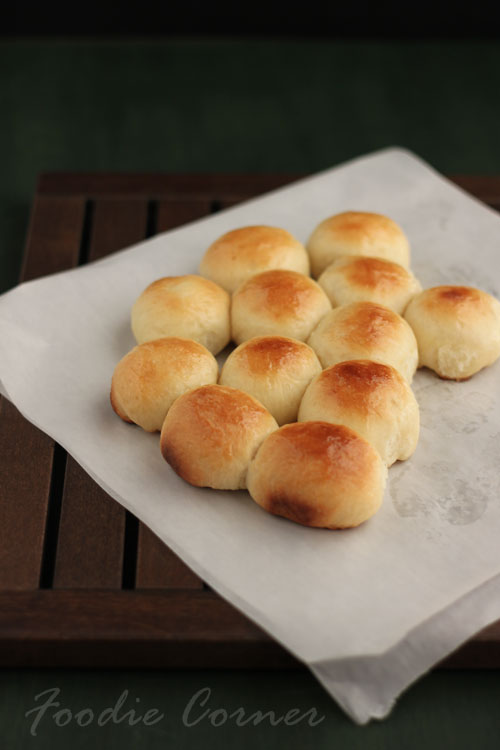
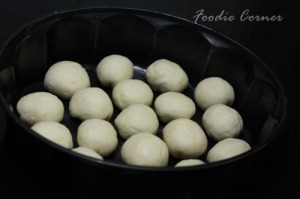
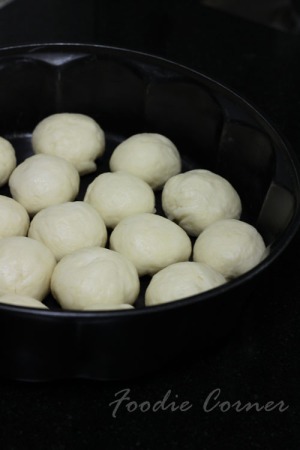
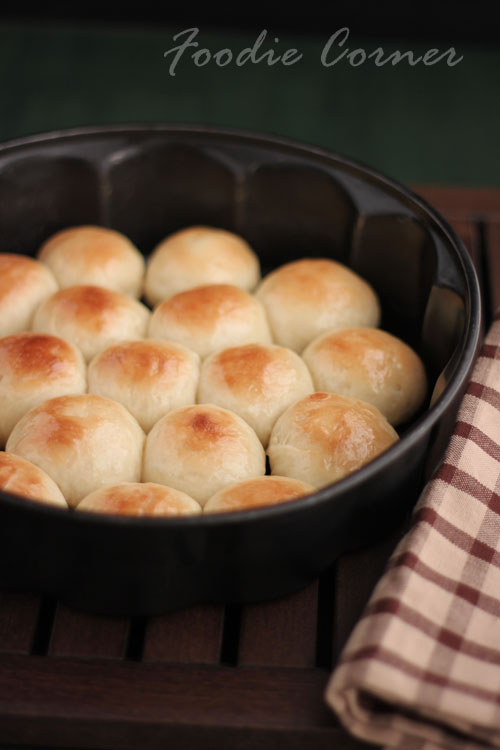
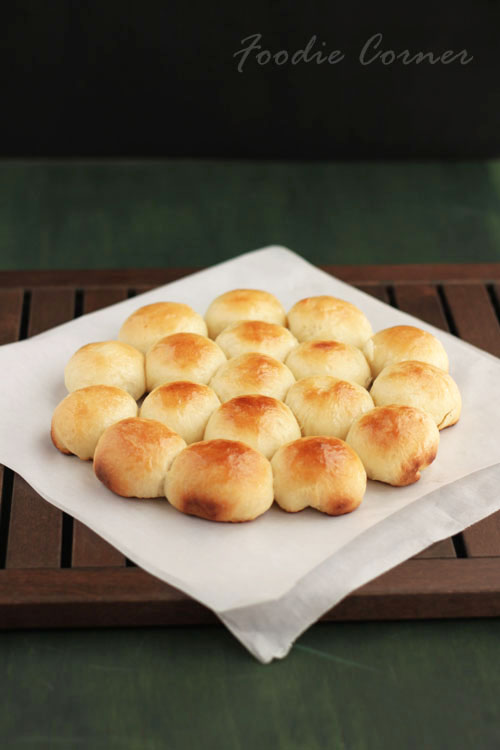
 For October’s We Knead to Bake Aparna had selected  Khaliat Nahal or Honeycomb Buns .  Khaliat al Nahal (also known as Khaliat Nahal) translates as Bee’s Hive in Arabic. This is because the buns are baked close to each other in a round pan where they form a honeycomb like pattern. They’re traditionally made sweet and glazed with honey flavoured syrup, though savoury versions are also made.

 This recipe makes 18 smallish buns, and if you want fewer you can halve the recipe to make about 9 or 10 buns. For half the recipe, use a 6” or 7” round cake tin to bake the Honeycomb Bread.  You can also bake them individually in muffin tins if you prefer, except they would not have their characteristic “honeycomb” pattern.

IMG_7612

Traditionally, the filling used in this bread is a small piece of plain cream cheese but here choice of filling is entirely up to you. You can make it sweet or savoury.

IMG_7648

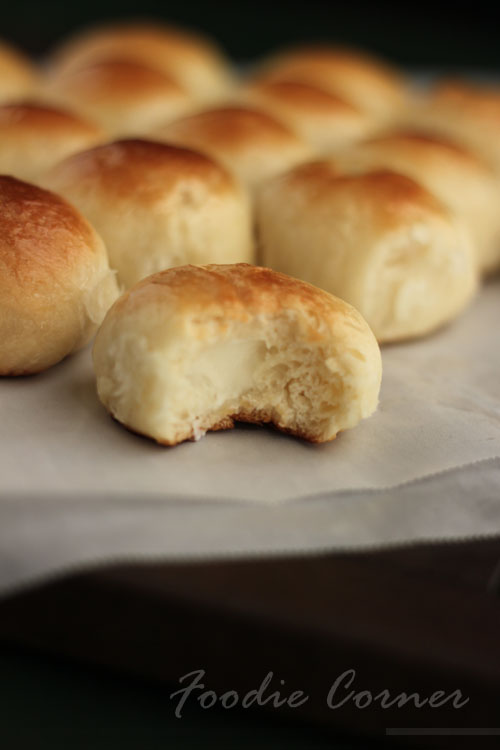
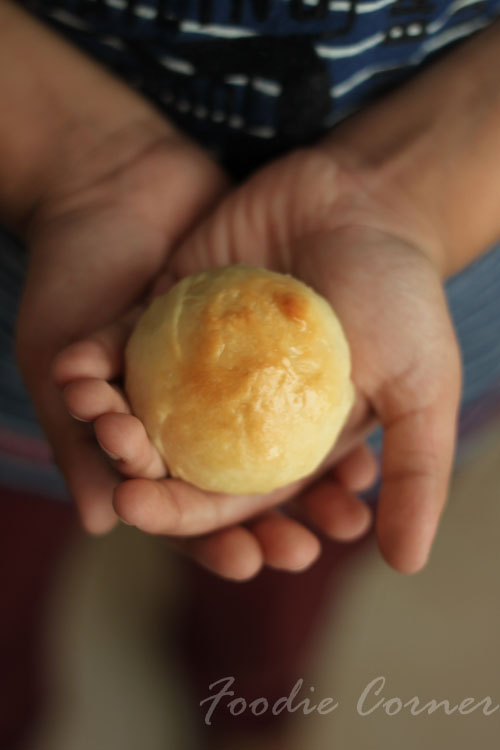
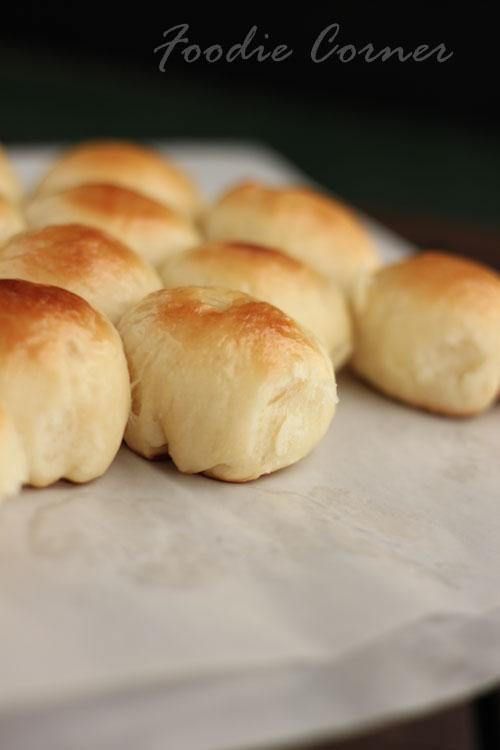
   This is by far the softest bread I have ever made !!! And the kids really loved it … The bread disapperared real fast 🙂

IMG_7655 IMG_7656

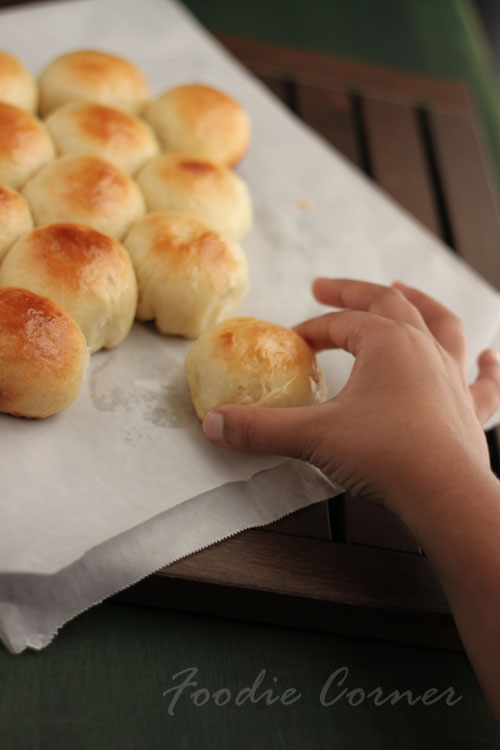
My little one was so impatient to have the bread that he couldn’t wait till my photosession was over 🙂

Hubby too was real impressed but he wanted it to be a savoury filling the next time.. And I obliged by baking him a savoury version with chicken keema filling the next day 🙂

IMG_7659

INGREDIENTS

FOR THE DOUGH

  • 1 cup lukewarm milk
  • 1 1/2 tsp instant yeast
  • 1 tsp sugar
  • 2 1/2 cups all-purpose flour
  • 3 tbsp sugar (for sweet bread)
  • 3/4 to 1 tsp salt (for savoury bread) OR 1/4 tsp salt (for sweet bread)
  • 40gm butter, melted
  • 2 tbsp milk for brushing the dough
  • 2 tbsp white sesame seeds for sprinkling on top (optional; only for savoury bread)

FOR THE FILLING

1 cup of filling (approximately) of your choice, either sweet or savoury

Savoury – cream cheese OR crumbled feta cheese OR crumbled paneer/ cottage cheese, flavoured according to your choice. You can also use any other savoury filling that you want. I used a combination of crumbled paneer, herbs, chilli flakes, a little garlic and chopped spring onion.
Sweet – cream cheese (traditional filling), or any other filing of your choice like chocolate,   dried fruit like dates, raisins, chopped nuts, chopped fruit , sweetened coconut filling, etc.

Sugar Syrup/ Glaze:

  • 3/4 cup sugar
  • 1/2 cup water
  • A pinch of saffron
  • 1 tbsp honey
  • 1 tsp lime/ lemon juice
  1. Make sure your melted butter has cooled down a bit before using it. Put 2 cups of the flour, salt, sugar (if making the sweet bread only) and melted butter in the bowl of your processor. Run a couple of times to mix well.
  2. Combine the milk, sugar and yeast in a small bowl and keep for 5 minutes. Add this to the processor bowl and knead until you have a smooth and elastic dough which is not sticky. Add as much of the remaining 1/2 cup of flour as you need to get this consistency of bread dough.
  3. Shape the dough into a ball and place it in a well-oiled bowl, turning it to coat completely with the oil. Cover and let it rise till double in volume, for about an hour.

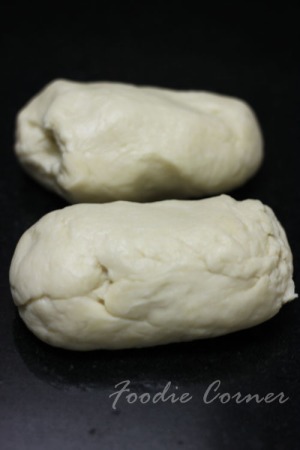
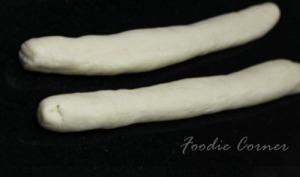
IMG_75584. Turn the dough out onto your work surface. You won’t really need to flour it as the dough is quite manageable as it is. Cut it into 2 halves. With your palms, roll out each half a “rope” about 9” long.

IMG_7574
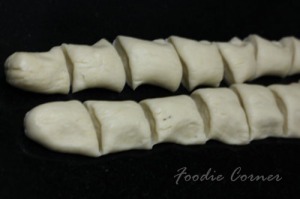
5. Cut each rope into 1” pieces so you have a total of 18 pieces.

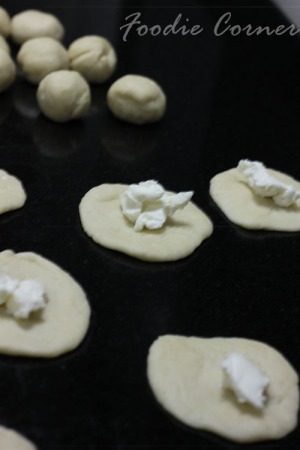
IMG_75756. Take each piece and flatten it out a little and place half a teaspoon of filling in the centre.

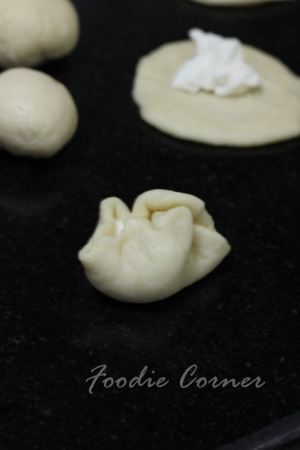
IMG_75907. Pull up the sides and wrap the dough around the filling, pinching it closed at the top. Smoothen it into a round ball.

IMG_7592

8. Place this in a well-greased round 9” cake tin. Repeat with the remaining 17 pieces and the filling. Arrange the filled balls of dough in concentric circles, filling the base of the cake tin.

IMG_7593

9. Cover with a kitchen towel and let it rise for about 30 to 40 minutes. Brush the tops with milk and sprinkle the sesame seeds over this. Don’t use the sesame seeds for sweet bread, only for the savoury one. Bake the buns at 180C (350F) for about 25 minutes, until they’re done and a nice golden brown on top.

IMG_7599

10. If you’re making the sweet version, make the sugar syrup/ glaze during the first rise of the dough. For this put the sugar, water and saffron in a small pan and bring to a boil. Turn down the heat and let it simmer for a few minutes until it starts thickening a bit. Take it off the heat and add the honey and the lime/ lemon juice. Mix well and let it cool. Keep aside till needed.

11. When the sweet buns come out of the oven, pour the syrup all over the top of the “Honeycomb”.  The bread should be hot and the syrup/ glaze should be cool. If you want your Honeycomb Buns to be less sweet, just brush the syrup/ glaze over the top. ( I skipped the honey in the recipe as kids do not prefer honey’s taste )

IMG_7609

12. Let it sit for a while for the syrup/ glaze to set a bit. Serve them warm with tea/ coffee.

IMG_7653

IMG_7632bright

Here’s a good video to watch in case you think you need it.  http://xawaash.com/?p=6593#sthash.WYkAg0DL.dpbs


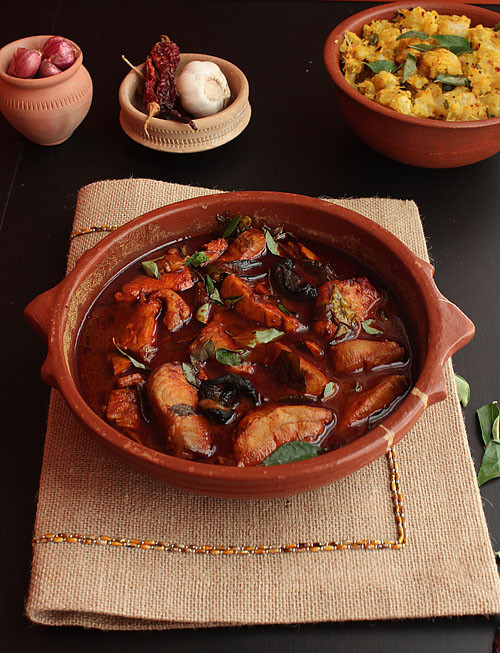
Kappayum Meen curryum – Boiled Tapioca and Spicy Red Fish Curry with Coccum

IMG_3191

Back after a long blogging break..  Had a great time at my homeland during the two months of summer vacation …an  escape from the scorching heat here to the monsoon bliss in Kerala… Kids enjoyed the most  –  the rain , fun with cousins and grand parents .

There is a small poultry farm now back at home .Not a farm exactly, but there are about a dozen  hens, ducks, a few turkeys and 2 geese.. ..   Kids were busy chasing the ducks and hens, but left the turkeys and geese alone , the reason being fear factor 🙂   The first thing kids would do after waking up was to check the hens and collect the eggs

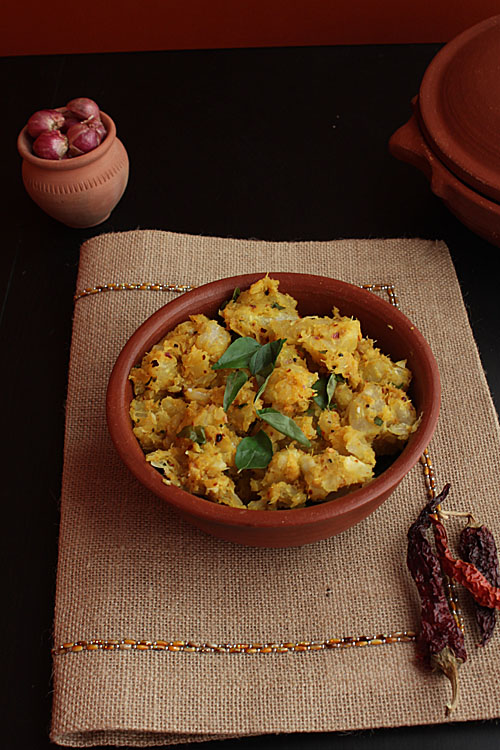
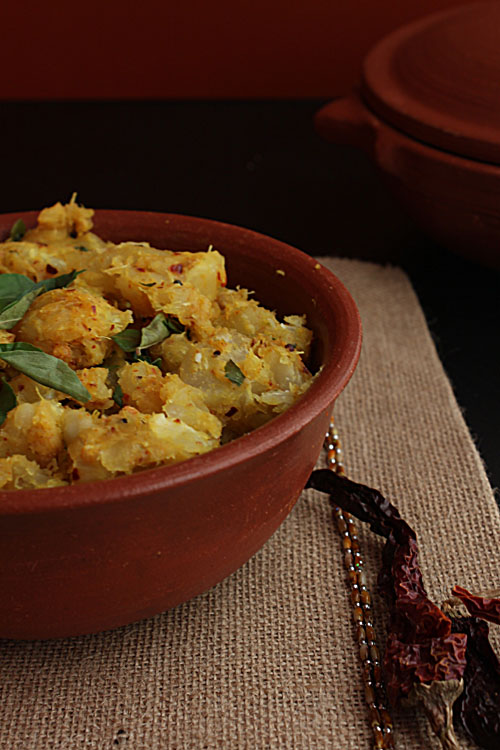
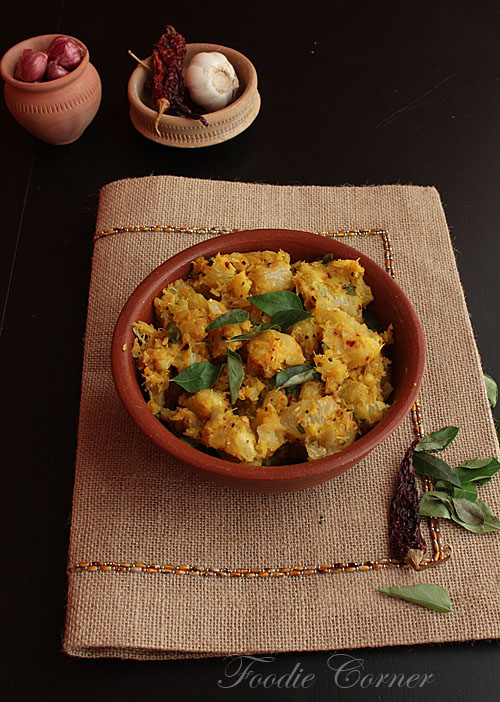
Now , back to the recipe. Tapioca ( or Kappa in Malayalam ) is a staple food in Kerala. Boiled tapioca can be used as a tea time snack or can be used as main course when combined with spicy fish curry .

IMG_3063

Few months back Nags from Edible Garden had posted an easy tapioca dish for the Kerala Kitchen cook along. Though I had made the dish intending to participate in it, couldn’t get to post it. Since kappa was already in the menu, made the red fish curry to go with it.

IMG_3119

IMG_3073

So here’ s the recipe..

RECIPE FOR BOILED TAPIOCA

INGREDIENTS

  • Kappa or tapicoa, cubed  – 500 gm
  • Garlic, crushed -5 cloves
  • Dry red chillies – 5
  • Coconut oil -1 tbsp
  • Mustard seeds – 1/2 tsp
  • Split urad dal or uzhunnu parippu – 1/2 tsp
  • Curry leaves, torn into pieces – 1 strand
  • Turmeric powder – 1/4 tsp

METHOD

  1. Peel the tapioca and wash it thoroughly. Cut into rough cubes by driving the knife in and splitting it off the centre of the tapioca.
  2. Cook the tapioca in a pan with enough water to cover it by an inch, until the pieces are soft (about 10-15 mins).
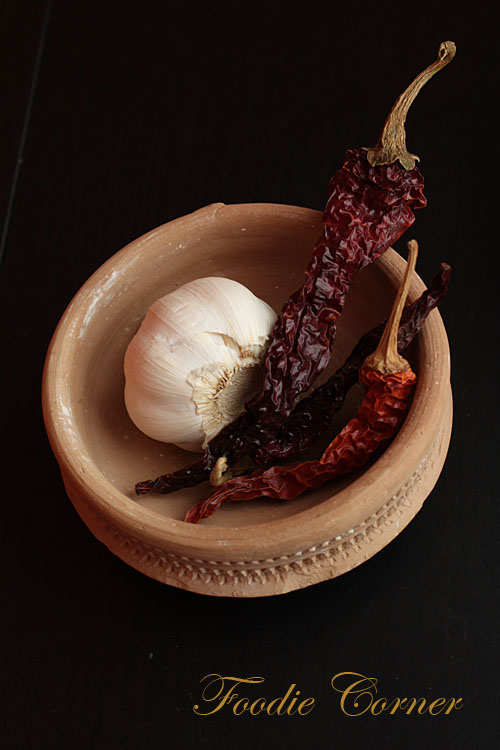
  3. Crush or coarsely grind the garlic and red chillies together in a pestle and Mortar.
  4. Heat oil and add the mustard seeds. When they pop, add the garlic-chilli paste along with the turmeric powder and fry for 10 seconds until fragrant.
  5. Add the cooked tapioca, salt, and the curry leaves. Mix well and continue to stir until the spices coat the tapioca.

IMG_3193_1

RECIPE FOR RED FISH CURRY WITH COCCUM

IMG_3152

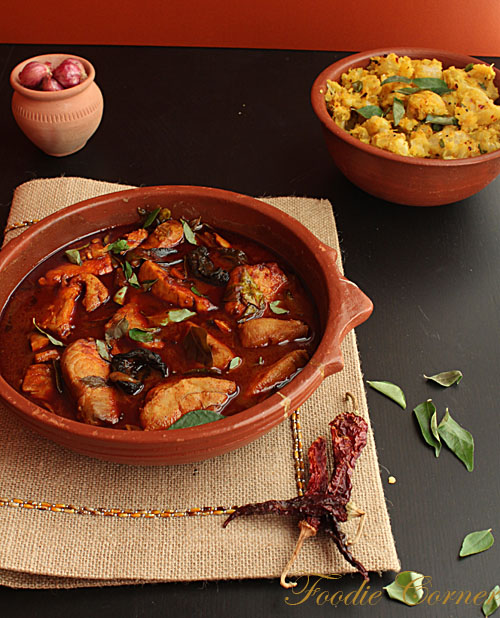
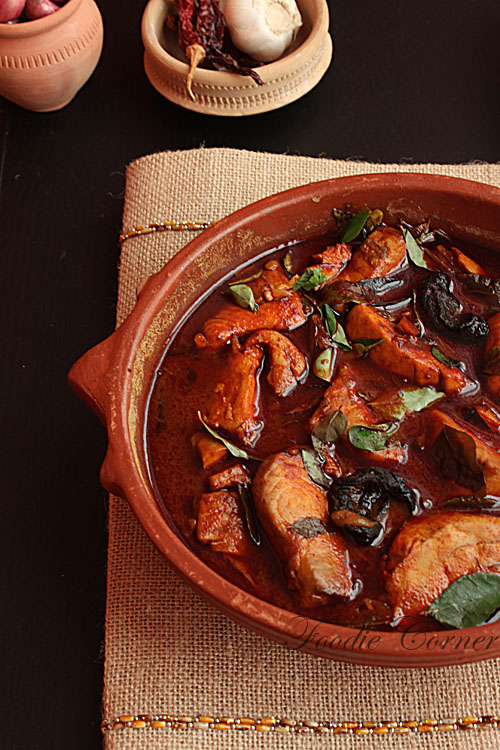
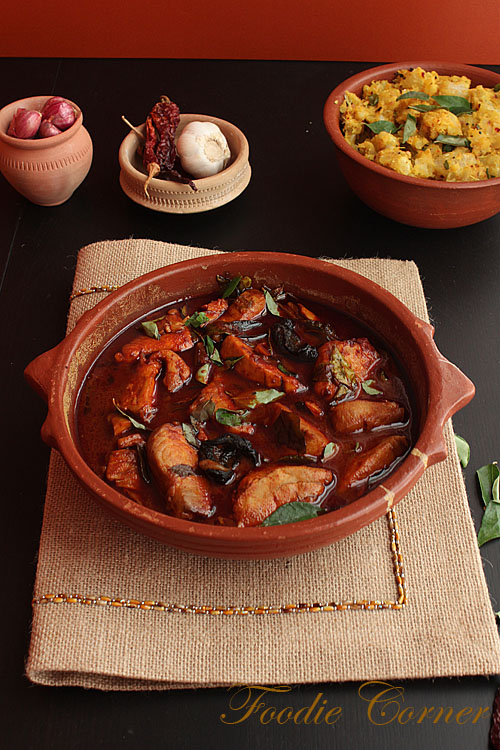
This Fish Curry goes well with tapioca . The curry tastes best when prepared the day before . It lets the fish absorb the flavours of the spices, the fiery red chilli powder and the tanginess of coccum. Also cooking in an earthen pot will add a unique flavour to the fish curry.

The curry gets its deep red colour from the kashmiri chilli powder. Use kashmiri chilli powder that is less spicy , as the recipe calls for 4 tbsp of chilly powder. Or you can cut down the quantity of the chilli powder depending on how spicy you need the curry to be.

IMG_3178

INGREDIENTS

  • Kingfish (or any other big fish ) – 1 kg
  • Small onions / Shallots  – 20
  • Garlic cloves – 4
  • Ginger  – 1″ piece
  • Kashmiri chilli powder – 4 tbsp
  • Turmeric powder – 1 tsp
  • Coccum (kudempuli in malayalam) – 4
  • Fenugreek seeds (uluva  in malayalam) – 1 tsp
  • Coconut oil – 1 tbsp
  • Curry leaves – a handful
  • Salt – to taste

METHOD

  1. Clean the coccum and keep it aside in 1/2 cup of water.
  2. Chop thinly the shallots, garlic and ginger .
  3. Mix the kashmiri chilli powder ans turmeric powder in 1/2 cup of water to form a smooth paste. Keep aside.
  4. Heat oil in a  pan or earthn pot . Add fenugreek leaves and let it splutter. Add the curry leaves
  5. Saute the shallots, garlic and ginger.
  6. Add the chilli and turmeric powder paste and saute well for 7-10 minutes .
  7. Add 2 cups of water and coccum.
  8. Add salt to taste and let it boil
  9. Add the fish pieces, cover with lid and boil the curry on medium flame till the fish pieces are cooked well and oil floats on top.
  10. Turn off the flame and garnish with handful of curry leaves

NOTE : You can adjust the quantity of the kashmiri chilli powder depending on how spicy you want.  The fish curry gets it deep red colour from the kashmiri chilli powder.

IMG_3191

Bialys – Chewy Rolls Topped With Caramalised Onions

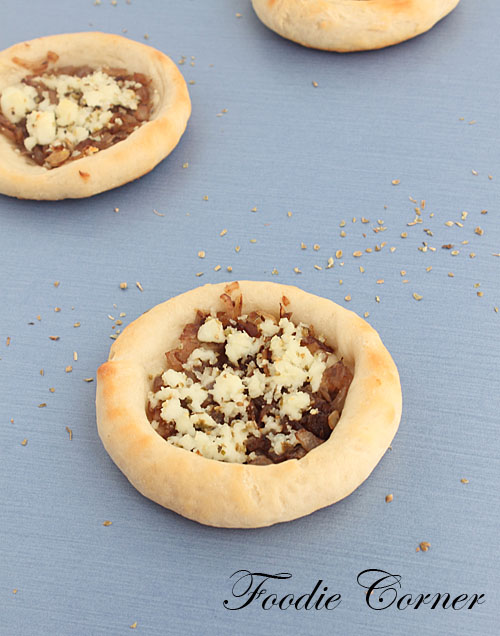
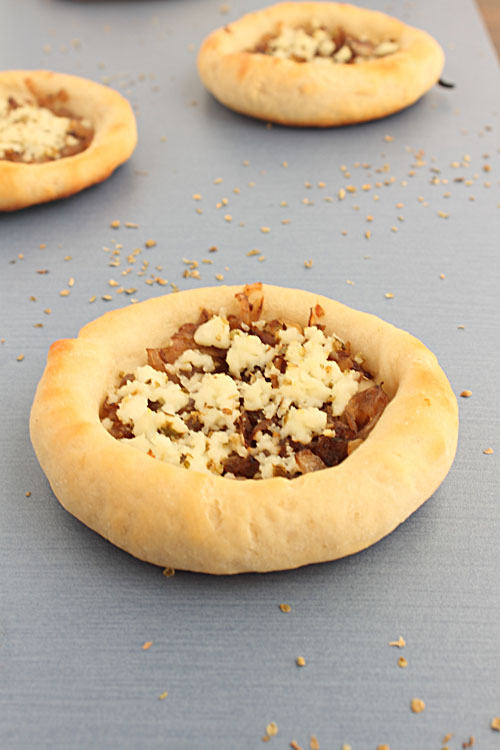
IMG_5892Bialys – that was the challenge for the month of May in the Breadbaking group -We Knead to Bake hosted by Aparna.  Aparna comes up with these varied kinds of breads which makes me nervous to attempt on the first glance.. but she explains it in detail that when the final action takes place, it comes out well without much fuss. Thanks Aparna for yet another wonderful challenge…

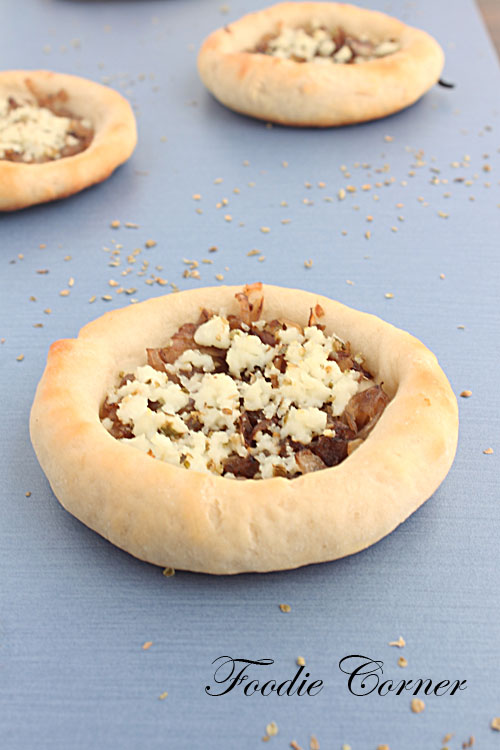
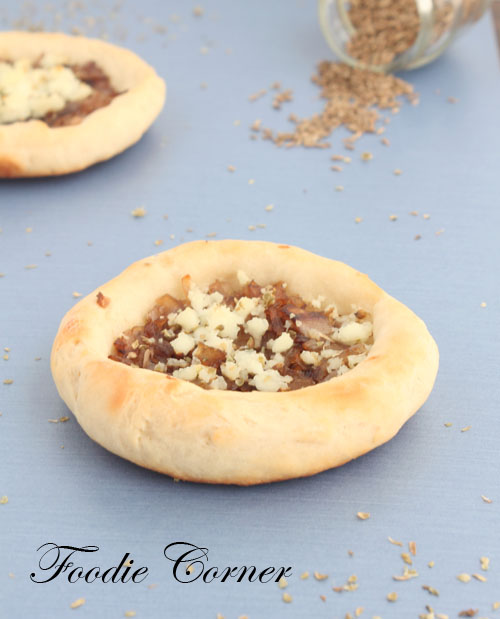
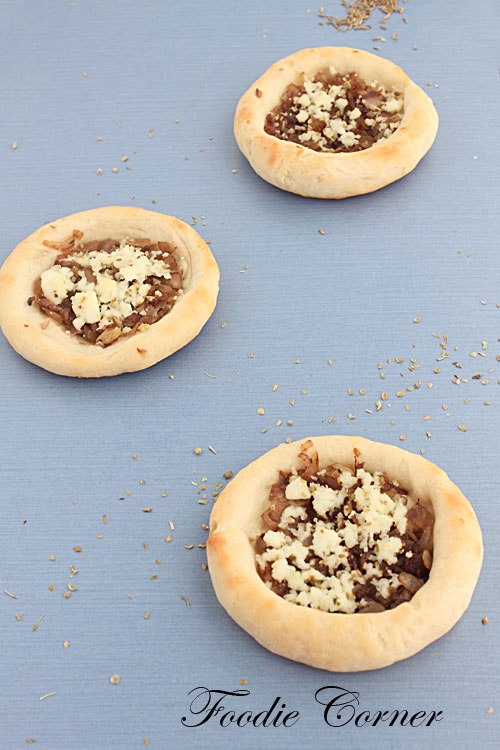
The Bialy (pronounced bee-AH-lee) maybe thought of as a cousin to a Bagel but is quite different from it. For one thing, a Bialy is baked whereas a Bagel is boiled and then baked. A Bialy is round with a depressed middle, not a hole, and typically filled with cooked onions and sometimes poppy seeds.

IMG_5916

The method of preparation  – Mix the ingredients of the dough and knead well. Let it rise for atleast 2 hrs. Roll the dough into 8 balls and let it rise again. Then comes the fun part of shaping the dough. The dough is not rolled by a roller but rather using your hands, by holding the dough using both the hands and turning the dough like you do a steering wheel ..  sounds complicated?? Check this video to get a clear picture .. http://www.youtube.com/watch?v=TB908K3Kd6k

Fill in the depression of the dough using caramalised onions and crumbled paneer and bake at 230C (450F) for about 10- 15 minutes. Bialys are on the softer side, so be careful not to overbake them.. I baked for 15 minutes and my bialys were not too soft , I think around 12 minutes were enough in my oven.

The verdict – my elder son loved it, but the younger one was happy with the fillings removed 🙂

IMG_5926

recipe Adapted from King Arthur Flour)

INGREDIENTS

 FOR THE DOUGH

  • 1 teaspoon instant yeast
  • 1 tbsp sugar
  • 1 1/4 cup water
  • 3 cups all-purpose flour (use bread flour if you can find it or all-purpose flour + 1 tbsp vital wheat gluten)
  • 1tsp salt
  • Milk for brushing the dough

FOR THE ONION FILLING

  • 1 tbsp oil
  • 3 medium onions, finely chopped
  • 1 1/2 tsp cumin seeds
  • 3/4 tspgaram masala
  • Salt to taste
  • 100gm paneer, crumbled (optional)

 method

Mix the instant yeast, sugar, salt and flour . Add the warm water and knead until the dough comes together as a mass. Add a little more water or flour (not too much) if you need it, until your dough is smooth and elastic but not sticky.

Shape it into a ball and put it in a well-oiled bowl, turning the dough till it is well coated. Cover and let it rise till about double. This should take about 2 hours. If you’re not making the Bialys right away, you can refrigerate the dough overnight at this point. When ready to make them, keep the dough at room temperature for about half an hour and then proceed with the rest of the recipe.

In the meanwhile, make the filling. Heat the oil in a pan, and add the cumin seeds. When the crackle, add the onions, and sauté over low to medium heat. Sprinkle a little salt and continue sautéing until they become soft and turn golden brown in colour. Add the garam masala and stir well. Keep the caramelised onions aside to cool.

Sprinkle your work surface lightly with flour and place the dough on it. Divide it into 8 equal pieces and shape each one into a roll

(See this video for shaping rolls, if necessary http://www.youtube.com/watch?v=TB908K3Kd6k )

Place the rolls on a lightly greased baking sheet and cover them with a towel. Let them rise for about one hour (about  1 1/2 to 2 hours for refrigerated dough)  till pressing with a finger on the top leaves a dent.

Work on one piece at a time, while you keep the others covered so they don’t dry out. When the rolls are ready, pick them up one at a time and using your fingers, form the depression in the middle. Hold the roll like a steering wheel with your thumbs in the middle and your fingers around the edges. Pinch the dough between your thumb and fingers, rotating as you go and gradually making the depression wider without actually poking a hole through.

Remember not to press on the edges, or they will flatten out. Once shaped, you should have a depression about 3” in diameter with 1” of puffy dough around the edge, so your Bialy should be about 4” in diameter. Prick the centre of the Bialy with a fork so the centre doesn’t rise when baking.

Place the shaped dough on a parchment lined (or greased) baking tray leaving about 2 inches space between them. Place the caramelised onion filling in the depressions of each Bialy. Brush the outer dough circle with milk. If you’re using crumbled paneer, add it to the Bialys in the last 5 minutes of baking or it will get burnt.

Bake the Bialys at 230C (450F) for about 15 minutes till they’re golden brown in colour. Cool them on a rack. Serve slightly warm or at room temperature. This recipe makes 8 largish Bialys.

IMG_5938

IMG_5892_shot_1