

This is a long overdue post . A little bit of flashback before that. I had left my job due to personal reasons and was wondering how to utilise the spare time. And to almost all friends whom I pestered with my ranting on what to do now, the answer was – ” Why don’t you start baking as a start up business? ” I love to bake, but as a start up – I’m apprehensive. And seeing the beautiful cakes flooding the net, I am even more petrified. But at some point you have to start … So slowly I am learning the technicalities of cake decorating, one step at a time…
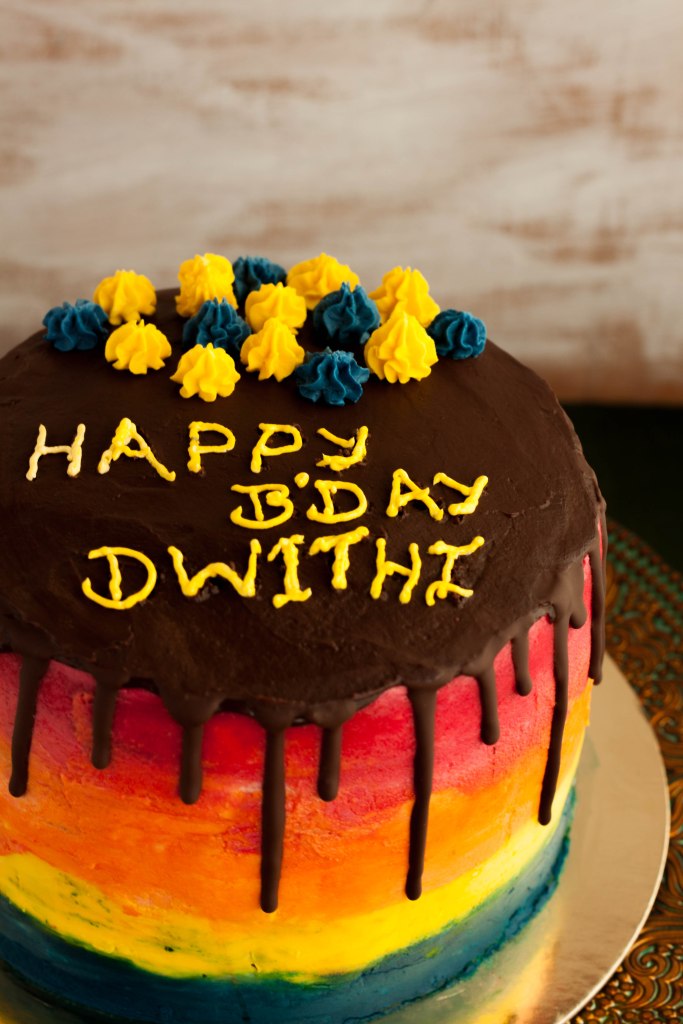
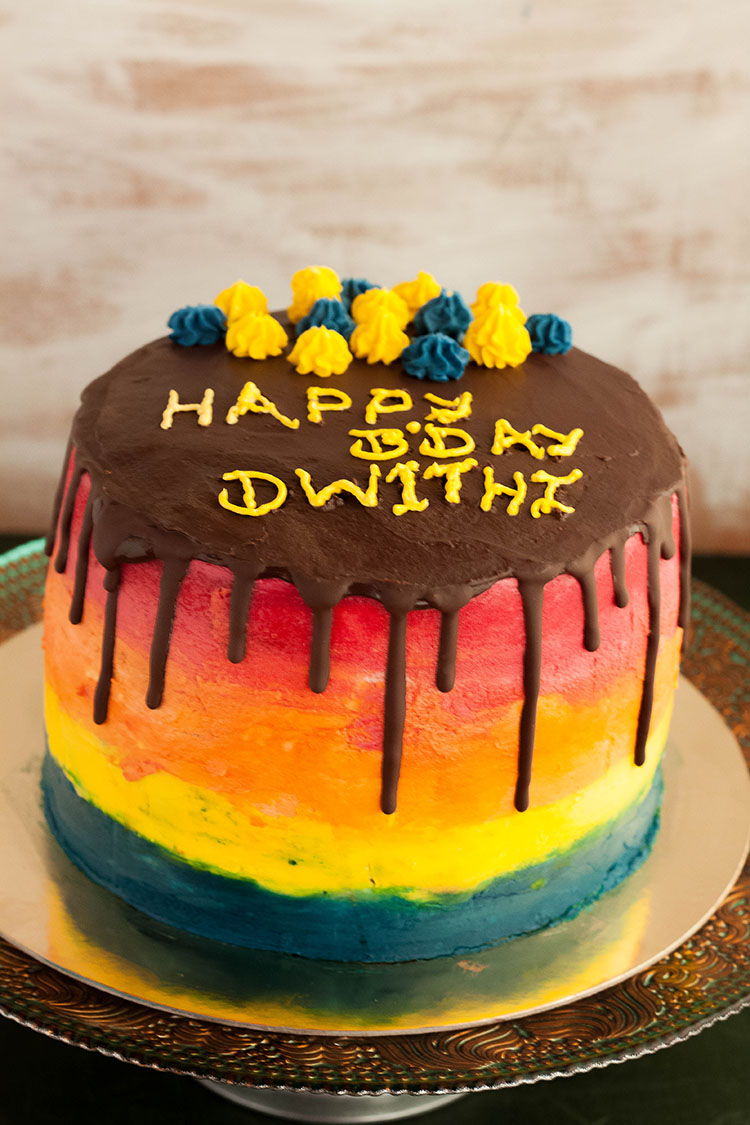
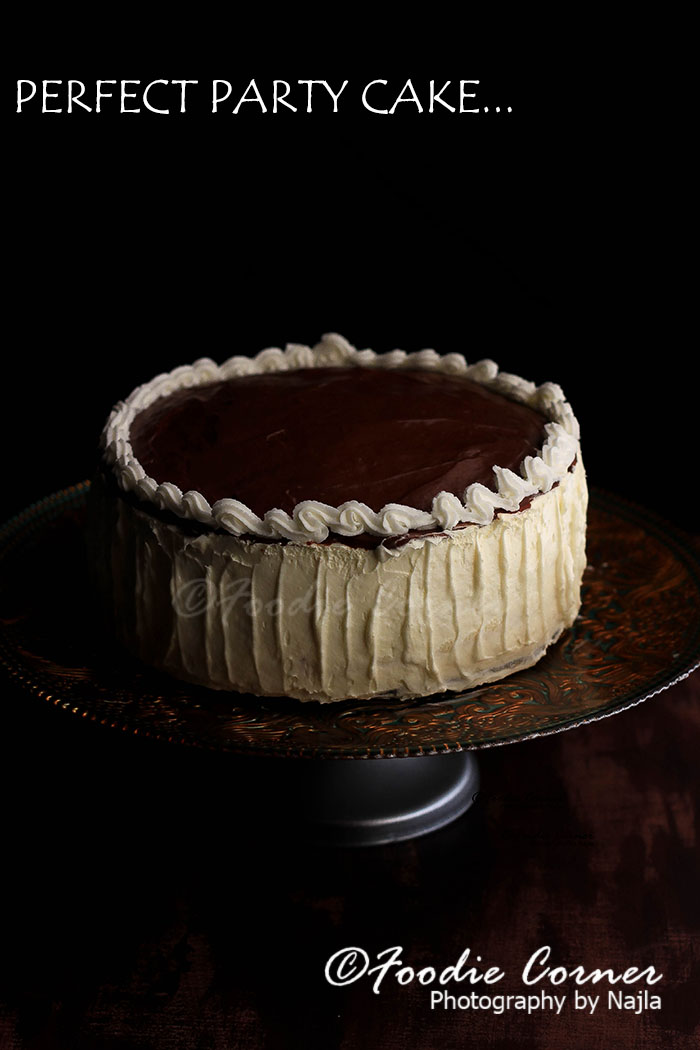
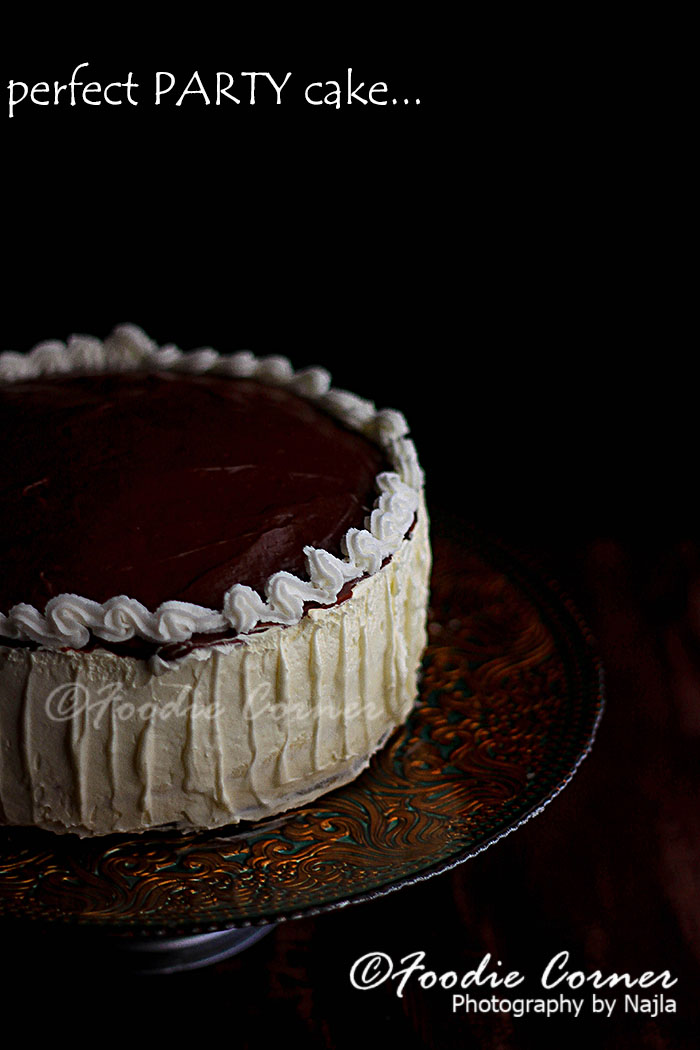
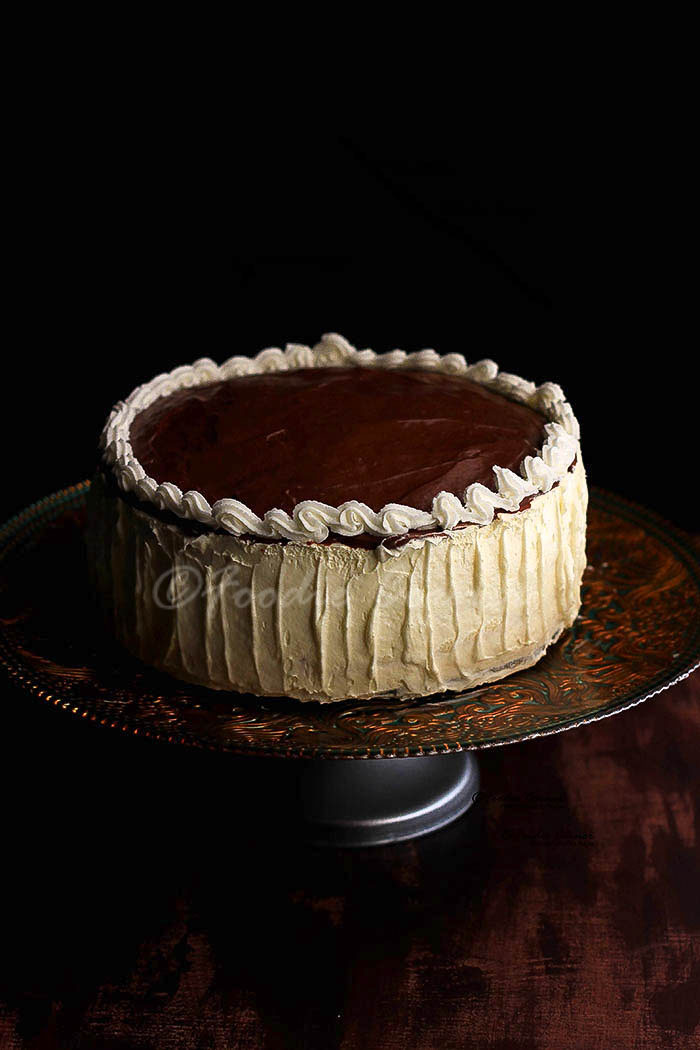
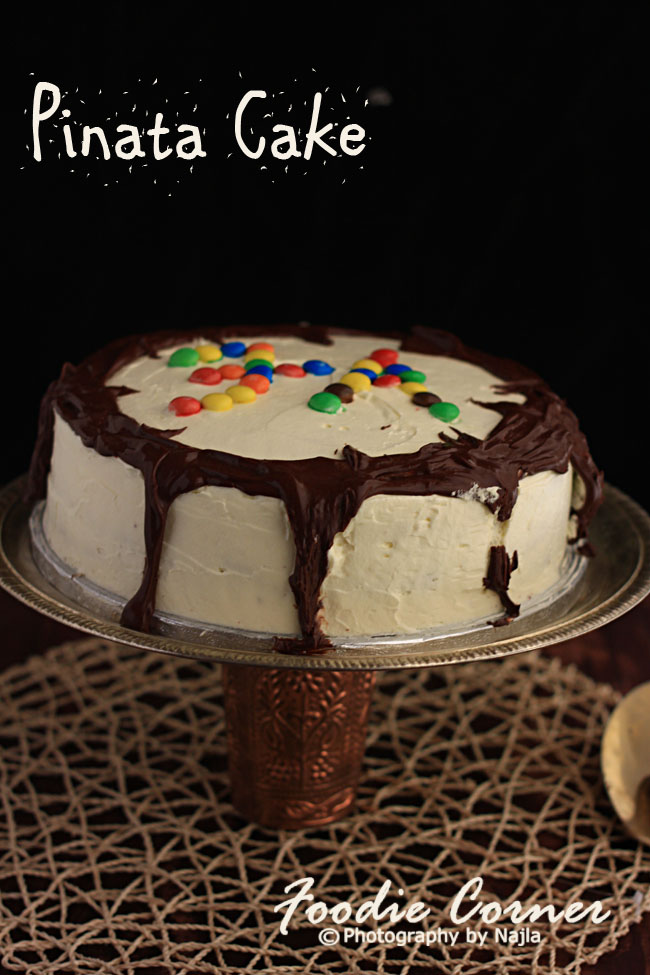
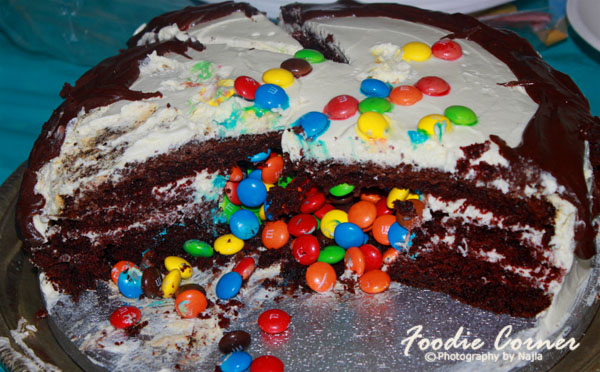
The first “official order ” for cake was for our friend’s little daughter’s birthday. And I decided to try the Rainbow Cake , which kid doesn’t like a rainbow 🙂 . Later I got worried as one cake won’t be enough for all the friends at the party and so made a Red Velvet Cake too. A selfish motive too – I wanted people to try out my cakes and get honest feedbacks.
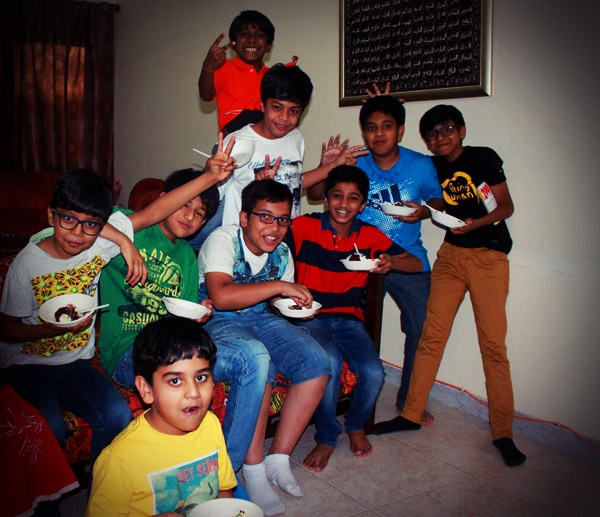
The birthday girl was quite thrilled to see the colourful cakes . My little happy client gave me a thank you note for bringing her the cake. How sweet … !! And as for the verdict from my friends,( or future would be clients 😀 ), it was a thumbs up 🙂
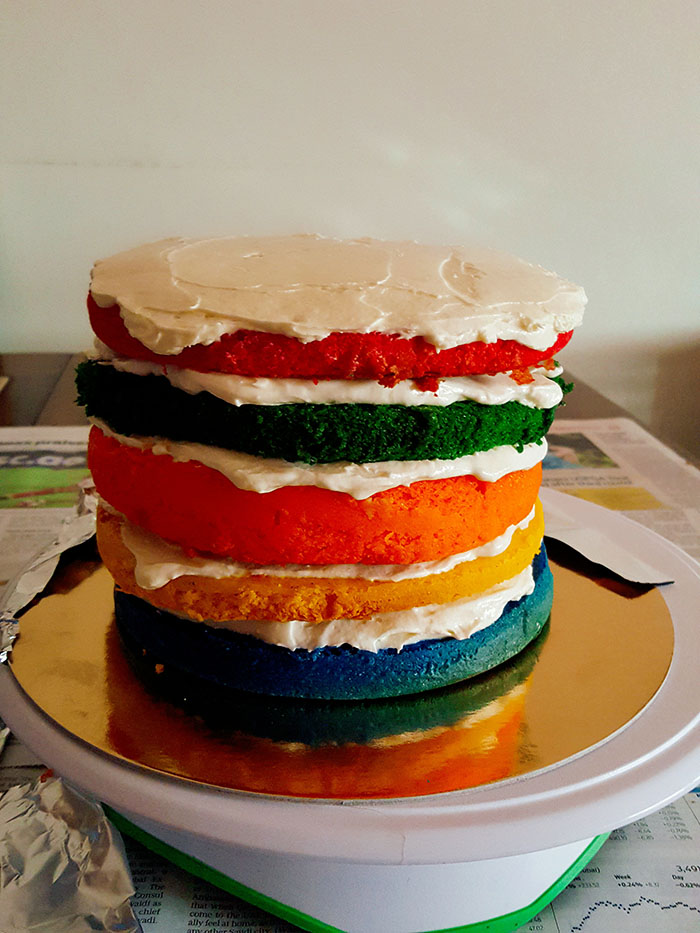
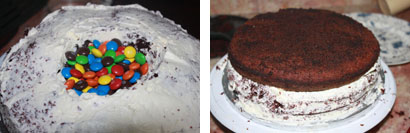
Let’s move on to the recipe. This is the same recipe for the 1-2-3-4 cake I had blogged earlier. The batter was divided into 6 parts, added different colours to each layer , poured into individual pans and baked . I could bake 2 pans at the same time , but still baking all the layers will take time. Better bake the cakes a day in advance and then do the frosting the next day .
And here’s wishing all my readers a very vibrant and joyful New Year. May all your dreams come true…
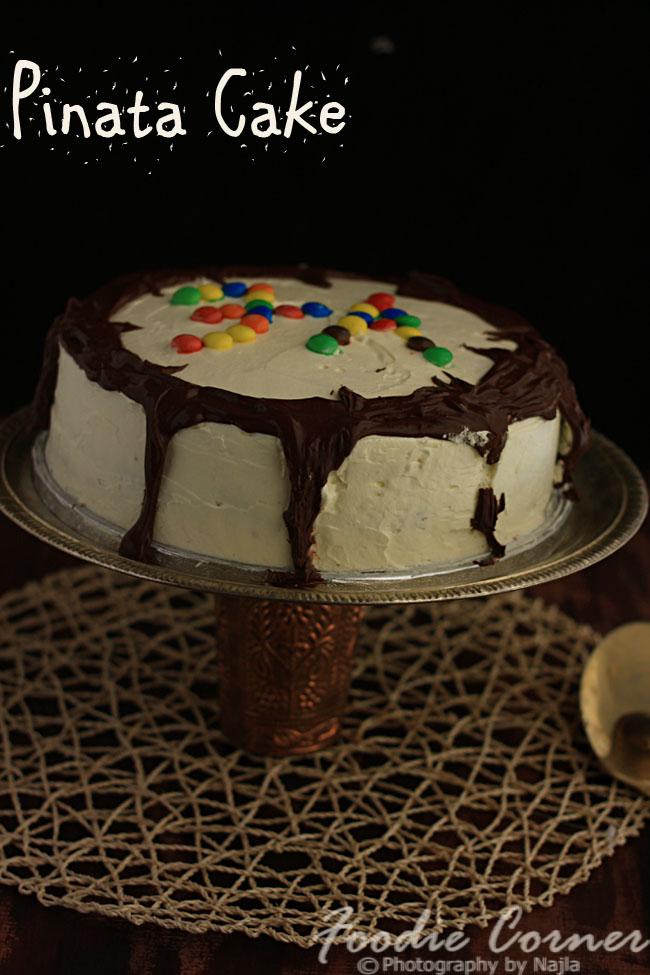
RAINBOW CAKE
INGREDIENTS
FOR THE CAKE
- Butter – 1 cup
- Powdered Sugar – 2 cups
- Flour – 3 cups
- Egg – 4
- Salt – ¼ tsp
- Baking powder – 3tsp
- Milk – 1 cup
- Vanilla essence – 1 tsp
FOR SUGAR SYRUP
- 1/4 cup sugar
- 1 cup water
FOR FROSTING
- Whipping cream – 2 cups
- Mascarpone cream – 250gm
- Icing sugar – 3tbsp
METHOD
TO PREPARE THE CAKE PAN
Butter a cake pan and sprinkle about 1 tbsp of flour. Gently toss the pan so that all sides are coated with flour.
TO MAKE THE CAKE
- Separate the egg yolks and whites.
- In a deep bottomed bowl, beat the egg whites till they whip up. It will look like whipped cream. Keep it aside.
- In another deep bottomed bowl, beat butter using egg beater for 2 minutes.
- Add powdered sugar to the butter and beat well till it looks creamy.
- Add the egg yolks one by one and beat well for around 10 minutes
- In another bowl, sieve flour and baking powder.
- Mix one third of the flour mixture to the egg yolk mixture slowly using a wooden spoon. Add one third cup of milk and mix again. Repeat adding flour and milk alternately 2 more times.
- Add the vanilla essence .
- Add the egg white to the batter . Using a spoon slowly mix in the egg whites using the cut and fold method.
- Pour the batter into the pan . The batter should fill only till 2/3 rd of the pan or you can use 2 pans. Bake at 180 degree for around 30 minutes . You can test if the cake is done, by inserting a tooth pick . If the tooth pick comes out clean ( without any crumbs on it) , then the cake can be taken out of the oven .
- Let the cake cool to room temperature before applying icing
TO MAKE THE SYRUP:
Stir the sugar, water and essence in a small saucepan and bring to boil. Simmer till the sugar has dissolved, and cool completely.
TO ASSEMBLE :
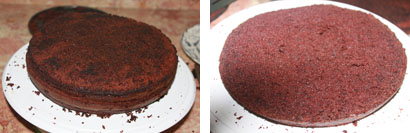
- When the cake is cooled, use a long serrated knife and cut off the top to make it straight. Slice the cake into 2 halves (if you have used a single cake pan).
- Pour the sugar syrup on both halves to make it soft.
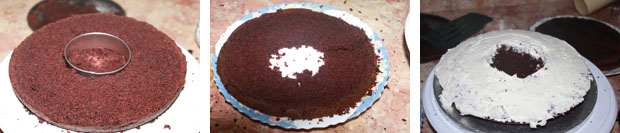
- On top of the first half spread the whipping cream or any filling. Place the second half , soaked side down, on top of the first.
- Coat the top and sides of the cake with cream to give a thin uniform coating.
- Keep in fridge till the icing sets. better to keep for atleast 3 to 4 hours.
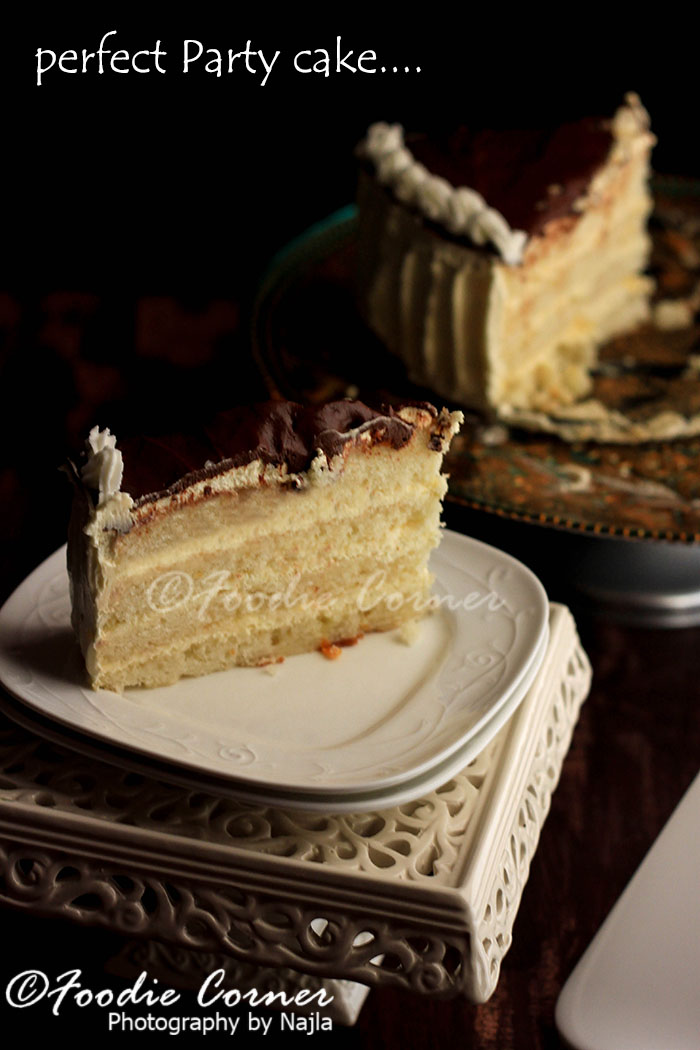
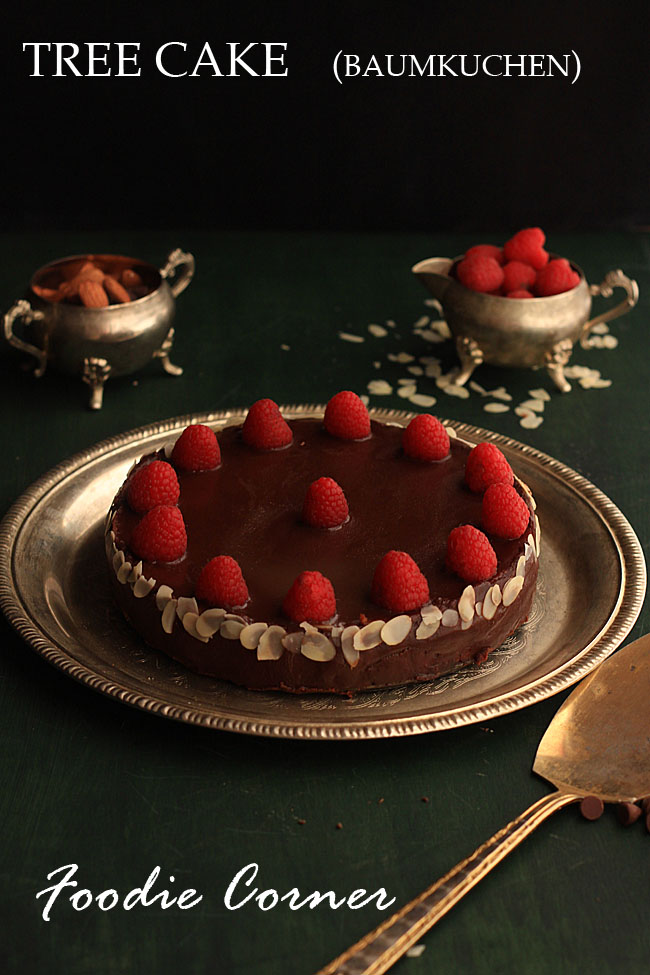
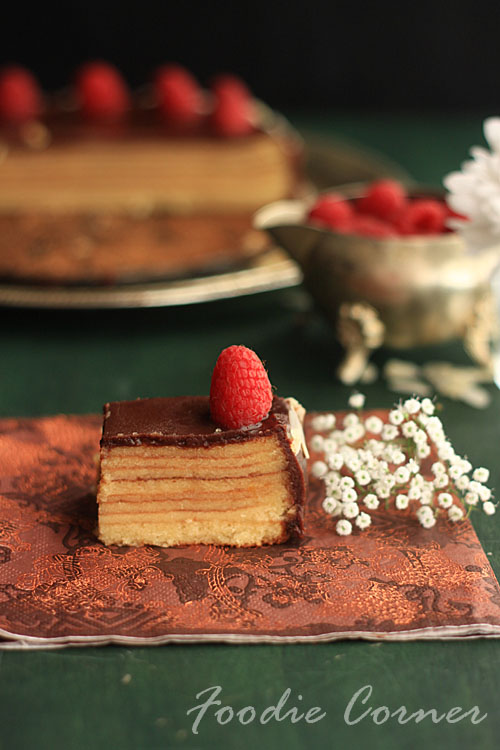
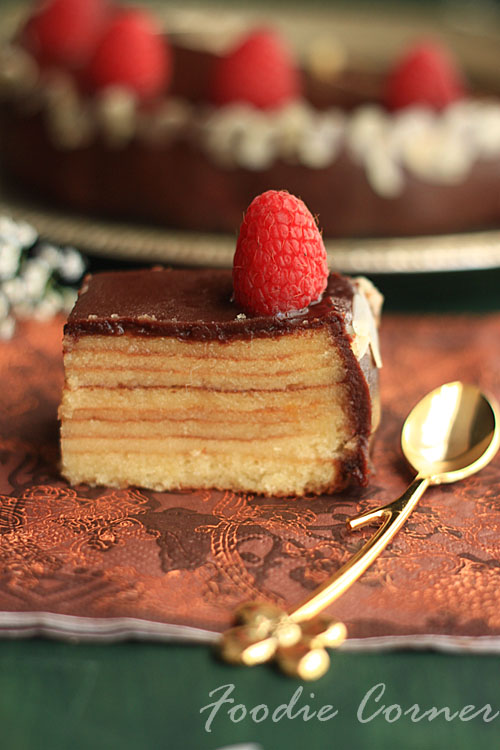
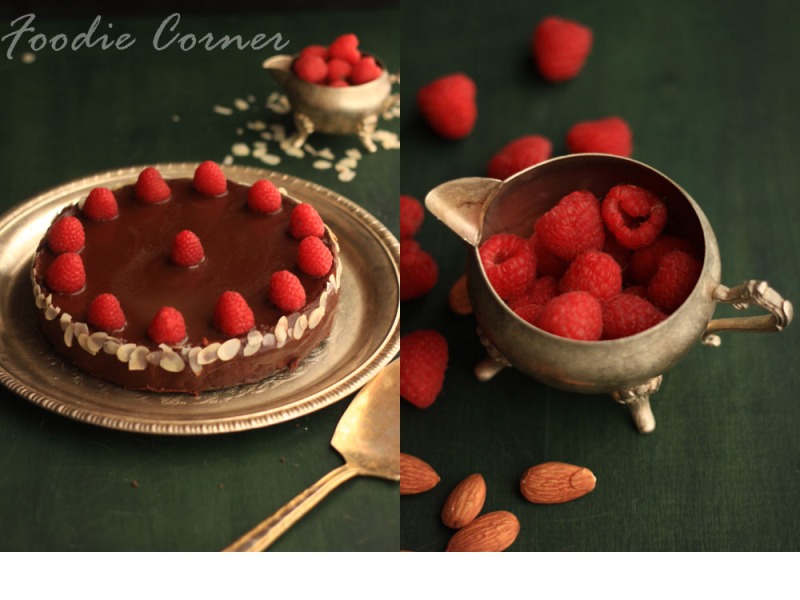 I had seen pictures of the layered cake on the net before and had always thought that all those layers were made by baking a cake and slicing the cake into thin layers. 🙂 As I am not much expert in slicing cakes evenly , I never tried to make them. Only after seeing the Daring Bakers challenge, did I realise that the layers are done while baking itself. Easier than slicing evenly was my first thought.
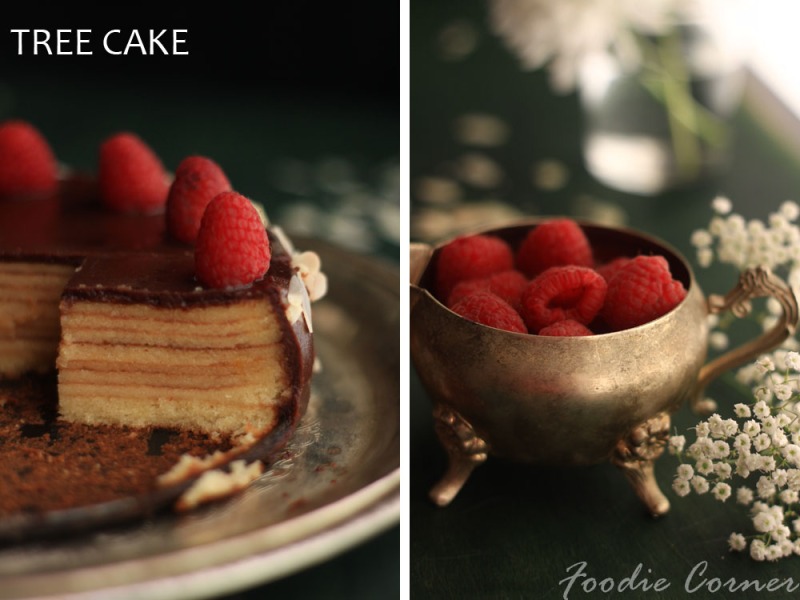


