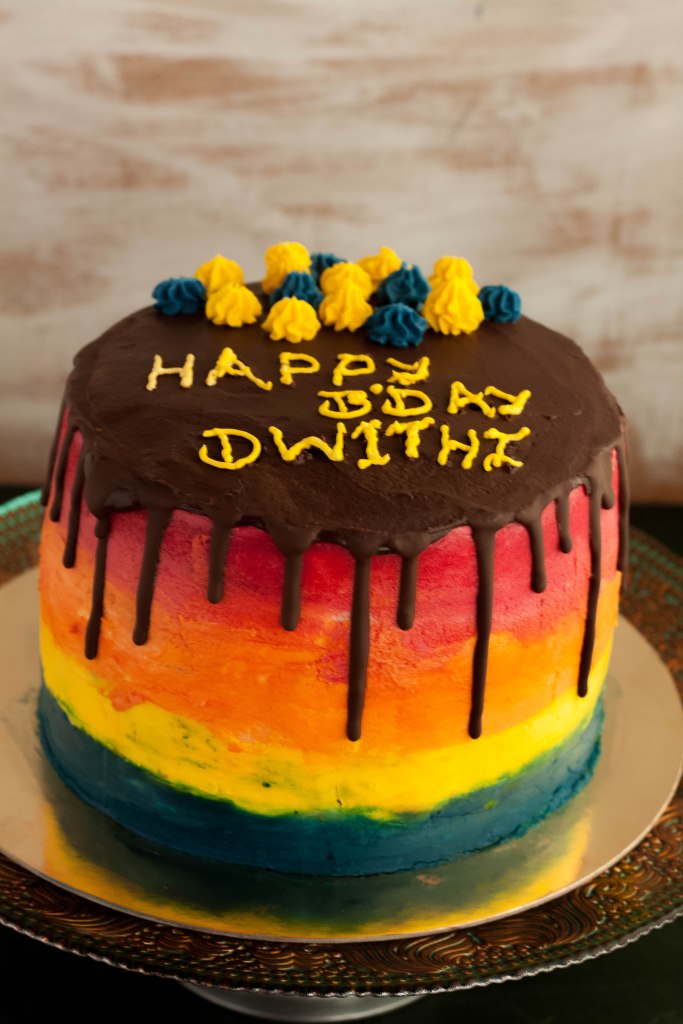
Rainbow Cake – for a sweet birthday girl

img_9562

This is a long overdue post . A little bit of flashback before that. I had left my job due to personal reasons and was wondering how to utilise the spare time. And to almost all friends whom I  pestered with my ranting on what to do now, the answer was – ” Why don’t you start baking as a start up business? ”  I love to bake, but as a start up –  I’m apprehensive. And seeing the beautiful cakes flooding the net, I am even more petrified. But at some point you have to start … So slowly I am learning the technicalities of cake decorating, one step at a time…

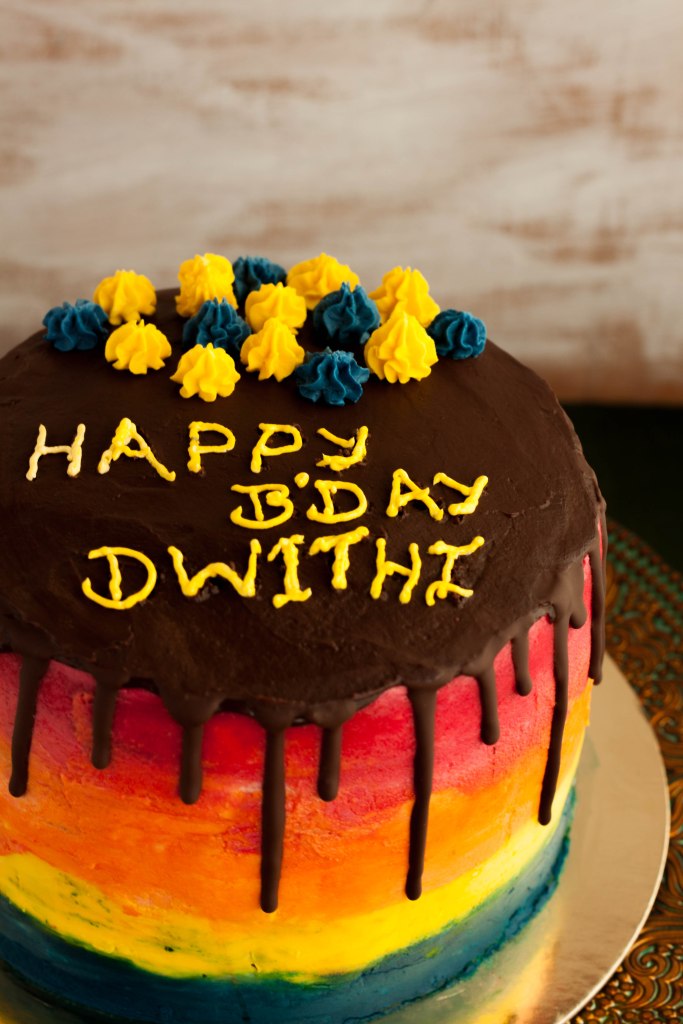
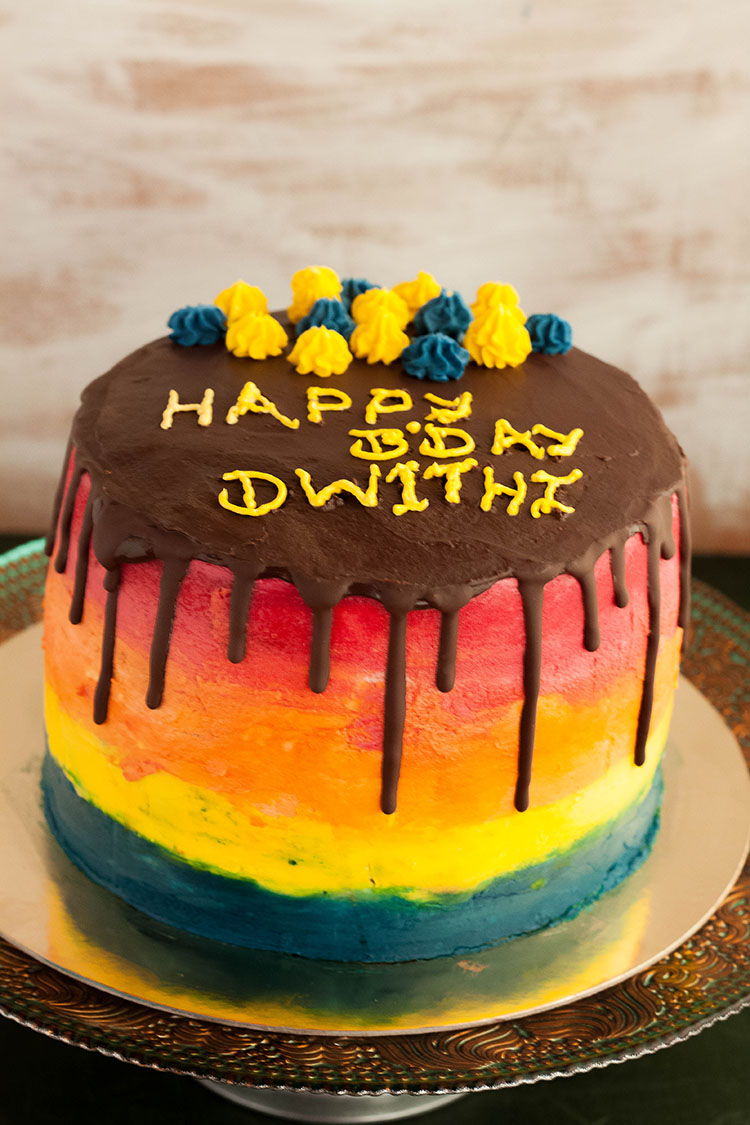
The first “official order ” for cake was for our friend’s little daughter’s birthday.  And I decided to try the Rainbow Cake , which kid doesn’t like a rainbow 🙂 . Later I got worried as one cake won’t be enough for all the friends at the party and so made a Red Velvet Cake too. A selfish motive too – I  wanted people to try out my cakes and get honest feedbacks.

The birthday girl was quite thrilled to see the colourful cakes . My little happy client gave me a thank you note for bringing her the cake. How sweet … !! And as for the verdict from my friends,( or future would be clients 😀 ),  it was a thumbs up 🙂
 

layers4

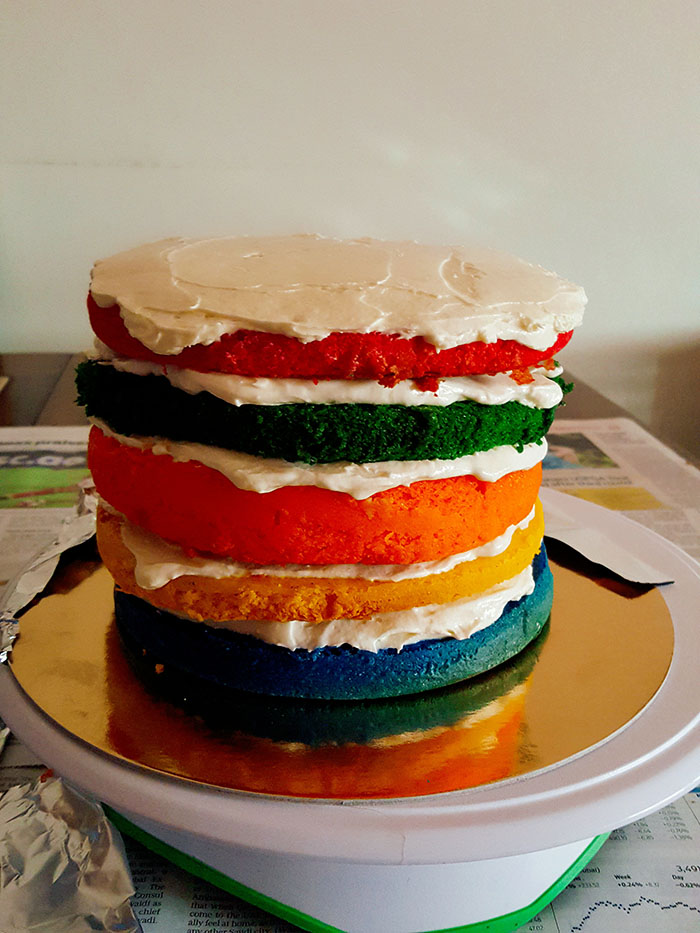
Let’s move on to the recipe.  This is the same recipe for the 1-2-3-4 cake I had blogged earlier. The batter was divided into 6 parts, added different colours to each layer , poured into individual pans and baked . I could bake 2 pans at the same time , but still baking all the layers will take time. Better bake the cakes a day in advance and then do the frosting the next day .

And here’s wishing all my readers a very vibrant and joyful New Year. May all your dreams come true…
img_9567

RAINBOW CAKE

INGREDIENTS

FOR THE CAKE

  • Butter – 1 cup
  • Powdered Sugar – 2 cups
  • Flour – 3 cups
  • Egg – 4
  • Salt – ¼ tsp
  • Baking powder – 3tsp
  • Milk – 1 cup
  • Vanilla essence – 1 tsp

FOR SUGAR SYRUP

  • 1/4 cup sugar
  • 1 cup water

FOR FROSTING

  • Whipping cream – 2 cups
  • Mascarpone cream – 250gm
  • Icing sugar – 3tbsp

METHOD

TO PREPARE THE CAKE PAN

Butter a cake pan and sprinkle about 1 tbsp of flour.  Gently toss the pan so that all sides are coated with flour.

TO MAKE THE CAKE

  1. Separate the egg yolks and whites.
  2. In  a deep bottomed bowl, beat the egg whites till they whip up. It will look like whipped cream. Keep it aside.
  3. In another deep bottomed bowl, beat butter using egg beater for 2 minutes.
  4. Add powdered sugar to the butter and beat well till it looks creamy.
  5. Add the egg yolks one by one and beat well for around 10 minutes
  6. In another bowl, sieve flour and baking powder.
  7. Mix one third of the flour mixture to the egg yolk mixture slowly using a wooden spoon.  Add one third cup of milk  and mix again. Repeat adding flour and milk alternately 2 more times.
  8. Add the vanilla essence .
  9. Add the egg white to the batter . Using a spoon slowly mix in the egg whites using the cut and fold method.
  10. Pour the batter into the pan . The batter should fill only till 2/3 rd of the pan or you can use 2 pans. Bake at 180 degree for around 30 minutes . You can test if the cake is done, by inserting a tooth pick . If the tooth pick comes out clean ( without any crumbs on it) , then the cake can be taken out of the oven .
  11. Let the cake cool to room temperature before applying icing

TO MAKE THE SYRUP:

Stir the sugar, water and essence in a small saucepan and bring to boil. Simmer till the sugar has dissolved, and cool completely.

TO ASSEMBLE :

  1.  When the cake is cooled, use a long serrated knife and cut off the top to make it straight. Slice the cake into 2 halves (if you have used a single cake pan).
  2. Pour the sugar syrup on both halves to make it soft.
  3.  On top of the first half spread the whipping cream or any filling. Place the second half , soaked side down, on top of the first.
  4. Coat the top and sides of the cake with cream to give a thin uniform coating.
  5. Keep in fridge till the icing sets. better to keep for atleast 3 to 4 hours.
fb


Devil’s Food Cake

Friends often tell me , I have more posts of cakes in my blog.. And I had decided to reduce the cake posts in future… Hmm but fate had other plans it seems.. This again is a cake post .. and I have my excuse too. It was my nephew’s 2nd birthday 2 weeks back and my sister in law and family were  visiting us on that  day.. Now how can I resist the temptation of baking a special cake for my dear nephew???

The kids too were all excited and got busy decorating the room with balloons and setting the table before the birthday boy arrived… I decided to make a chocolate cake as kids would love it.. and this is a very chocolatey cake – Devil’s Food Cake.. I wonder how the cake got this name? This is really a super moist chocolate cake and I strongly feel the name should be changed 🙂

I found this recipe from Nigella Lawson’s site and have prepared this few times before.. Couldn’t click the snaps then.. this time too I was in a but hurry, so the photos are ,well ,not so perfect..

Coming back to the celebrations, the birthday boy was super excited 🙂 .. He was amazed to see all the  balloons, candles, cakes … Smiling happily as everyone sang the birthday song for him .. My sister in law told me that he still fondly says of his Abudhabi Bday Celebration 🙂

What I loved about the cake is its luscious frosting.. Though while preparing the frosting would appear runny, allowing it to settle for an hour will give it the right consisitency . Last time I made this cake, I had piped chocolate rosettes with the frosting… This time, topped the frosting with some chocolates to surprise the kids..

Here’s the recipe for all you chocolate lovers..

Recipe Source – Nigella Lawson

INGREDIENTS

For the cake

  • 50g best-quality cocoa powder, sifted
  • 100g dark muscovado sugar
  • 250ml boiling water
  • 125g soft unsalted butter, plus some for greasing
  • 150g caster sugar
  • 225g plain flour
  • 1⁄2 teaspoon baking powder
  • 1⁄2 teaspoon bicarbonate of soda
  • 2 teaspoons vanilla extract
  • 2 eggs

For the frosting:

  • 125ml water
  • 30g dark muscovado sugar
  • 175g unsalted butter cubed
  • 300g best-quality dark chocolate finely chopped

Pan required

  • 2 x 20cm sandwich tins

METHOD

  1. Preheat the oven to 180°C/gas mark 4.
  2. Line the bottoms of both sandwich tins with baking parchment and butter the sides.
  3. Put the cocoa and 100g dark muscovado sugar into a bowl with a bit of space to spare, and pour in the boiling water. Whisk to mix, then set aside.
  4. Mix the flour, baking powder and bicarb together in another bowl.
  5. Cream the butter and caster sugar together, beating well until pale and fluffy.
  6. Add eggs one by one to the creamed butter and sugar  mixing well.
  7. Keep mixing and incorporate the rest of the dried ingredients for the cake, then finally mix and fold in the cocoa mixture.
  8. Divide this fabulously chocolatey batter between the 2 prepared tins and put in the oven for about 30 minutes, or until a cake tester comes out clean.
  9. Take the tins out and leave them on a wire rack for 5–10 minutes, before turning the cakes out to cool.
  10. But as soon as the cakes are in the oven, get started on your frosting: put the water, 30g muscovado sugar and 175g butter in a pan over a low heat to melt.
  11. When this mixture begins to bubble, take the pan off the heat and add the chopped chocolate, swirling the pan so that all the chocolate is hit with heat, then leave for a minute to melt before whisking till smooth and glossy.
  12. Leave for about 1 hour, whisking now and again – when you’re passing the pan – by which time the cakes will be cooled, and ready for the frosting.
  13. Set one of the cooled cakes, with its top side down, on a cake stand or plate, and spread with about a third of the frosting, then top that with the second cake, regular way up, and spread the remaining frosting over the top and sides, swirling away with your spatula.

Sending this to Love and Chocolate Fest event at My Culinary Trial Room

and Dish for Loved Ones by Sravs Culinary Concepts

Lets Cook for Valentines event by simply.food

Zebra Cake For A Birthday

Kids’ birthdays fall within a gap of 5 days. I wanted to bake a birthday cake for the elder one, but he rejected the proposal as he wanted Harry Potter cake from bakery.. Disheartened I focused on the younger one’s birthday cake (atleast he wasn’t old enough to turn down  mamma’s cake … ) I was planning to make a fondant cake for quite some time ( inspired by Dina’s fondant cakes and Dima’s blogpost on how to cover cake with fondant ) … I decided to make a zebra cake as it would make hubby  (who doesn’t like chocolate) eat some …

The cake came out well… But in retrospect I could have doubled the quantity to make the cake bigger.. I applied a coating of whipped cream and kept the cake in fridge for about an hour.

As it was my first attempt on fondant , I had planned to keep it simple… Light blue cake with orange polka dots.. I was okay with the result, but when I showed it to my elder son, his reply was “Oh this is a baby cake!!! Doesn’t look good!!!”.. hmphhhh !!! I pulled out all the orange circles, rolled each into small roses and fixed them back.. Though not quite impressed , the kid was okay with the final result..

But the biggest disappointment came when both kids didn’t like the taste of fondant 😦 .. They wanted the cake, but  without the icing please !!! Huh…  I think I should stick back to old whipped cream frosting for sometime …

The recipe for the cake is the same that I used in Checkerboard Cake…  Only the method is different.

Ingredients

  • Butter – 1 cup
  • Granulated Sugar – 2 cups
  • Eggs, yolk and white separated – 4
  • Flour – 3 cups
  • Baking powder – 4 tsp
  • Salt – ¾ tsp
  • Milk – 1 1/2 cup
  • Cocoa – 4 tbsp
  • Boiling water – 5tbsp
  • Baking soda – 1/8 tsp
  • Almond essence – ¼ tsp
  • Vanilla essence – 1 tsp

Method

  1. Sift together flour, baking powder and salt. Powder the sugar.
  2. Using an electric beater,  cream the butter and sugar. Add eggs one at a time, beating after adding each.
  3. Add 1/2 of the flour and mix it into the batter using your hand. Add ½ cup milk and mix again. Repeat the process with the remaining flour and milk. Add vanilla essence.
  4. Add cocoa powder and baking soda to boiling water and mix well.
  5. Divide the batter into 2  halves… To one part add cocoa mixture.
  6. Pour a big ladle of plain batter to the middle of the prepared cake tin.  Then pour a big ladle of cocoa batter into center of the plain batter. Again pour a ladle of plain batter to the center of the cocoa batter. Repeat this alternately so that you get concentric circles of plain batter and the cocoa batter.  (The batter will spread out evenly by itself…)
  7. Bake in a preheated oven at 180C  till a tester comes out clean (around 30 min)

Sending this to Bakefest hosted by Vardhini at Zesty Palette