
After a one year hiatus, I am back into the blogging world.. My world has changed a lot in the past one year… A new job ,a handful of very special friends , the many beautiful moments filled with fun and laughter I spent with them .. and the good byes to a few of them , which is always the hardest part in a friendship. Though life separates us from our dear ones through distance, they will always hold a special place in our hearts which cannot be erased by space or time..
And last year I met a few of my dear friends after a gap of many years.. It was like we had met just the other day. Nothing seemed to change, the fun , the warmth, the special bonding..I have often noticed that food plays an important role during get togethers .. like how my best friend cooked biriyani especially for me when I went to visit him.. or how my friend had particularly asked me to bake a vanilla cake for her when she would visit me for the first time after 15 yrs.. Food and friendship.. it sure does go hand in hand 🙂
On another note, the stats show that my blog has crossed 200,000 hits.. and this blog post is kind of celebration post too.. and a dedication post.. dedicated to all those wonderful friends, who stood by me during the low phases.. who pushed me to continue blogging when I had totally lost interest in it, who had more faith in me than I had in myself.. whose motivating words kept me going.. Thank you guys, for being there for me..
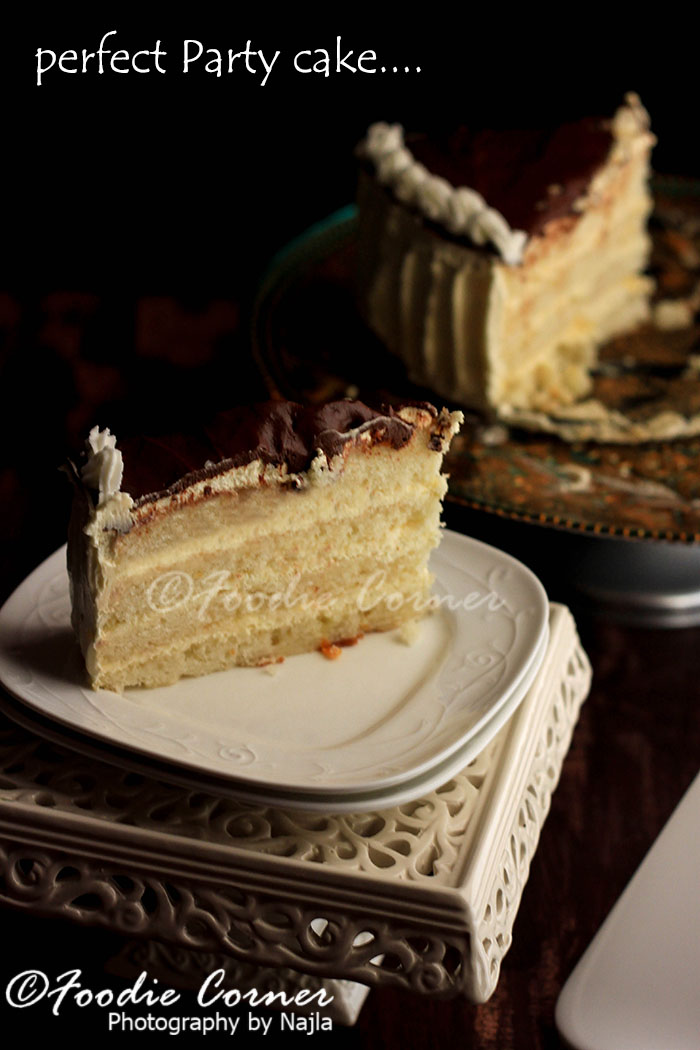
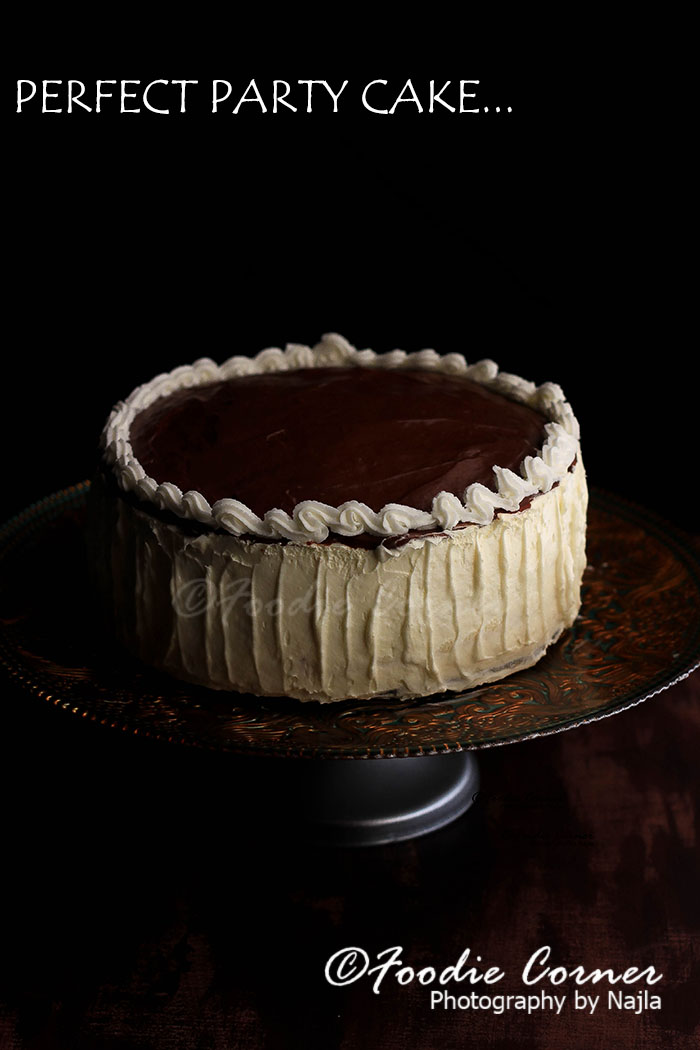
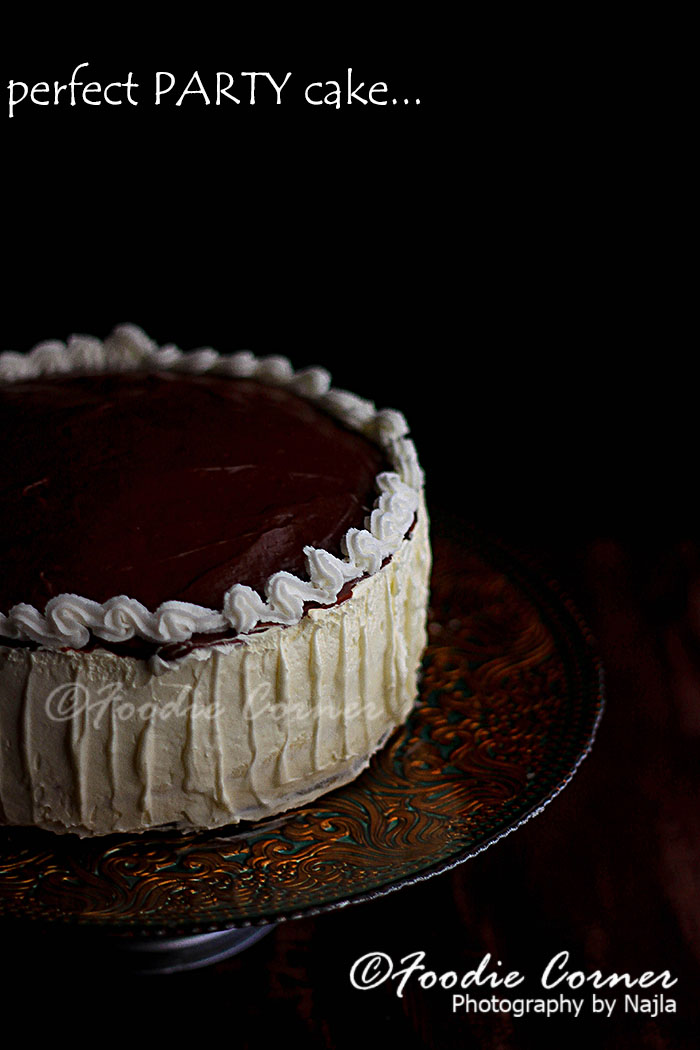
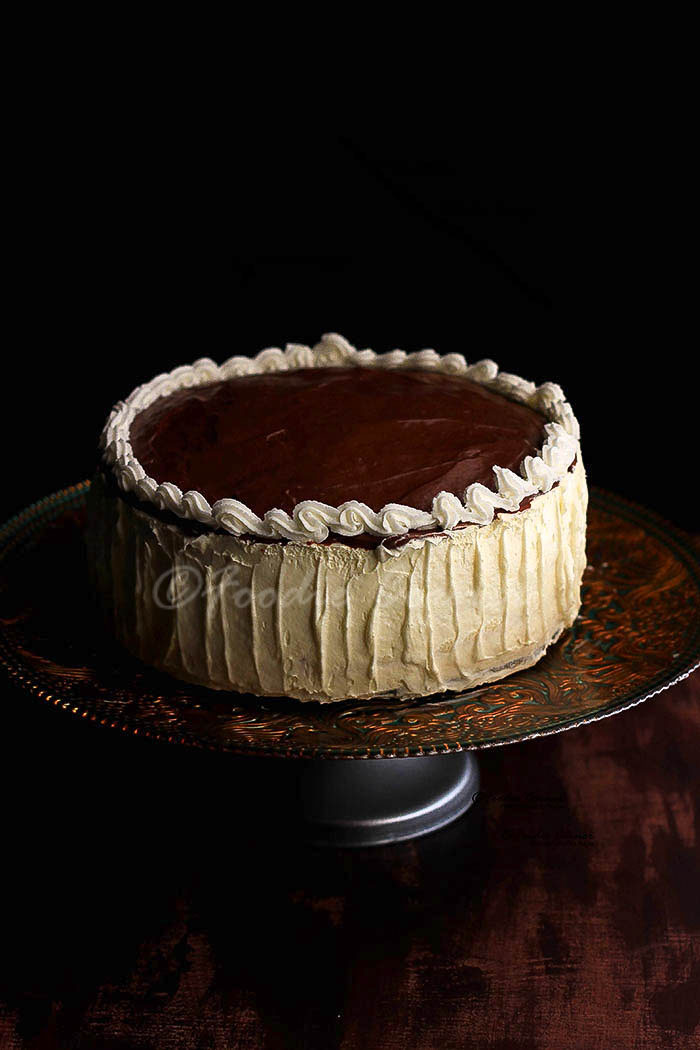
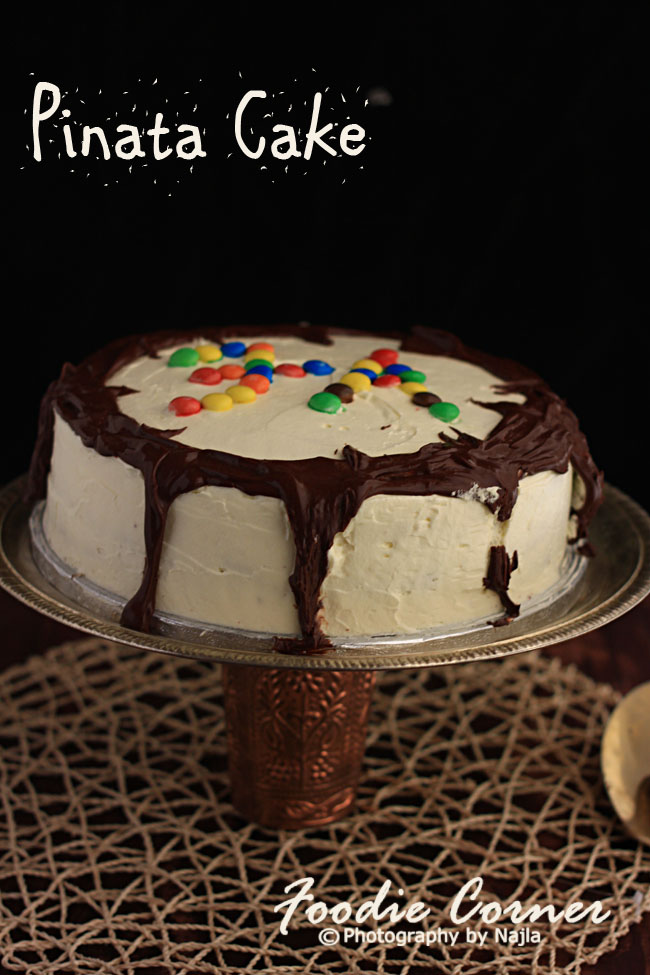
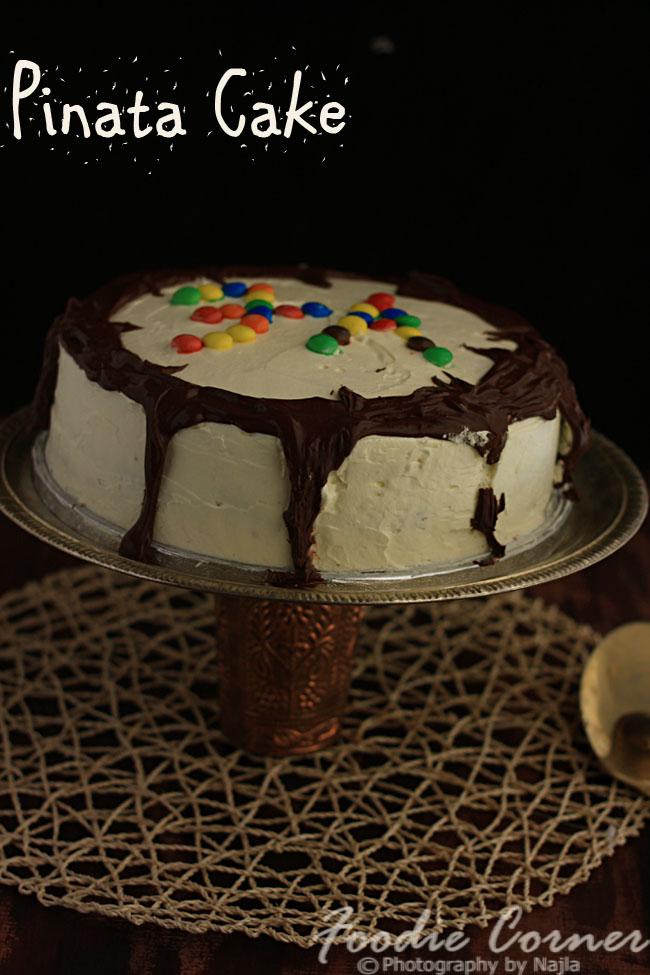
This was the vanilla cake I had made as per my friend’s request. This is a bit sturdy cake , with a slight lemon flavour. To make it a bit more moist I added used sugar syrup . The recipe is pretty simple, not with many complicated steps. After the cake cooled down, I sliced it into layers and sandwiched with whipped cream, topped it with ganache. I must say this cake is quite a party pleaser. So go ahead and try it out..
PERFECT PARTY CAKE
INGREDIENTS
FOR THE CAKE
(Recipe source- Baking from my home to yours)
- All purpose flour – 2 cups
- Cornflour – 4 tbsp
- Baking powder – 1 tbsp
- Salt – 1/2 tsp
- Whole milk or buttermilk – 1 1/4 cup
- Egg whites – 4 large
- Sugar – 1 1/2 cups
- Grated lemon zest – 2 tsp
- Unsalted butter – 1 stick (113gms)
FOR THE SUGAR SYRUP
- Sugar – 1 cup
- Water – 1/4 cup
FOR THE WHIPPING CREAM
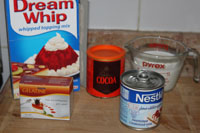
- Dreamwhip – 2 sachet
- Cold Milk – 1 cup
- Vanilla Essence – 1tsp
FOR THE GANACHE
- Semisweet or bittersweet chocolate, cut into small pieces – 8 ounces (227 grams)
- Heavy whipping cream – 3/4 cup (180 ml)
- Unsalted butter – 1 tablespoon (14 gram)
METHOD
FOR THE CAKE
- Sift together the flour, cornflour, baking powder and salt.
- Whisk together the milk and egg whites in a medium bowl
- In another bowl, put the sugar and lemon zest in a bowl and rub them together with fingers until the sugar is moist and fragrant.
- Add the butter to the sugar and beat with egg beater ,till the butter and sugar are very light
- Add one third of the flour mixture, beating at medium speed
- Beat in half of the milk egg mixture .
- Repeat adding the flour and milk alternately till all the flour and milk is incorporated well.
- Pour the batter into the pan . The batter should fill only till 2/3 rd of the pan . Bake at 180 degree for around 30 to 35 minutes .
- To test whether the cake is done, insert a tooth pick. If the tooth pick comes out clean ( without any crumbs on it) , then the cake can be taken out of the oven .
- Let the cake cool to room temperature .
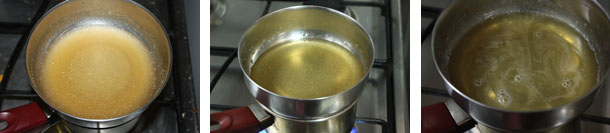
TO MAKE THE SUGAR SYRUP
Stir the sugar, water and essence in a small saucepan and bring to boil. Simmer till the sugar has dissolved, and cool completely.
TO MAKE THE WHIPPING CREAM
Mix the contents in 2 small sachets of Dreamwhip with 1 cup cold mix and a teaspoon of vanilla essence. Beat on high speed for 5-7 minutes till you get light fluffy peaks. This will give about 4 cups whipped cream.
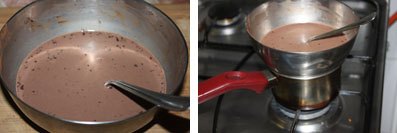
TO MAKE THE GANACHE
- Place the chopped chocolate in a medium sized stainless steel, or heatproof bowl. Set aside
- Heat the cream and butter in a medium sized saucepan over medium heat. Bring just to a boil.
- Immediately pour the boiling cream over the chocolate and allow to stand for 5 minutes. Stir until smooth.
- When Ganache has completely cooled, beat until soft and fluffy. Then spread the frosting on top of the cake.
HOW TO ASSEMBLE
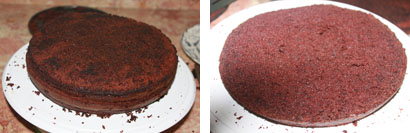
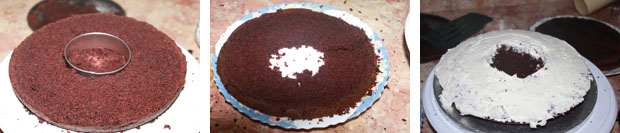
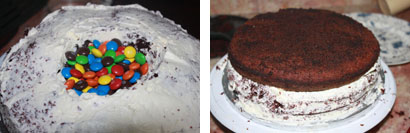
- When the cake is cooled, use a long serrated knife and cut off the top to make it straight. Slice the cake horizontally into 2 or 3 equal parts..
- Pour one-third of the sugar syrup on the first cake layer .
- Spread the whipping cream over the first layer.
- Take the second cake slice on top of the first layer . Pour one third of the sugar syrup and spread the whipped cream.
- Repeat the process with the third layer.
- Cover the whole cake with whipping cream.
- Pour the ganache over the top of the cake and spread it . Spread the ganache to the sides of the cake .


